
How to Film Sports Videos
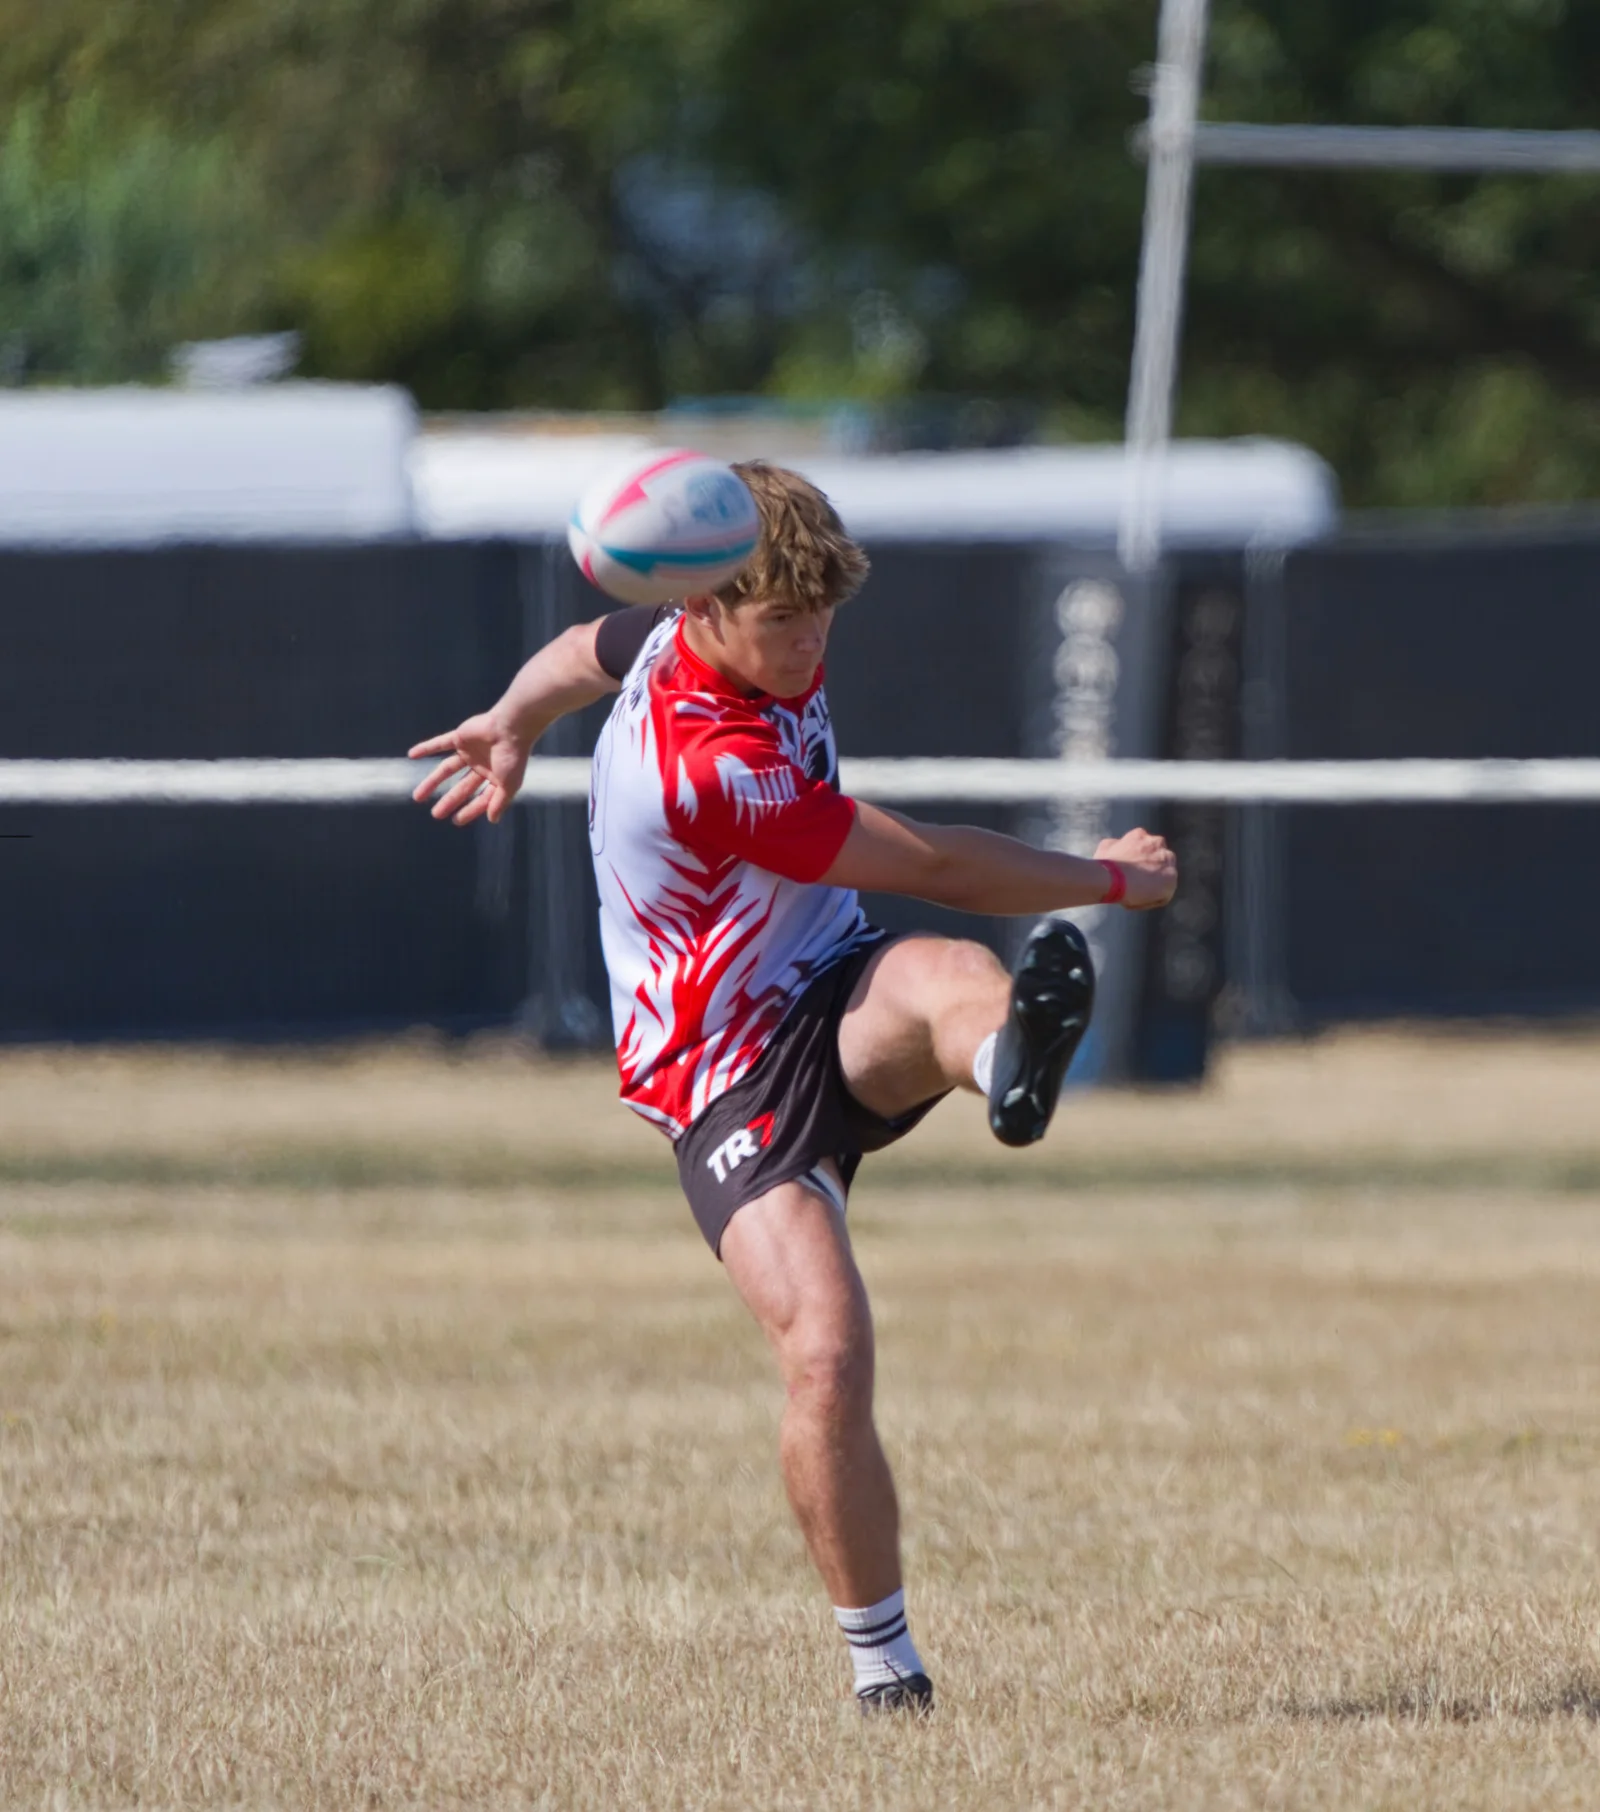
Sport gives you plenty to work with: fast movement, close competition, big reactions and moments you couldn't script. The challenge is capturing those moments clearly, then putting them together in a way that feels as exciting as being there.
Our sports videography includes training sessions, club promotions and match-day films. This guide covers the camera work, lighting and editing techniques behind that kind of content, whether you're filming professionally or making a video for your own team.
Start with the kind of sports video you need
A full match recording and a short promotional film need different approaches.
For a match recording, prioritise reliable, continuous coverage that lets people follow the play. For a promotional film, you have more freedom to mix action, close-ups, crowd reactions and slow motion. Don't sacrifice an important passage of play for an interesting detail shot when your job is to record the whole game.
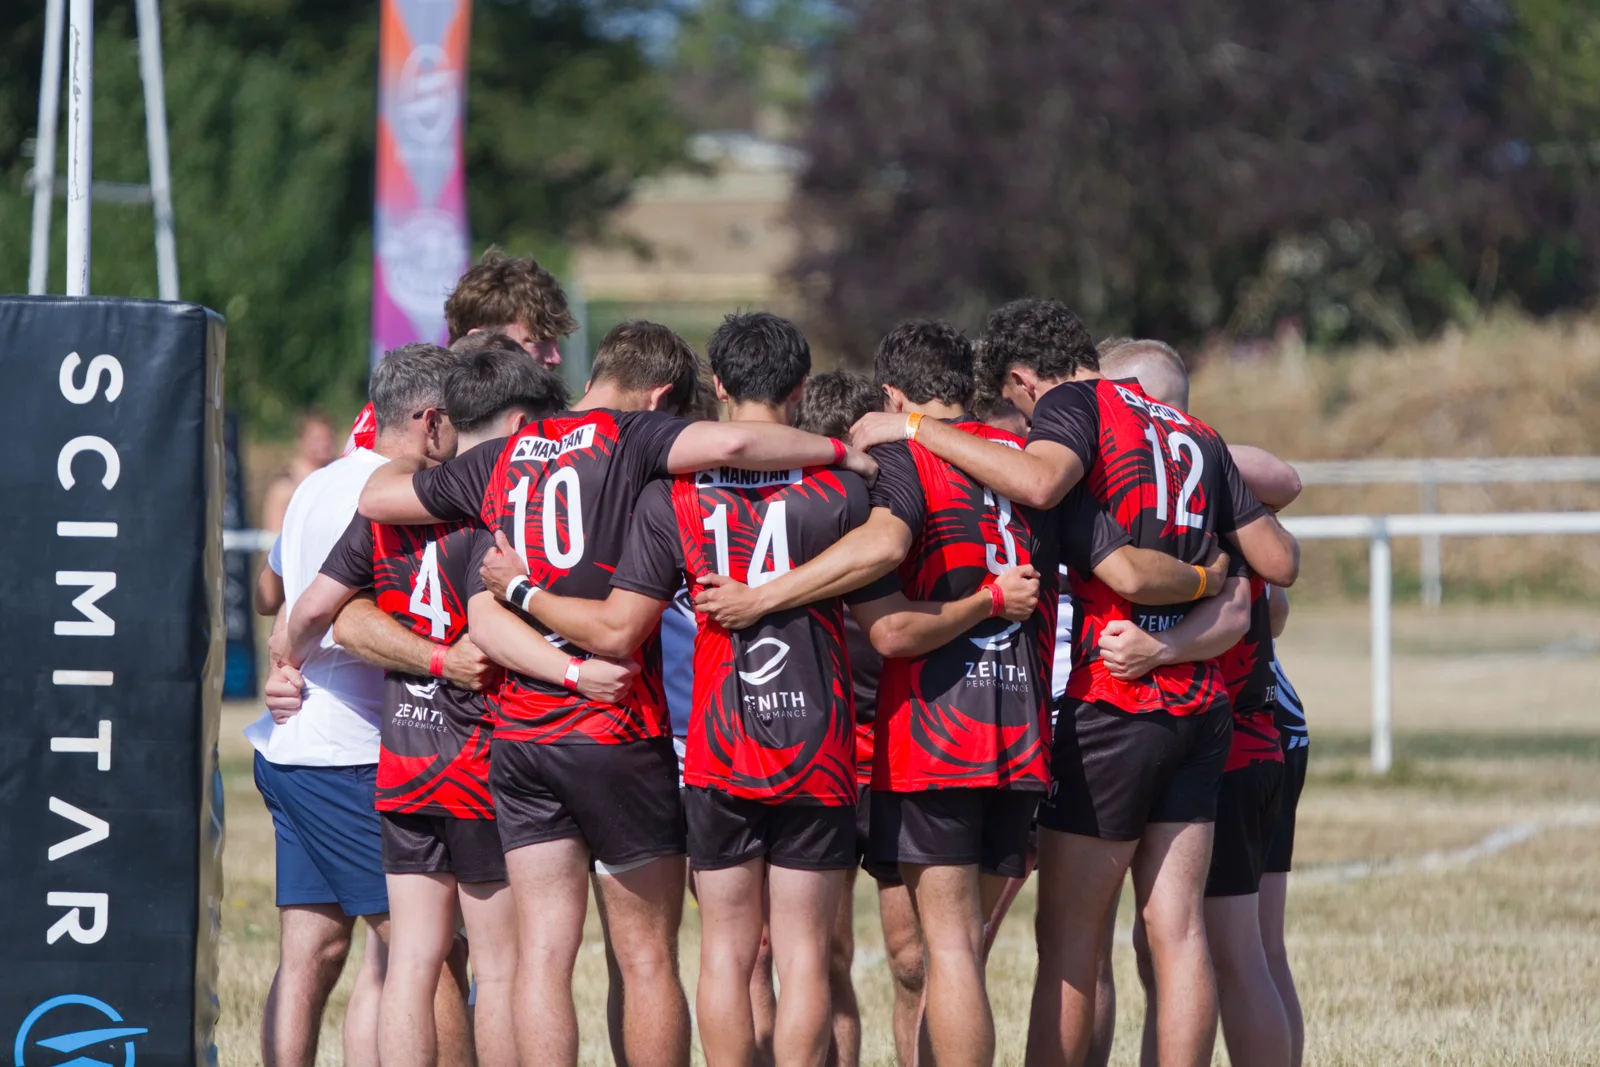
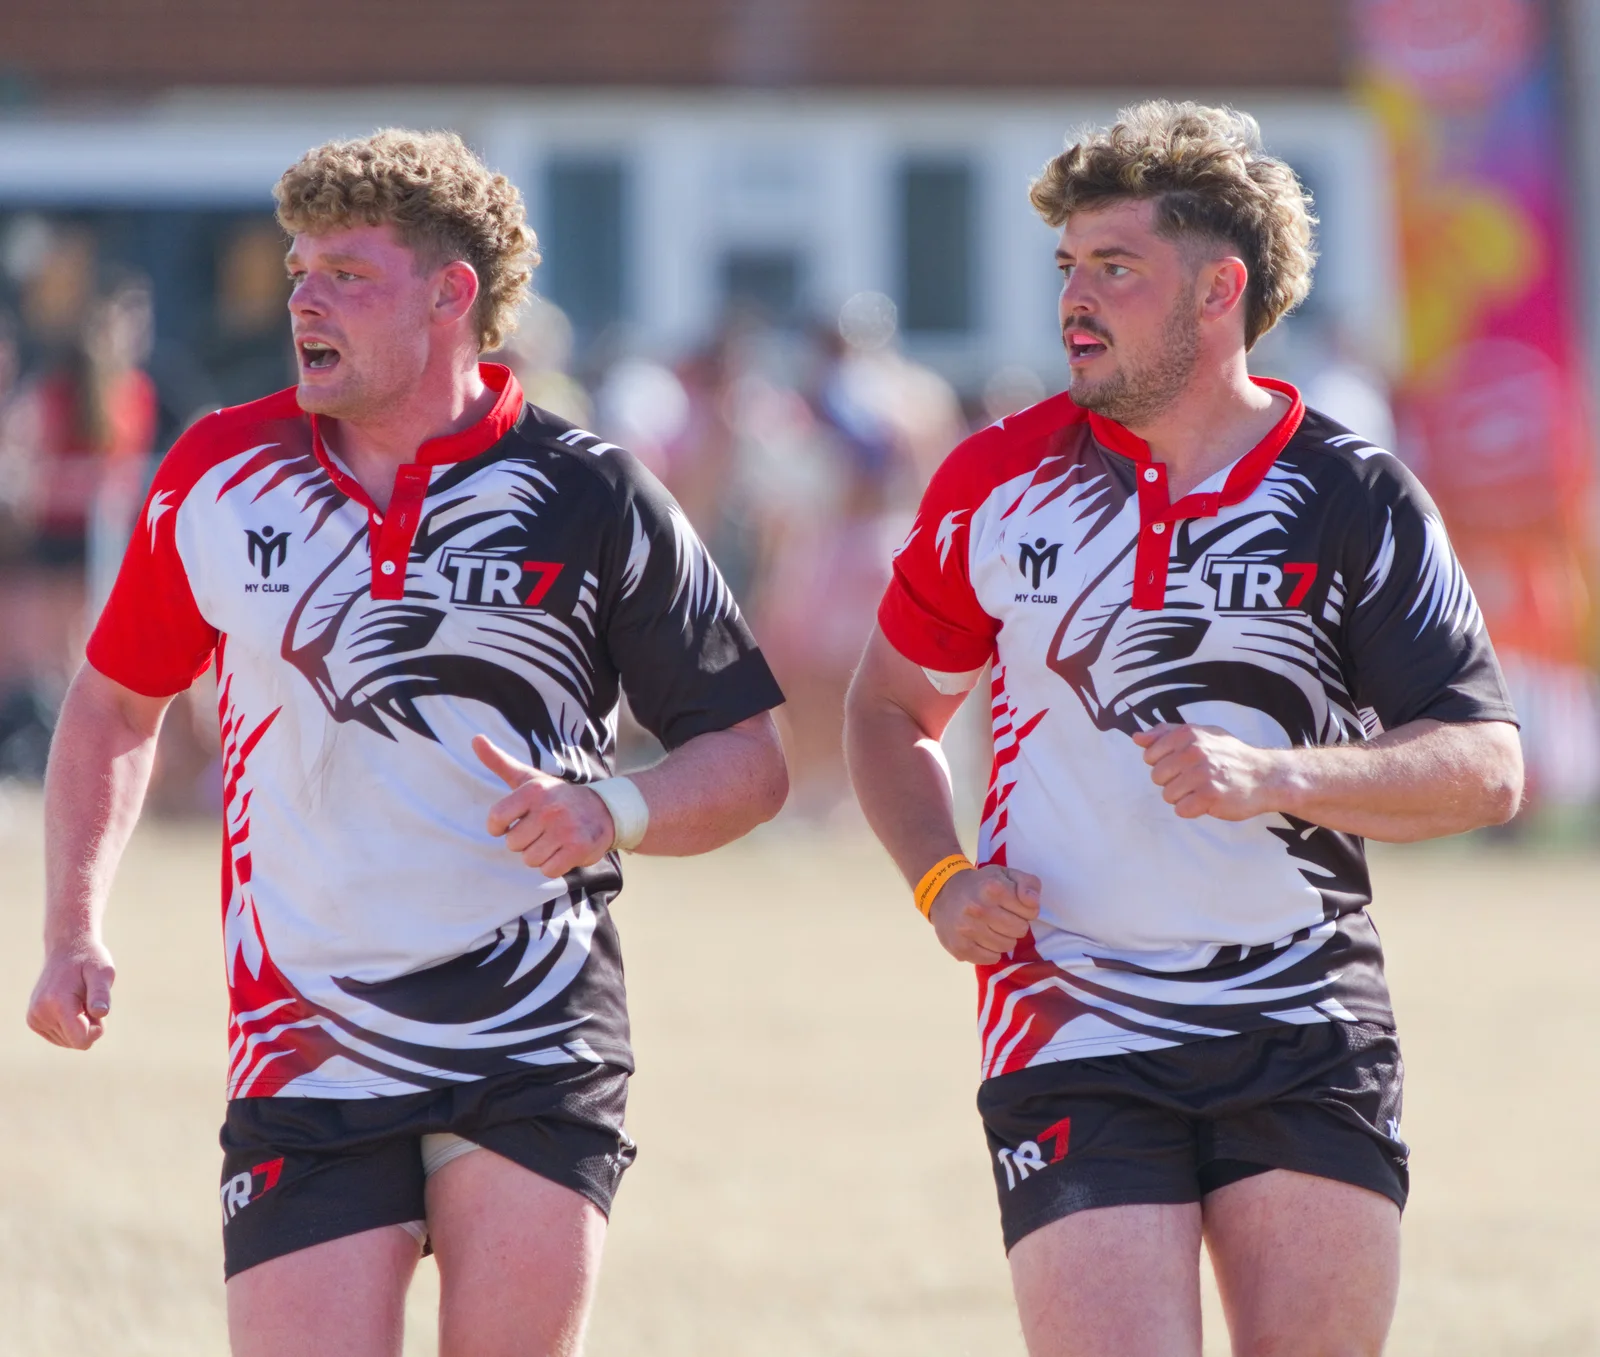
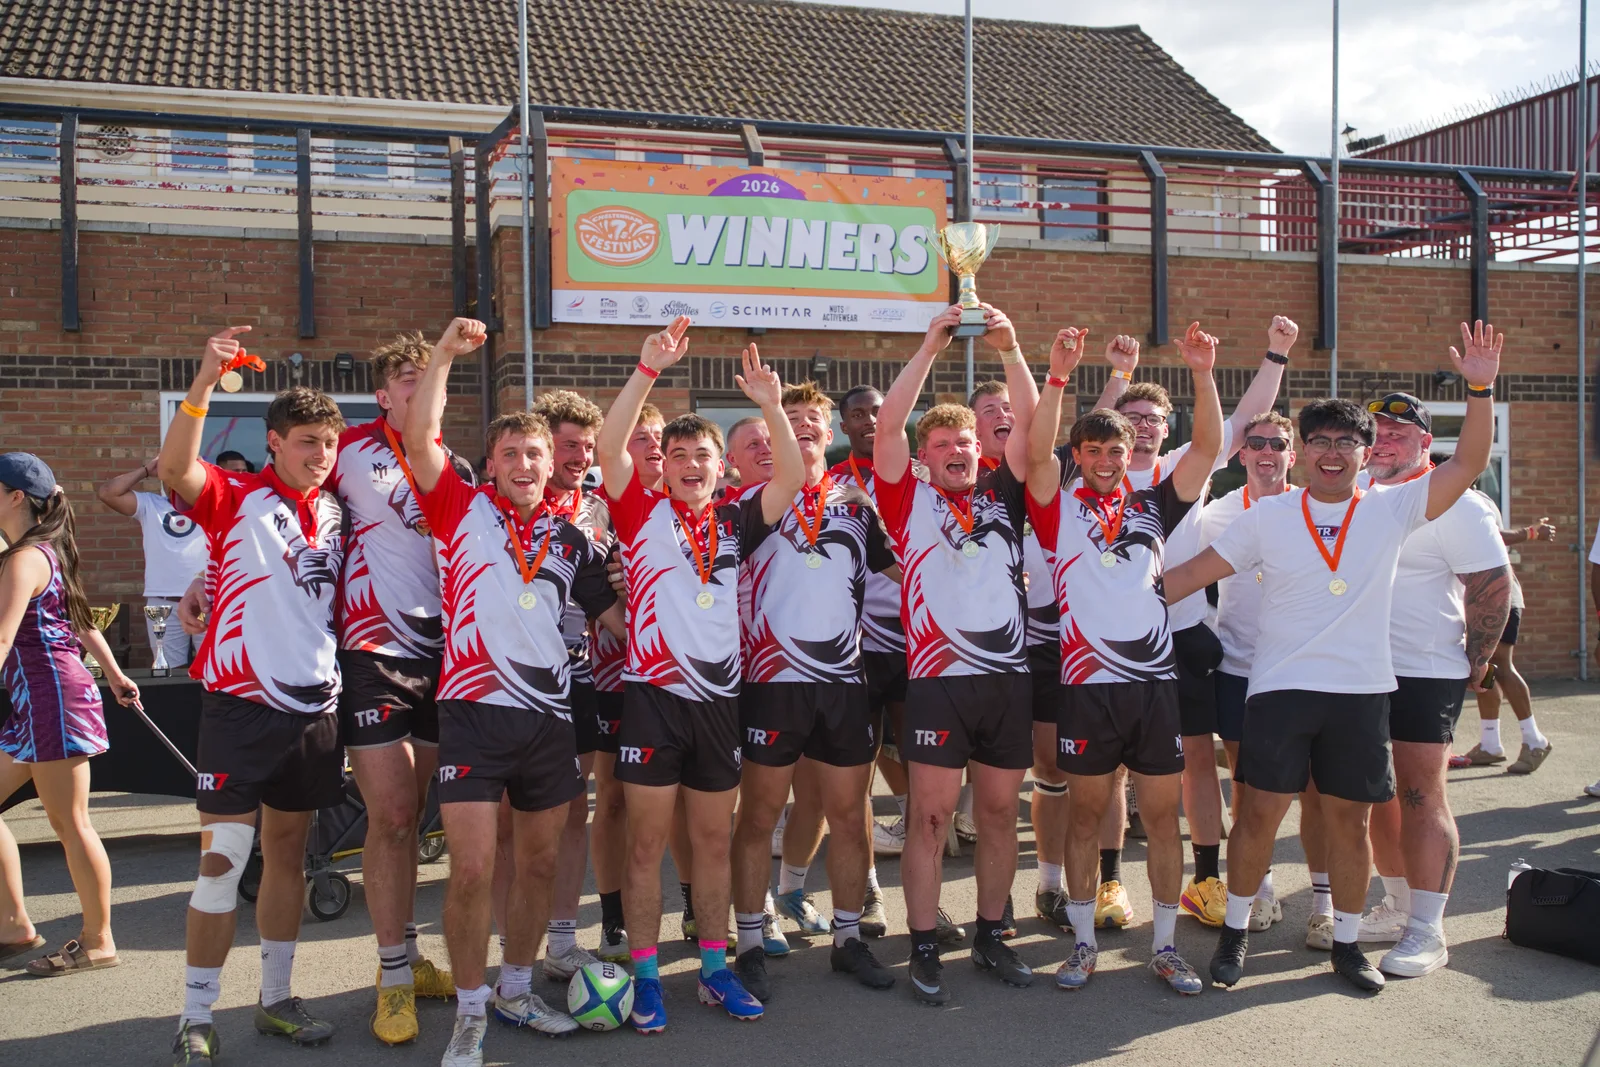
Think about the finished format too. A wide shot that shows the entire court may not work when cropped into a vertical social video. Our Cheltenham rugby project, for example, included a portrait-format highlight film, so that was part of the brief rather than an afterthought.
Before filming, agree where you can work safely, check the schedule and find out which moments matter most. Our guide to writing a video production brief is a useful starting point when planning coverage for a club or client.
Camera gear: choose a setup you can work with
You don't need the most expensive camera available. You need a setup that suits the sport, the available light and your position relative to the action.
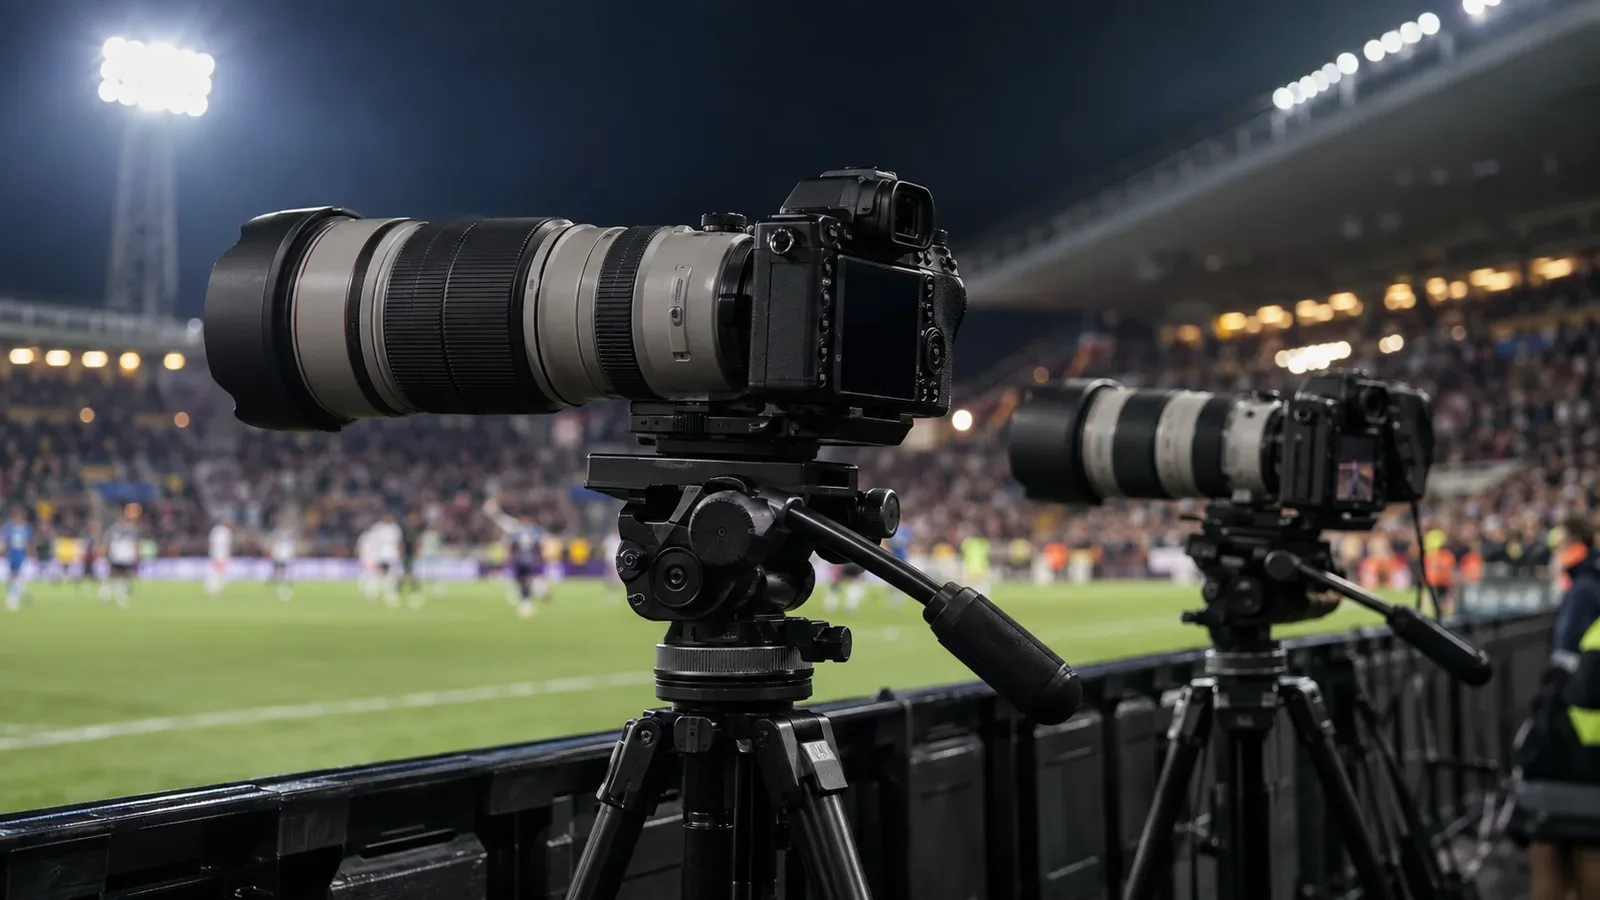
An interchangeable-lens camera gives you flexibility. A wide lens can establish the venue or put the viewer close to a training session. A longer lens helps you frame players from the sidelines without stepping into their space. A zoom is useful when the distance changes and you can't move with it.
Action cameras have their place too. Use one when the viewpoint adds something, such as a securely mounted athlete's-eye view, with the organiser's approval. It doesn't have to be your main camera, but there's no reason to dismiss a useful shot simply because it came from a GoPro.
For moving subjects, try continuous autofocus and test the camera's tracking before the session starts. Check how it behaves when another player crosses the frame. Choosing the right subject and focus area matters more than leaving the camera to decide what looks interesting.
Frame rates and shutter speed
For a highlights film delivered at 25 frames per second, these are useful starting points:
| Recording frame rate | Starting shutter speed | Playback on a 25fps timeline |
|---|---|---|
| 25fps | 1/50 second | Normal speed |
| 50fps | 1/100 second | Half speed when slowed to 50% |
| 100fps | 1/200 second | Quarter speed when slowed to 25% |
That means one second recorded at 100fps can become four seconds of smooth slow motion at 25fps, using the frames you actually captured.
The shutter speeds above follow the usual starting point of setting the denominator to roughly twice the frame rate. They aren't fixed rules. A faster shutter can make movement look sharper and more abrupt, which may suit some sports edits.
Don't automatically shoot everything at the highest frame rate. Use it for moments you may want to slow down, and check how your camera handles image quality, light levels and audio in that mode. Indoor lighting needs testing too, particularly at faster shutter speeds.
Keep camera movement under control
Handheld footage can suit an energetic sports film, especially with useful camera or lens stabilisation. But not every shot needs to move.
A tripod with a fluid head is worth using for controlled pans and longer-lens coverage. A gimbal can work well for moving establishing shots or planned sequences during training, where access allows it.
Choose the support that helps you get the shot. Walking around with a gimbal isn't an improvement if it means missing the action or getting in someone's way.
Film with the edit in mind
One of the most useful habits in sports videography is thinking about the next shot while you're filming the current one.
Suppose you're tracking a player from left to right. A second shot with movement in the same direction may give you a natural cut. You can also look for similar camera movements, such as a slow push towards an athlete followed by a wider push towards the team.
You don't need every shot to match. The point is to give yourself options, rather than collecting unrelated clips and hoping they'll fit together later.
Get some variety while you're there. Record the venue, the preparation, the action and what happens immediately afterwards. A player's reaction or a coach watching from the sidelines may be more useful to the finished film than another nearly identical shot of the game.
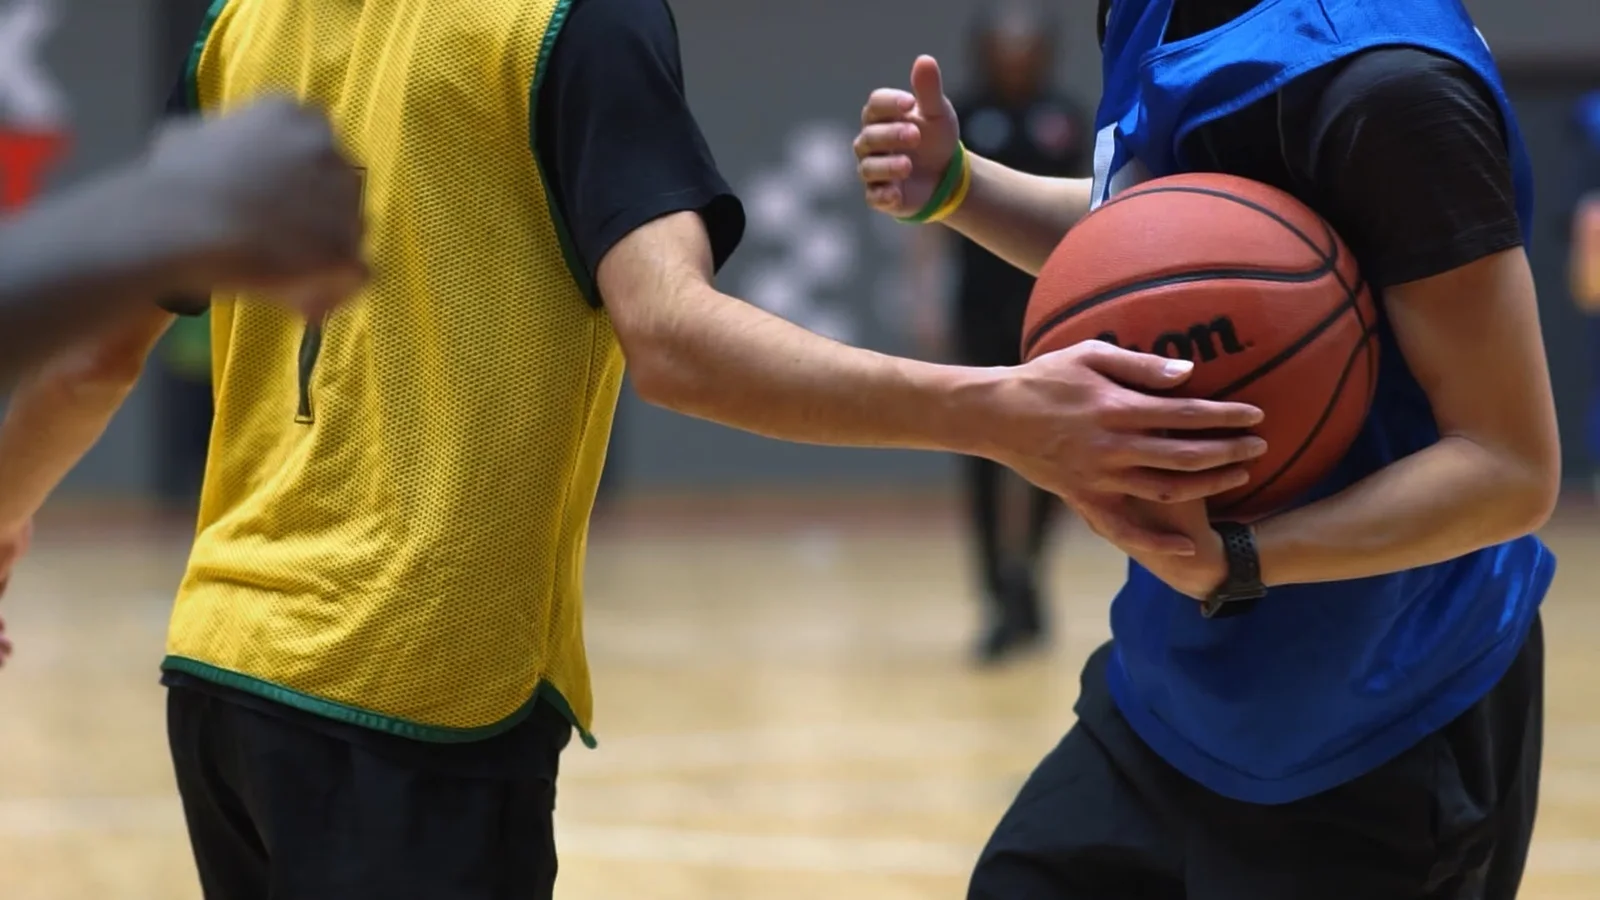
For an example of that broader approach, watch our Essex Rebels basketball film, which includes the crowd and match-day experience alongside the basketball.
Lighting: work with the venue, not against it
At a live match, you'll usually be working with daylight, floodlights or the venue's existing lighting. You won't have the same control as you would on a planned shoot.
Arrive early enough to record a few test clips from your likely positions. Check exposure, skin tones and kit colours, then play the footage back rather than judging everything from the live camera display.
Watch for flicker or moving bands under artificial lights, especially when recording slow motion. In a 50Hz lighting environment, shutter speeds such as 1/50 or 1/100 second can help, but LED lighting varies. A setting that follows the usual frame-rate rule is not automatically flicker-free: 100fps at 1/200 second still needs testing.
If there is a problem, try a different shutter speed or frame rate, or your camera's variable-shutter function where available. Confirm the result in a recorded clip before committing to the shoot.
A small battery-powered light can help with an interview or a planned athlete portrait. For live play, keep equipment out of the way and don't introduce lighting that distracts participants. Simple, well-positioned coverage is more useful than a complicated setup you can't safely use.
Editing sports videos
This is where the footage starts to feel like a film rather than a collection of good shots.
Start by finding the strongest moments
Before building the edit, review the footage and pull the usable sections into a separate sequence. Trim away missed focus, accidental movement and uneventful stretches, while keeping a little room at the beginning and end of each selection.
As you go, look for shots that could work together: matching movement, similar compositions, a build-up followed by a reaction. Organising those moments first makes it easier to experiment without repeatedly searching through all the original footage.
Pay attention to where the viewer is looking
If the ball is near the centre of one shot, cutting to another with it in a similar position can help the viewer follow the action. The same applies to a player's face, a racket or any other point of interest.
Small reframing adjustments can help, provided the footage has enough resolution to support them. Don't force a match at the expense of a good composition, and don't worry about making every cut seamless. Use the technique where it improves the sequence.
Use slow motion for the moments that deserve it
A jump, tackle or change of direction can be worth slowing down. The walk back into position probably isn't.
Mix normal-speed footage with slower moments so the film keeps its pace. For a speed ramp, use your editor's speed keyframes and transition controls to ease between speeds rather than making every change abrupt. In Premiere, these controls sit under Time Remapping.
The effect should draw attention to the action. If you're noticing the speed changes more than the sport, try simplifying them.
Cut to the music, but not on every beat
Music can give a sports edit its rhythm, but cutting on every beat soon becomes predictable.
Let some shots run longer. Make a cut on a movement or reaction instead. Leave enough time for a viewer to understand an impressive piece of play before moving on.
Bring in some of the sound from the day too: trainers squeaking on a court, the strike of a ball, a whistle or a crowd reaction. Try letting those sounds lead a moment rather than covering everything with music. Use a soundtrack cleared for the way the finished film will be published.
You can see more examples in our Essex Sport films. If you've already filmed the material and need help putting it together, explore our video editing and post-production services.
Need a sports videographer?
A good sports film lets people follow the action and feel something of the occasion. The equipment helps, but being ready for the right moment and knowing what to do with it in the edit matter just as much.
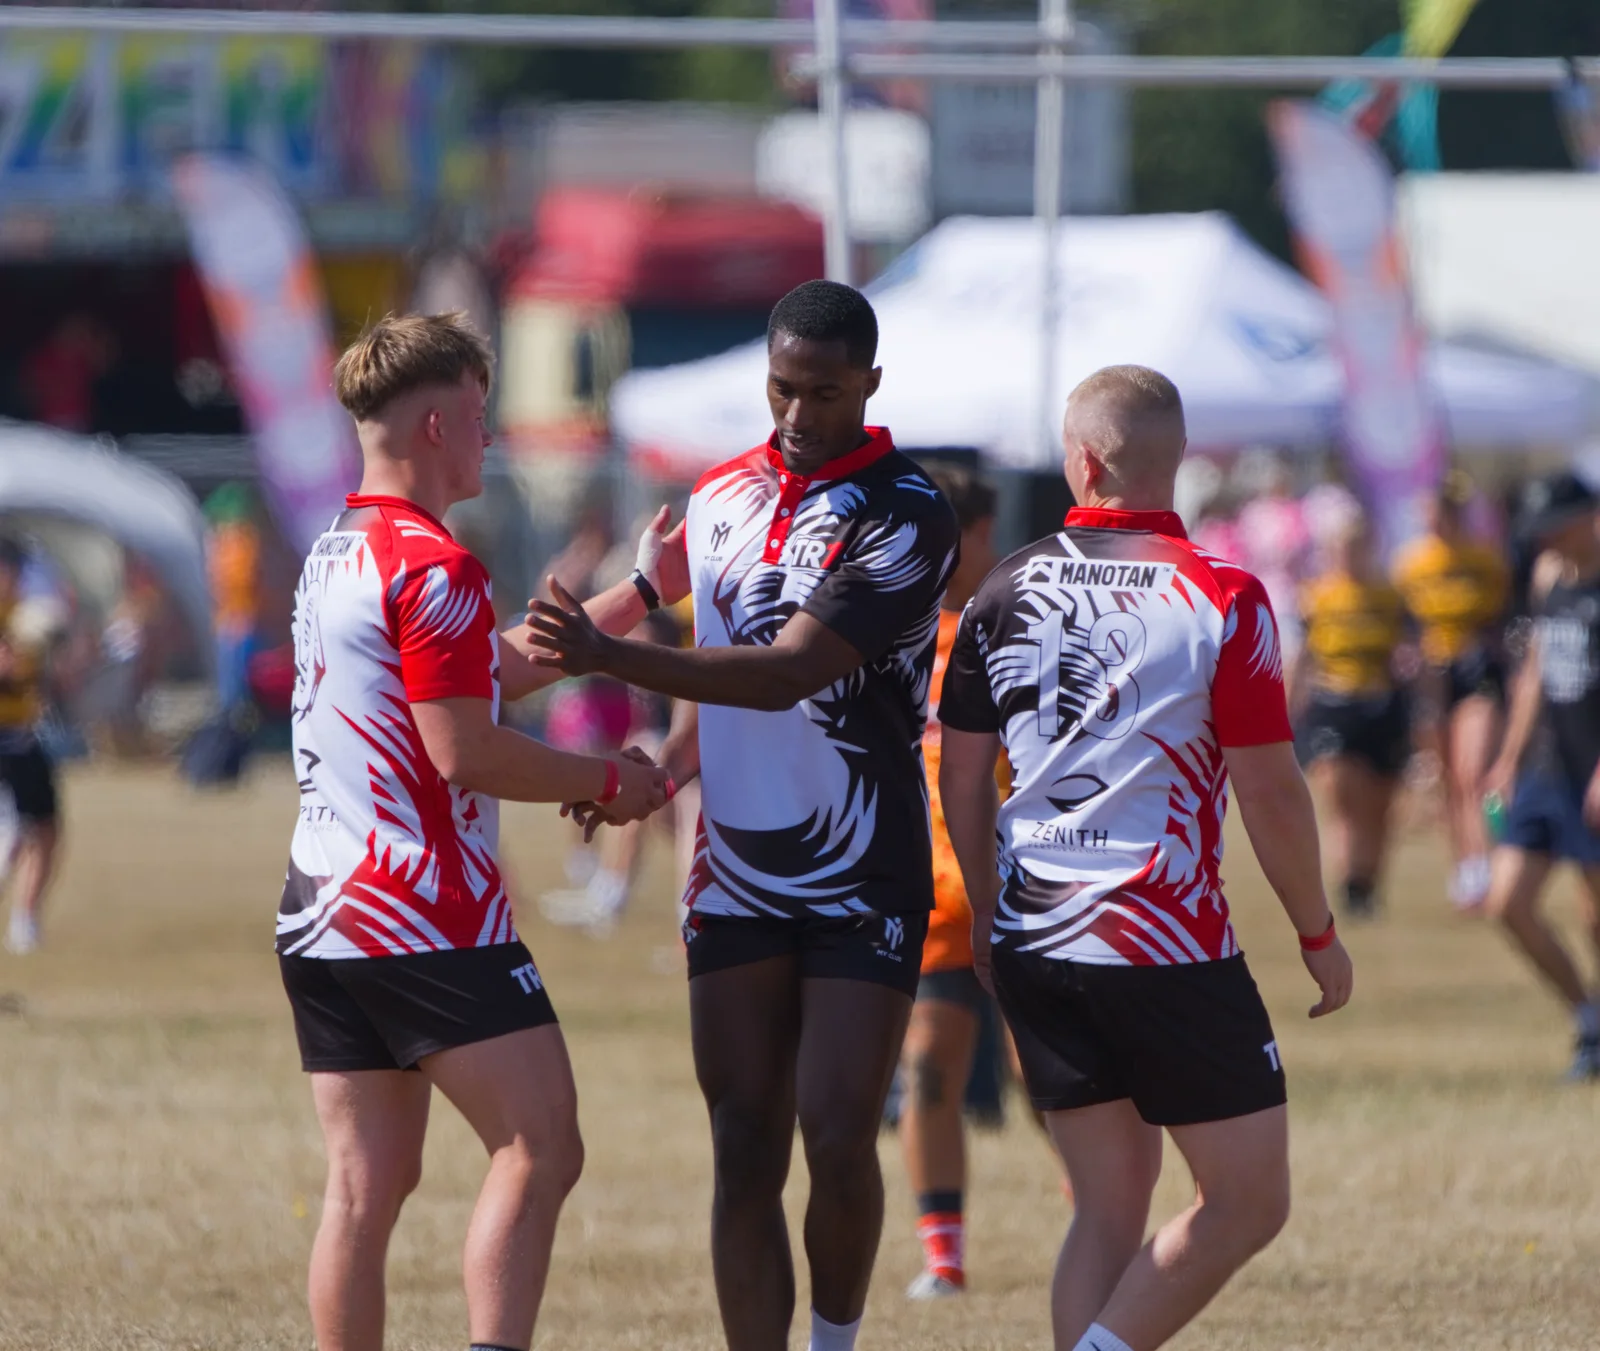
At The Camera Guys, we film sports, fitness and events across Suffolk, Essex and throughout the UK. Browse our portfolio to see more of our work.
Tell us the sport, venue, date and what you need from the finished video, and we'll help you work out the coverage.