
Time Lapse Video: How to Squash a Whole Day Into 10 Seconds (Properly)
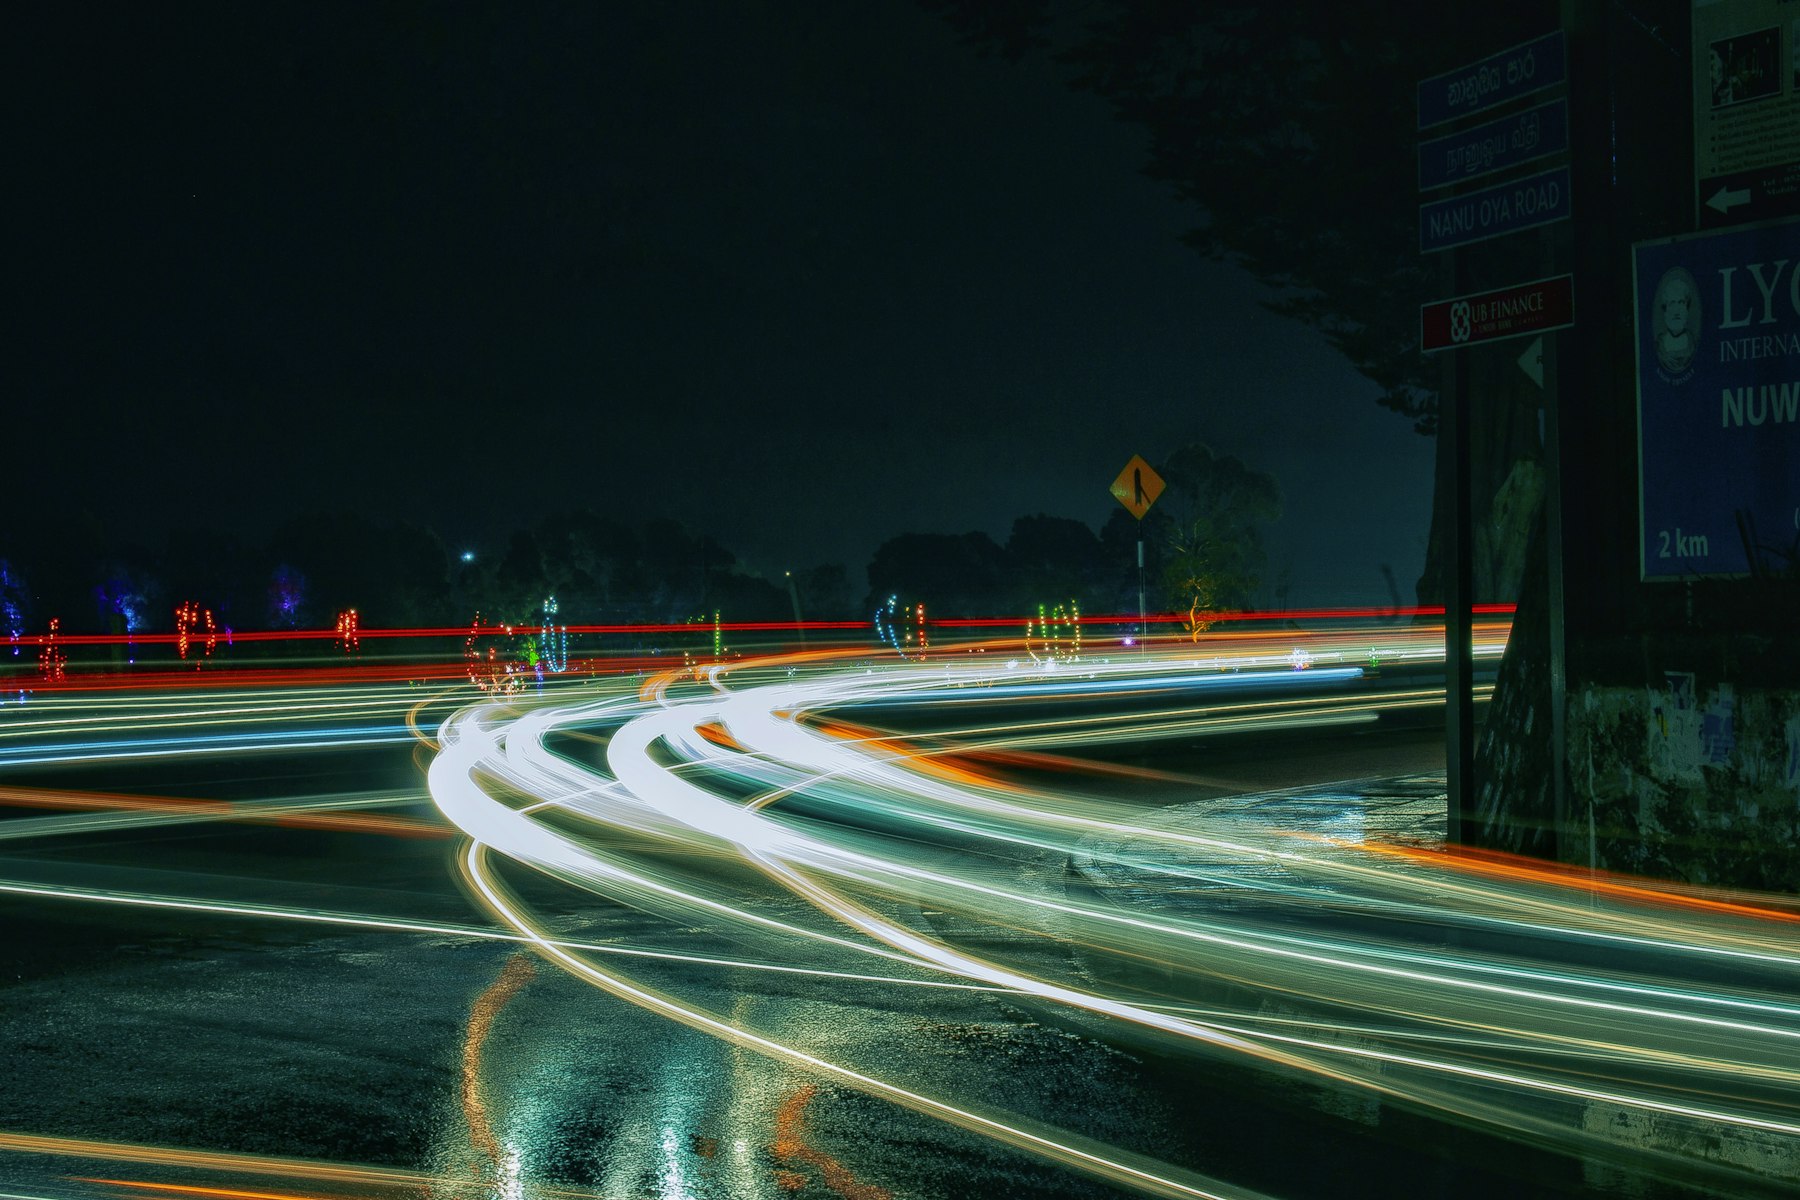
A time lapse squashes hours into seconds by taking one photo every few seconds or minutes, then playing those photos back as video. To turn a 10-hour day into 10 seconds of footage at 25 frames per second, you need 250 photos, which means one shot every 144 seconds (2 minutes 24 seconds). Lock the camera down, set the exposure manually, and let it run.
That’s the short version. The rest of this guide covers the maths, the settings and the small mistakes that turn a lovely timelapse into a flickery, wobbly mess.
How time lapse works
Normal video records 25 (or 24, 30, 50) frames every second. A time lapse records far fewer, spread out over a long period. When those frames are played back at normal speed, everything that happened slowly (clouds, tides, crowds, a building going up) appears to race along.
You’ll see the word spelled three ways: time lapse, time-lapse and timelapse. They all mean the same thing.

The time lapse maths: two formulas you need
Every time lapse plan comes down to two simple sums:
- Frames needed = length of finished clip (seconds) × playback frame rate (fps)
- Interval = length of the event ÷ frames needed
Work in seconds to keep it simple. One hour is 3,600 seconds, so a 10-hour day is 36,000 seconds.
Worked examples (25fps playback)
| What you’re filming | Event length | Finished clip | Frames needed | Interval |
|---|---|---|---|---|
| A full working day | 10 hours (36,000s) | 10 seconds | 10 × 25 = 250 | 36,000 ÷ 250 = 144s |
| A sunset | 1 hour (3,600s) | 10 seconds | 250 | 3,600 ÷ 250 = 14.4s |
| An event set-up or exhibition build | 2 hours (7,200s) | 10 seconds | 250 | 7,200 ÷ 250 = 28.8s |
| A night sky | 8 hours (28,800s) | 30 seconds | 30 × 25 = 750 | 28,800 ÷ 750 = 38.4s |
Round the interval to something your camera can set. If you round the sunset interval up to 15 seconds, you get 3,600 ÷ 15 = 240 frames, which plays back as 9.6 seconds at 25fps. Close enough, and you can always trim.
A tip from the edit suite: shoot a bit more than you think you need. Starting early and finishing late gives you room to choose the best 10 seconds rather than hoping the interesting bit landed exactly in the middle.
Rough intervals by subject
If you’d rather not do the sums, these starting points work for most subjects. Treat them as rules of thumb, not laws.
- Fast clouds, traffic, busy crowds: 1 to 3 seconds
- Slow clouds, sunsets, shadows moving: 5 to 15 seconds
- Stars and the night sky: roughly the exposure length plus a second or two
- Event or shop-fit builds: 15 to 60 seconds
- Construction sites over months: every few minutes during working hours
The shorter the interval, the smoother the motion. The longer the interval, the more jumpy and energetic it looks.
What kit do you need for a time lapse?
You don’t need anything exotic. You need something that can take photos at a set interval and something that will hold perfectly still.
- A camera with an interval timer. Many mirrorless and DSLR cameras have one built in. If yours doesn’t, an external intervalometer plugs into the remote port.
- A phone. The built-in time-lapse modes on modern phones are fine for social clips, but you get little control over the interval or exposure. Third-party apps give you more.
- A dedicated time lapse camera. For weeks or months outdoors, purpose-built, weatherproof units (such as Brinno’s construction range) are designed to run on their own for long periods.
- A solid tripod or clamp. Any movement between frames shows up as a shake. Hang your bag from the tripod hook if it’s windy.
- Power and storage. A long timelapse can outlast a single battery. Use a dummy battery and mains or USB power where you can, and a card with plenty of space.
- An ND filter. Useful in daylight so you can use a slower shutter speed (more on that below).
Camera settings for a smooth time lapse
The single biggest cause of bad time lapses is letting the camera make decisions. Automatic settings change slightly from frame to frame, and when you play those frames back fast, the changes show up as flicker.
- Manual exposure. Fix the aperture, shutter speed and ISO.
- Manual focus. Focus once, then switch to manual so the lens doesn’t hunt between shots.
- Fixed white balance. Auto white balance shifts colour from frame to frame. Pick a preset such as daylight.
- Shoot RAW if you can. It gives you far more room to fix exposure and colour later. It also fills cards quickly: at around 25MB a file, 250 frames is roughly 6.25GB.
- Turn off image stabilisation on a tripod. Some systems can drift slightly when there’s nothing to correct.
- Consider the electronic shutter. A long time lapse can mean thousands of shots. An electronic or silent shutter saves wear on the mechanical one, though fast-moving subjects can show distortion.
Shutter speed and motion blur
A frozen, sharp frame every few seconds can look jittery when played back. A little motion blur makes movement look smoother. A good starting point is a shutter speed of around half your interval: with a 2-second interval, try a 1-second exposure. In daylight that needs an ND filter, or the image will be massively overexposed.
The exposure always has to be shorter than the interval, with a moment to spare for the camera to save the file.
The day-to-night problem
A time lapse that runs from daylight into darkness is the hardest kind. Locked manual settings that work at noon will give you black frames by dusk. Timelapse photographers call smoothing this transition the “holy grail”.
The usual approaches are:
- Changing the shutter speed in small steps by hand as the light drops, then smoothing the jumps in editing software.
- Using a camera mode or app built for gradual exposure changes during a time lapse.
- Shooting in aperture priority as a last resort, and accepting you’ll need deflickering in post.
For a first attempt, pick a scene where the light stays fairly even, such as an overcast afternoon or an indoor event set-up.
Shooting video and speeding it up instead
You can record normal video and speed it up in the edit. For short events (under an hour or so) this works well and gives you natural motion blur. For a whole day it’s a poor choice: 10 hours of video sped up to 10 seconds means running it 3,600 times faster, which wastes huge amounts of storage and battery for 250 frames you’ll actually use.
Hyperlapse is a related technique where the camera moves a set distance between frames. It’s lovely when done well and very hard to get steady, so master the static time lapse first.
Putting the frames together
Once you’ve shot your frames, most editing software can import a numbered image sequence as a single clip. Set the sequence frame rate to match your project (25fps is standard for UK video), then:
- Batch-edit the RAW files first so every frame has the same colour and exposure adjustments.
- Run a deflicker tool if you see brightness pulsing.
- Crop in slightly if you shot at a higher resolution than your project. A 24-megapixel still is far larger than a 4K frame, so you can add a slow digital push-in.
- Add sound. A silent time lapse feels oddly empty; music or a subtle ambient track helps a lot.
Long-term time lapse: construction and big projects
Filming a building go up over months is a different job. You’re no longer worried about a single afternoon but about power, weather, security and data for weeks at a time.
A quick example of the planning: a camera taking one frame every 10 minutes for 10 working hours a day gives you 60 frames a day. Over 130 working days (roughly six months of weekdays), that’s 7,800 frames, or 312 seconds at 25fps. That’s over five minutes, so you’d edit it down, drop rainy or idle days, and keep the moments where the build visibly changes.
Also think about privacy. If the camera can see neighbouring homes, a public road or workers’ faces, you are recording people. The Information Commissioner’s Office (ICO) publishes guidance on video surveillance that’s worth reading before you install a site camera.
Need a time lapse filmed for you?
A phone and a tripod will get you a lovely sunset. For a time lapse that has to run for months, survive the weather and become a polished film at the end, it’s worth talking to a production team. Our construction progress time lapse service starts with a site assessment (mounting, power, weather, access and security) before any camera goes up, and our video editing team can turn thousands of frames into something worth sharing. If you’d rather shoot it yourself, we also offer camera kit hire. See our pricing or get in touch to talk it through.
Frequently asked questions
How many photos do I need for a 10-second time lapse?
At 25fps you need 250 photos (10 × 25). At 24fps it’s 240, and at 30fps it’s 300.
What interval should I use for a time lapse?
Divide the length of the event in seconds by the number of frames you need. For a 1-hour sunset turned into 10 seconds at 25fps, that’s 3,600 ÷ 250 = 14.4 seconds, so 14 or 15 seconds works.
Why does my timelapse flicker?
Usually because exposure, white balance or focus changed between frames. Switch everything to manual. If it’s already shot, a deflicker tool in your editing software can help.
Can I make a time lapse on my phone?
Yes. Most phones have a time-lapse mode that’s fine for social media. Put the phone on a tripod or a steady surface, keep it plugged in for longer shoots, and avoid touching it once it’s running.
What is the best time lapse camera for a building site?
For months-long projects, a dedicated weatherproof time lapse camera with long battery life or external power is usually the practical choice. For a single day, a standard camera with an interval timer gives better image quality.