
01 / START WITH THE BOX
The packaging was
the creative brief.
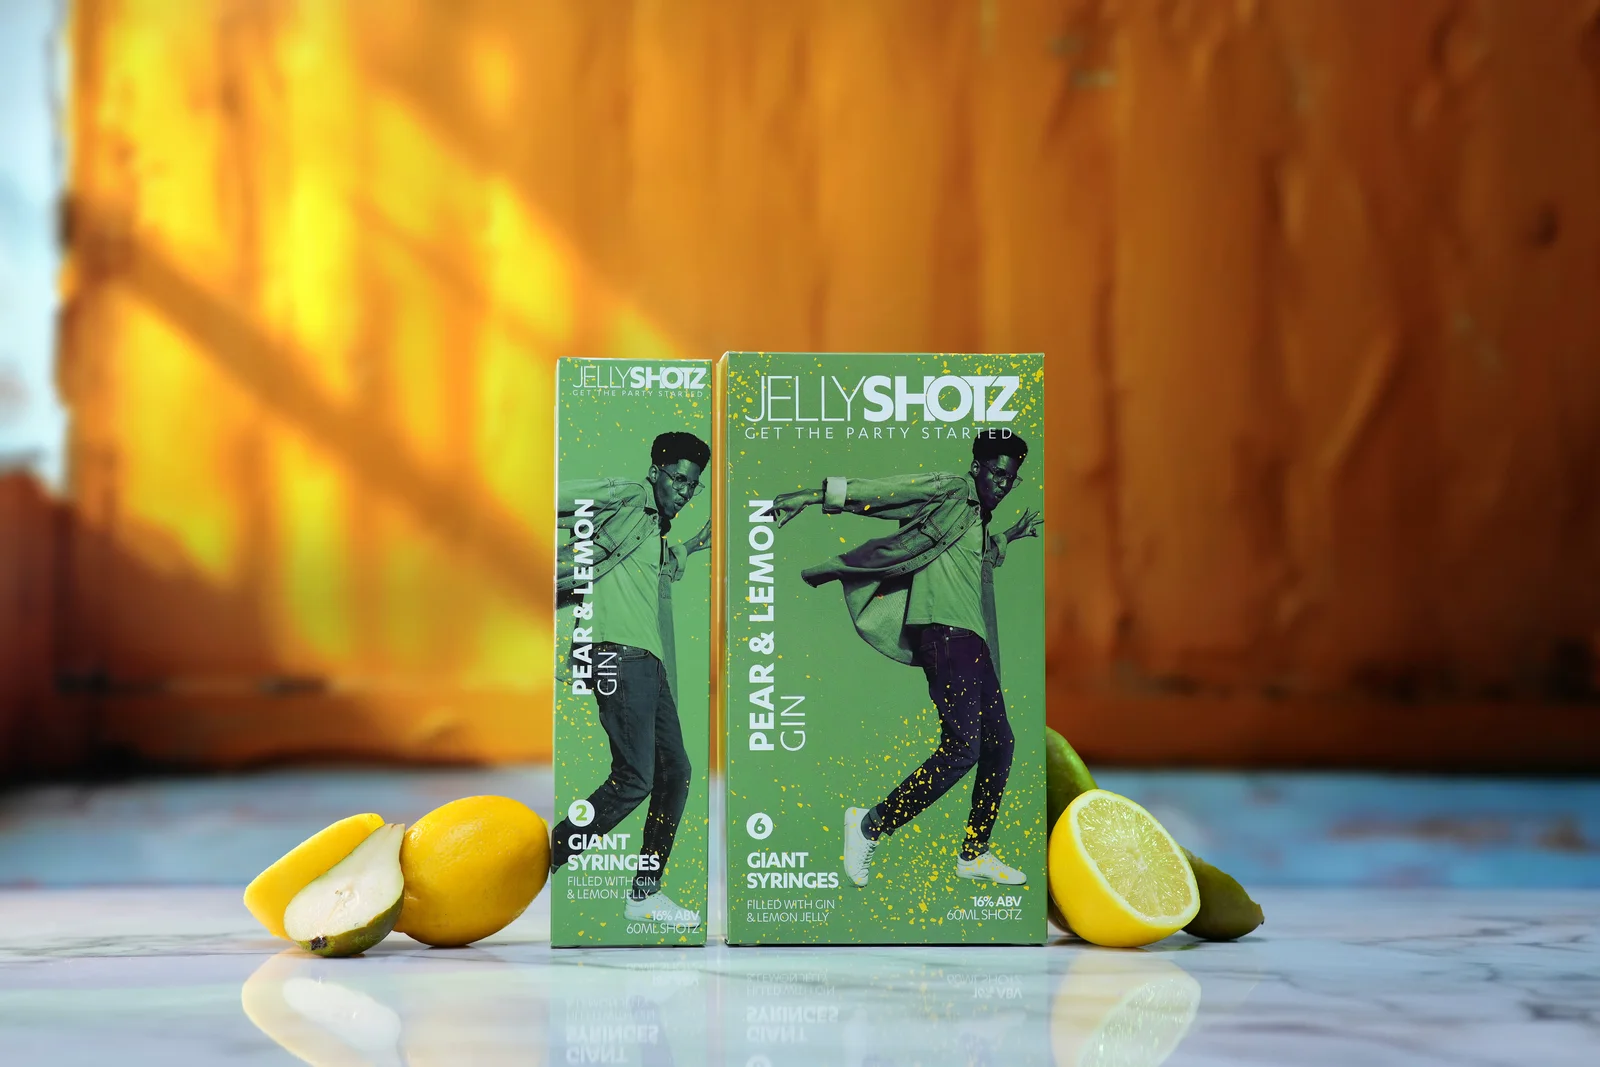
Before choosing a backdrop, we looked at what each flavour was already saying.
Jellyshotz came with a ready-made cast of characters: brightly coloured boxes, bold illustrations and flavours that suggested fruit, summer, music and nightlife. Our job was to translate those cues into photographs, giving each product a setting of its own while keeping a recognisable family resemblance across the range.
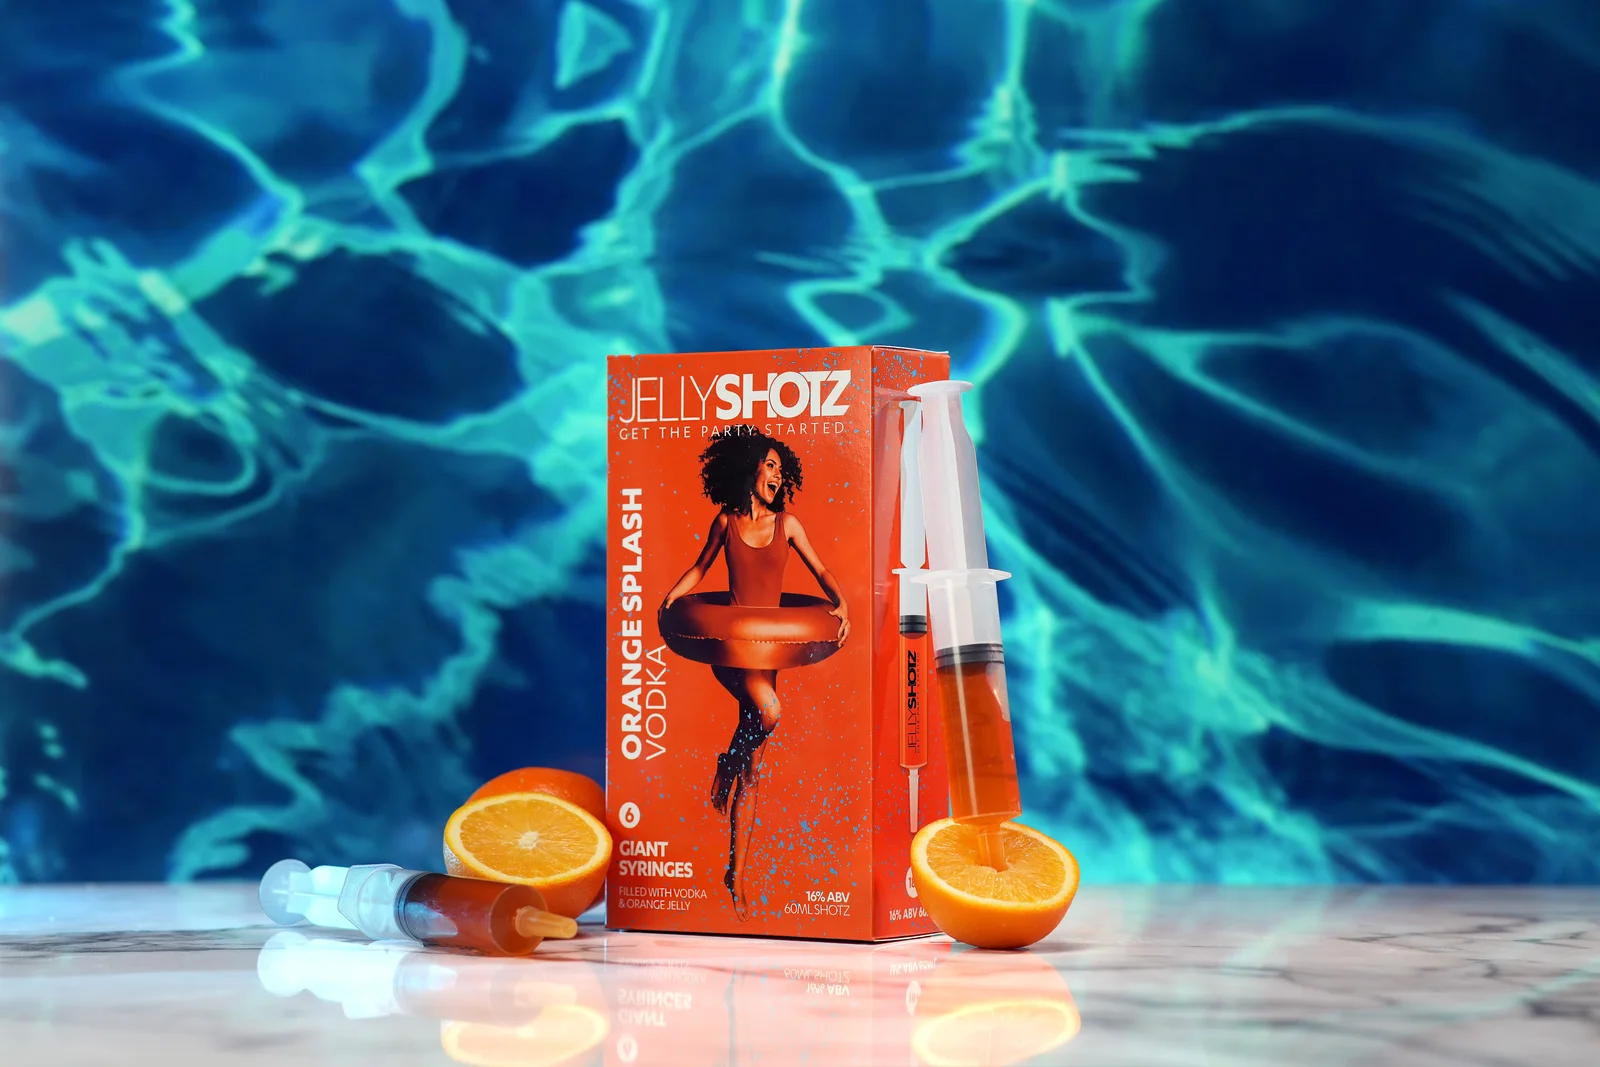
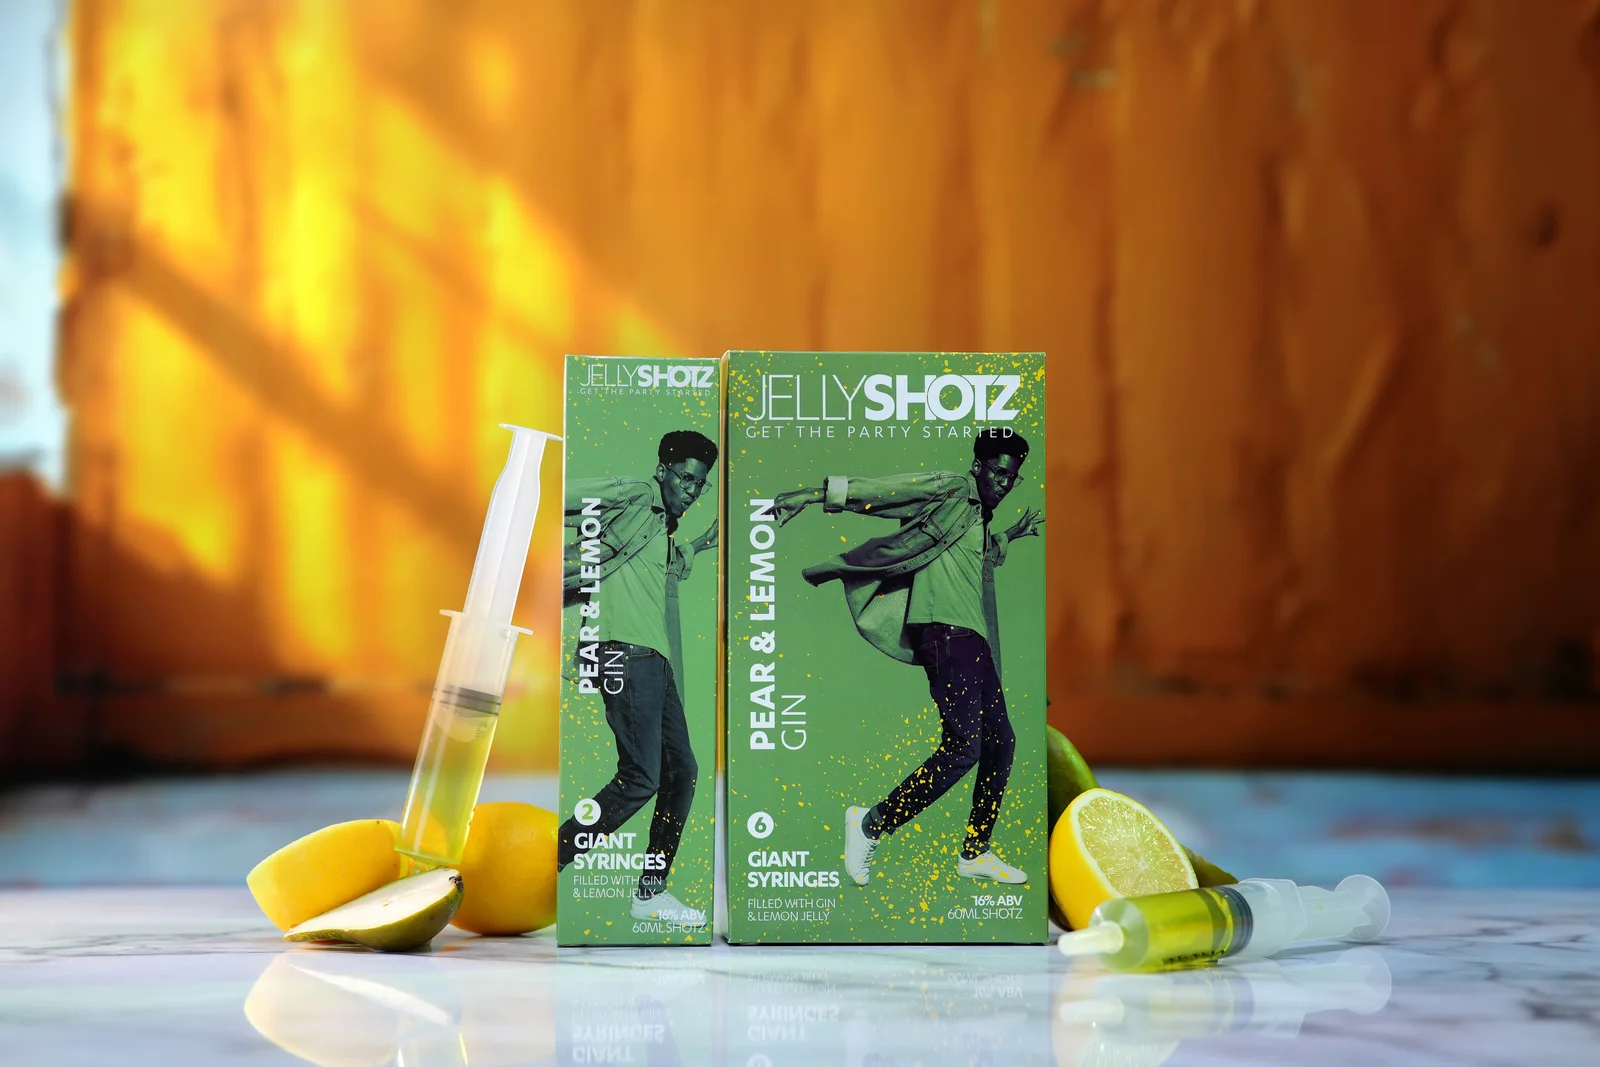
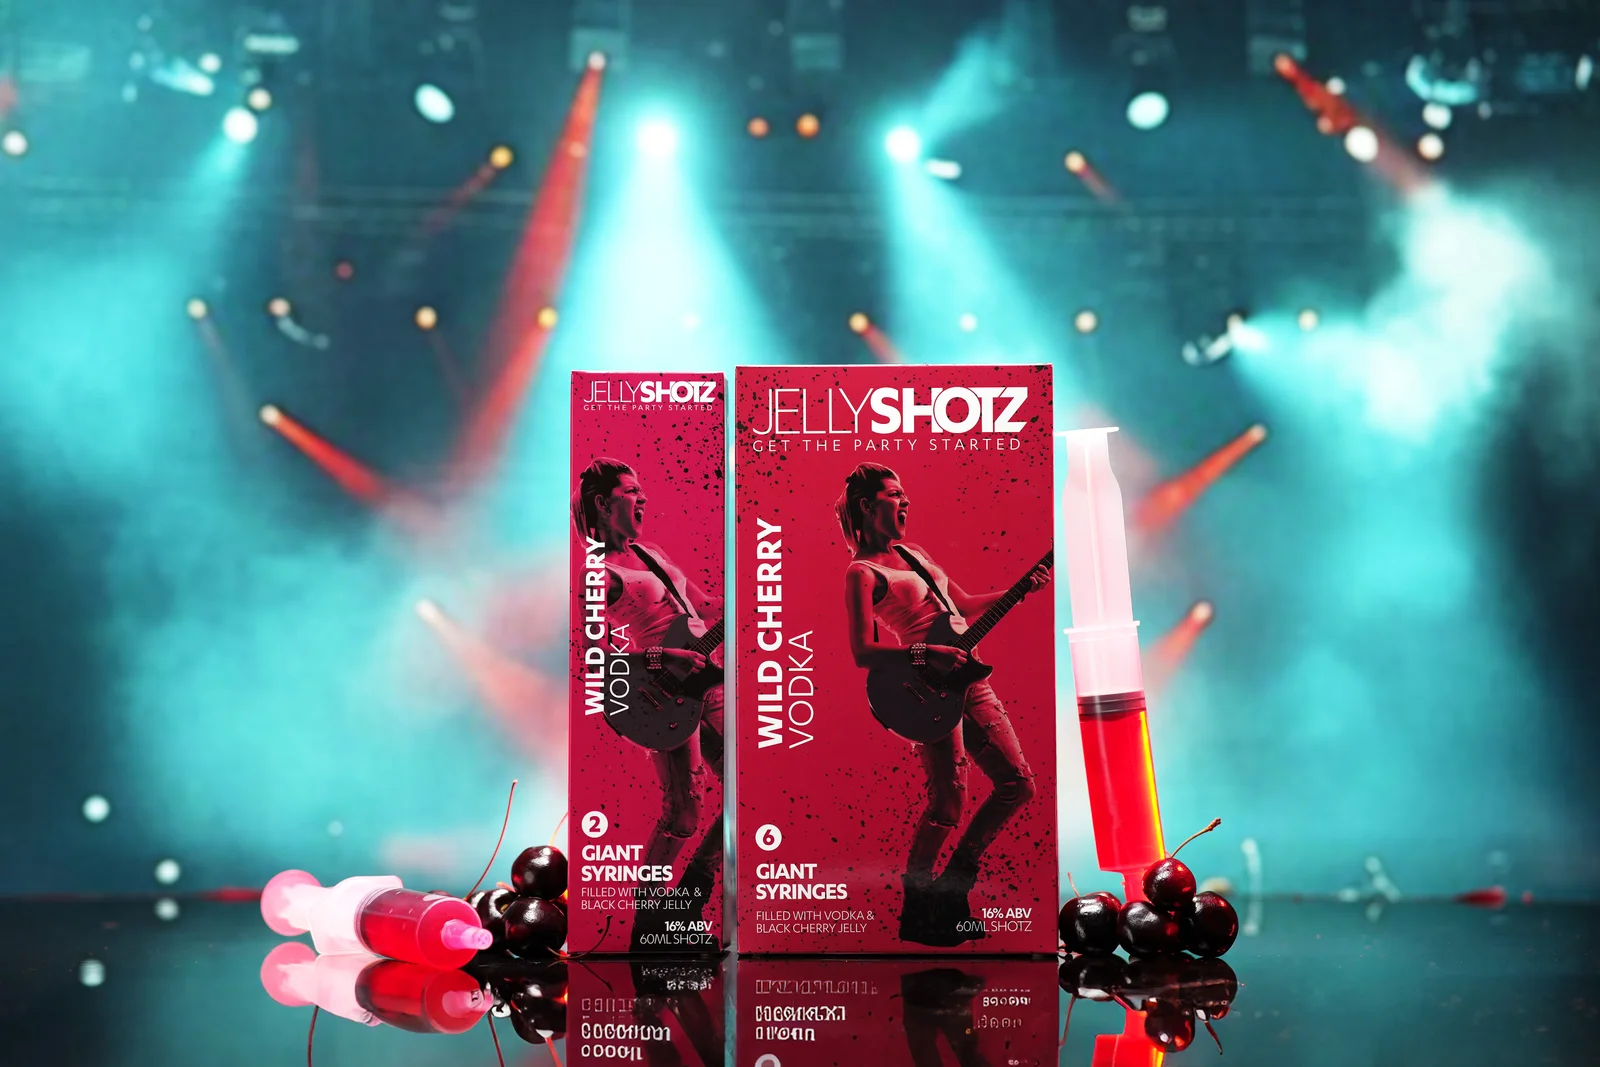
For Orange Splash, orange packaging and fruit met blue swimming-pool water. Pear & Lemon called for warmer yellow tones and a sunlit feeling. Wild Cherry took its lead from the illustrated guitarist, with a stage-like scene and coloured lights. The background was part of the product’s story, chosen to support the box rather than compete with it.
This is the part of creative product photography that happens before the camera settings: deciding what the image should communicate, then making the set serve that decision.
02 / THE SCREEN-BASED SET
A digital world.
A physical photograph.
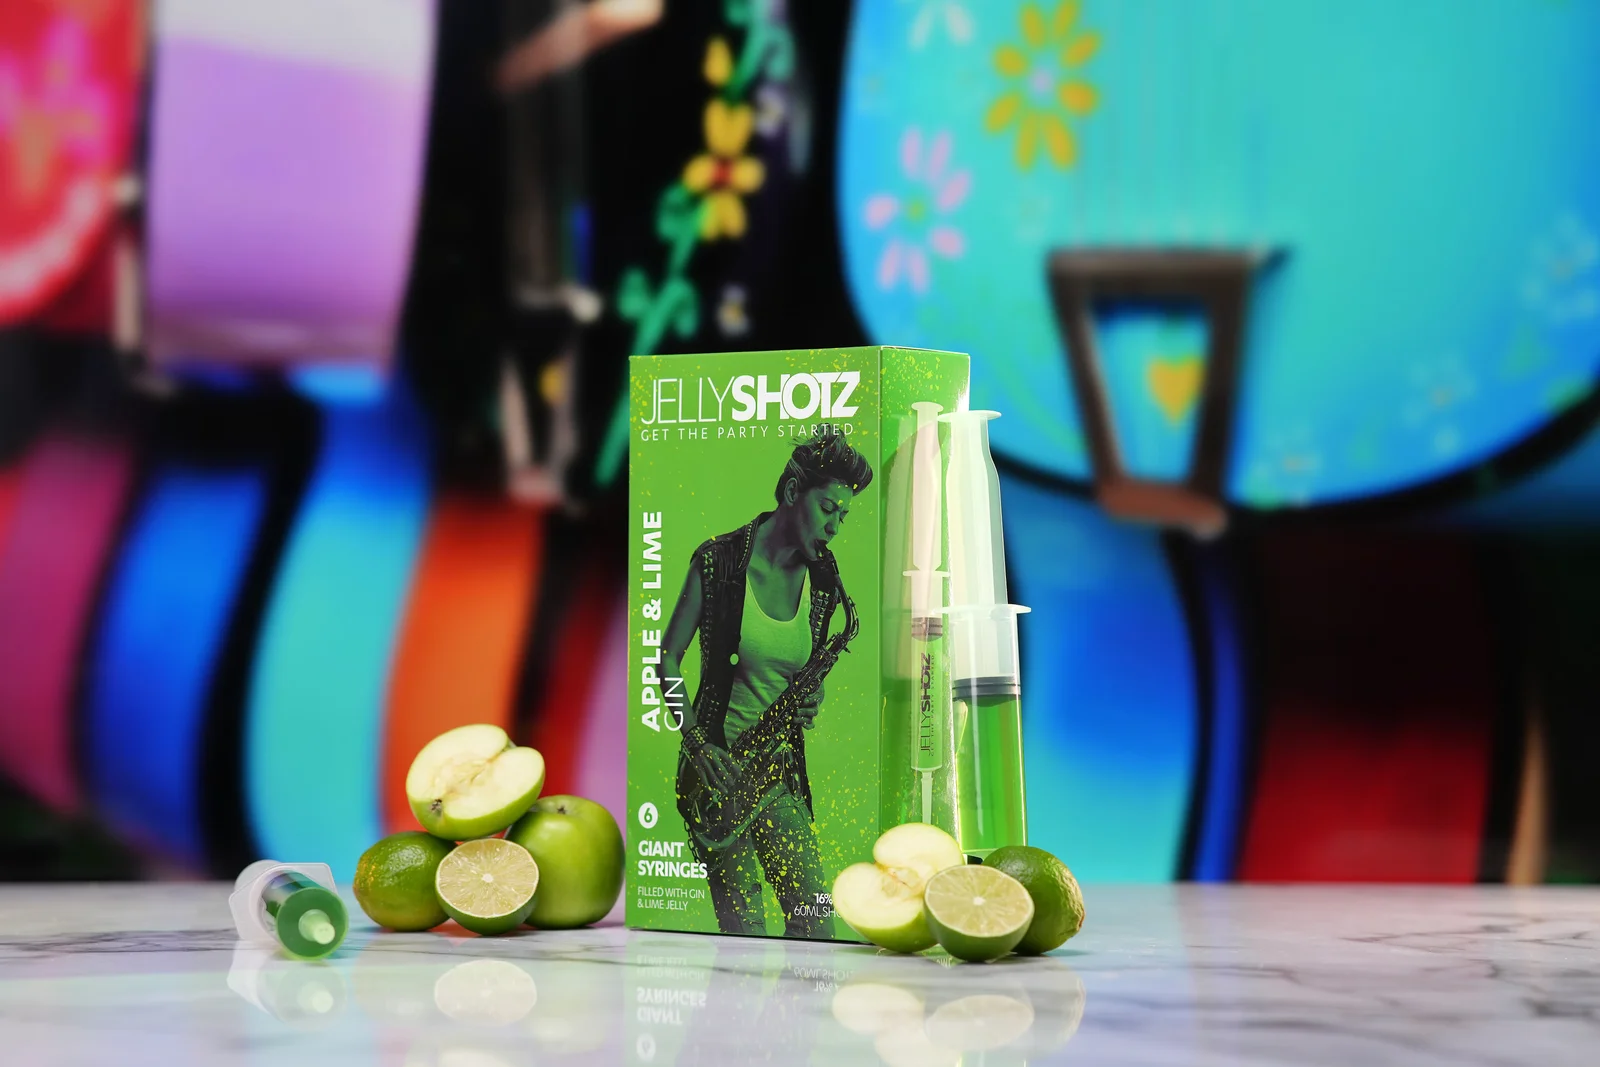
The backgrounds began in MidJourney. We then worked on them in Photoshop, refining their composition, colour and details before displaying them on a 70-inch OLED television.
The product itself remained real. We arranged the actual boxes, syringes and fruit on the surface in front of the screen and photographed them together. Studio lighting brought out the colour in the jelly and created separation between the foreground and the displayed scene.
The distinction matters. A generated background gave us an environment to work with; it did not remove the need to arrange the props, light the packaging or find a camera angle that made the whole scene convincing.
Design the scene
MidJourney concepts refined in Photoshop.
Display the backdrop
The finished scene on a 70-inch OLED television.
Light the foreground
Real products, fruit, props and studio lighting.
Finish the image
Retouching, colour work and the reflection treatment.
A simplified explanation of the still-photography workflow. The black-cloth video set shown later is a separate setup.
03 / WHAT HAPPENED AFTER THE SHUTTER
That polished reflection?
We added it in post.
The reflections in the main product photographs were part of the finishing process. They were not simply what the camera saw on the kitchen counter.
That gave us another way to bring the product arrangements together. The box, fruit and syringes could have a consistent reflected finish across different views, helping a large image collection feel deliberately designed.
It is useful to separate these stages when looking at the final work: the backdrop was developed digitally, the foreground was physically arranged and lit, and the reflection treatment was added afterwards. Each stage had a different job.
For anyone planning a similar shoot, the practical lesson is to decide what needs to be achieved on set and what belongs in the finishing process. That decision affects how the product is positioned, how much room the composition needs and which variations are worth capturing.
04 / CHANGE THE MOOD, KEEP THE METHOD
Make the light
belong to the scene.
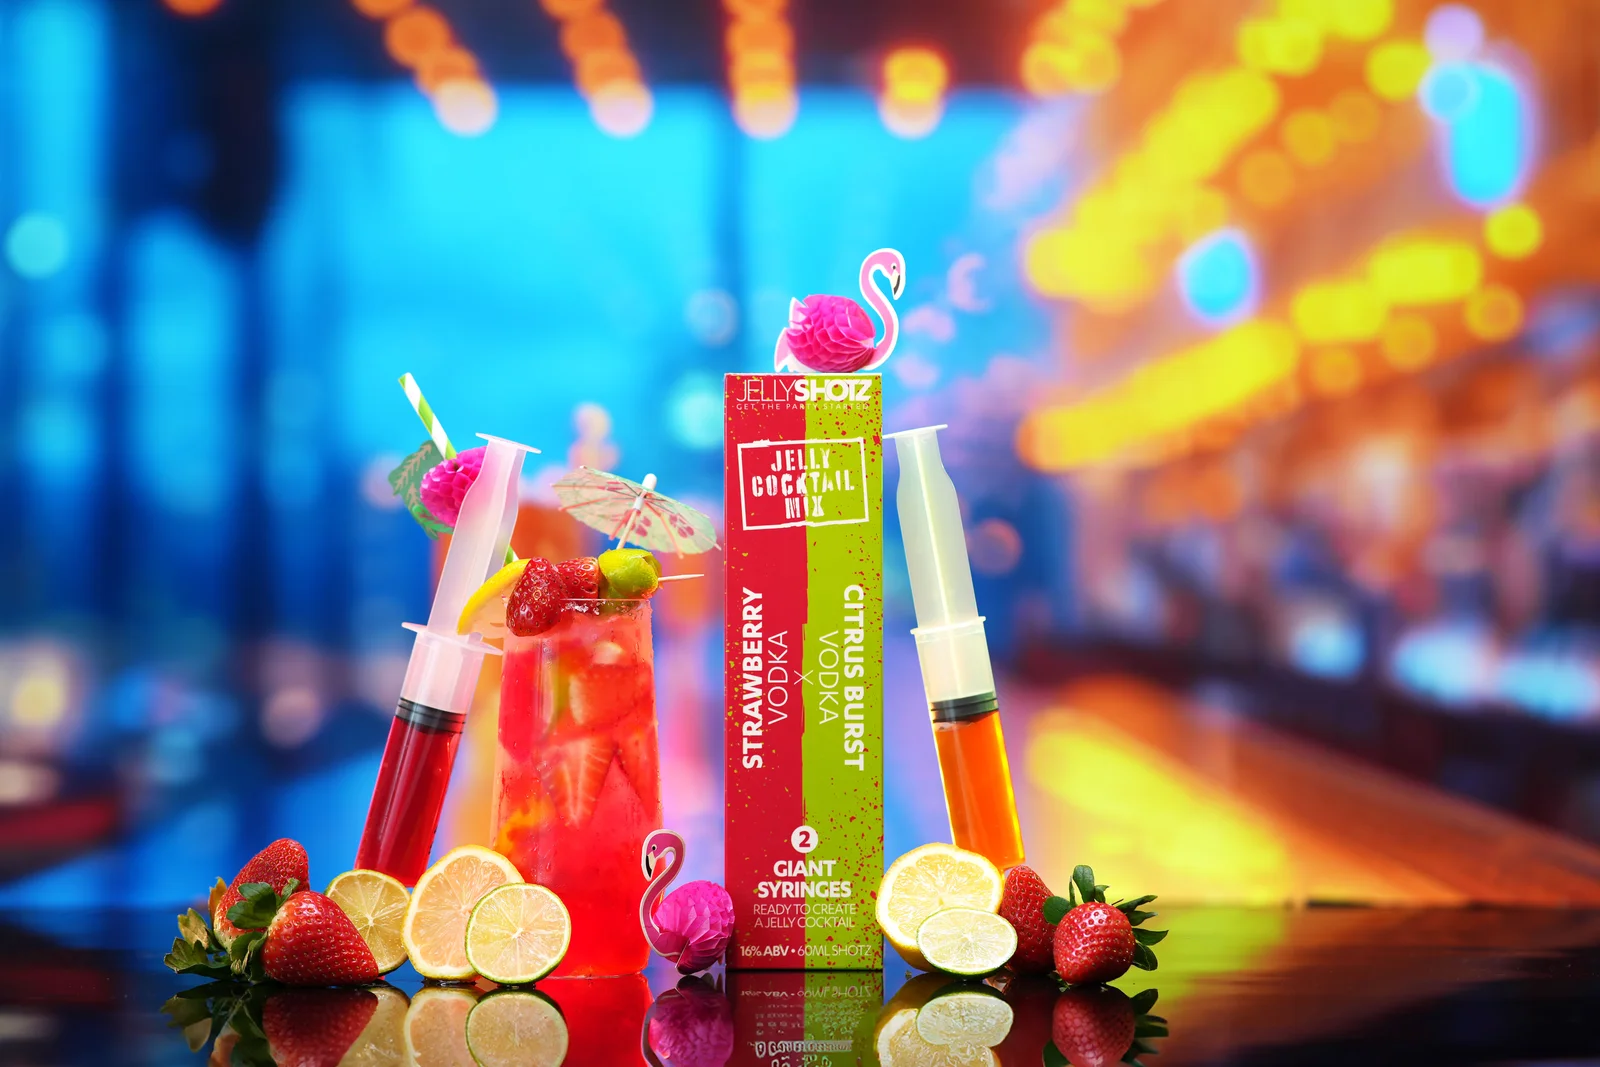
The cocktail photographs needed a different atmosphere from the main flavour collection. We built bar and club settings with saturated colour, soft background lights and reflective surfaces beneath the products.
RGB lighting extended the colours of the screen into the real set. That connection helped the foreground feel part of the environment: the colour behind the product was also present around it.
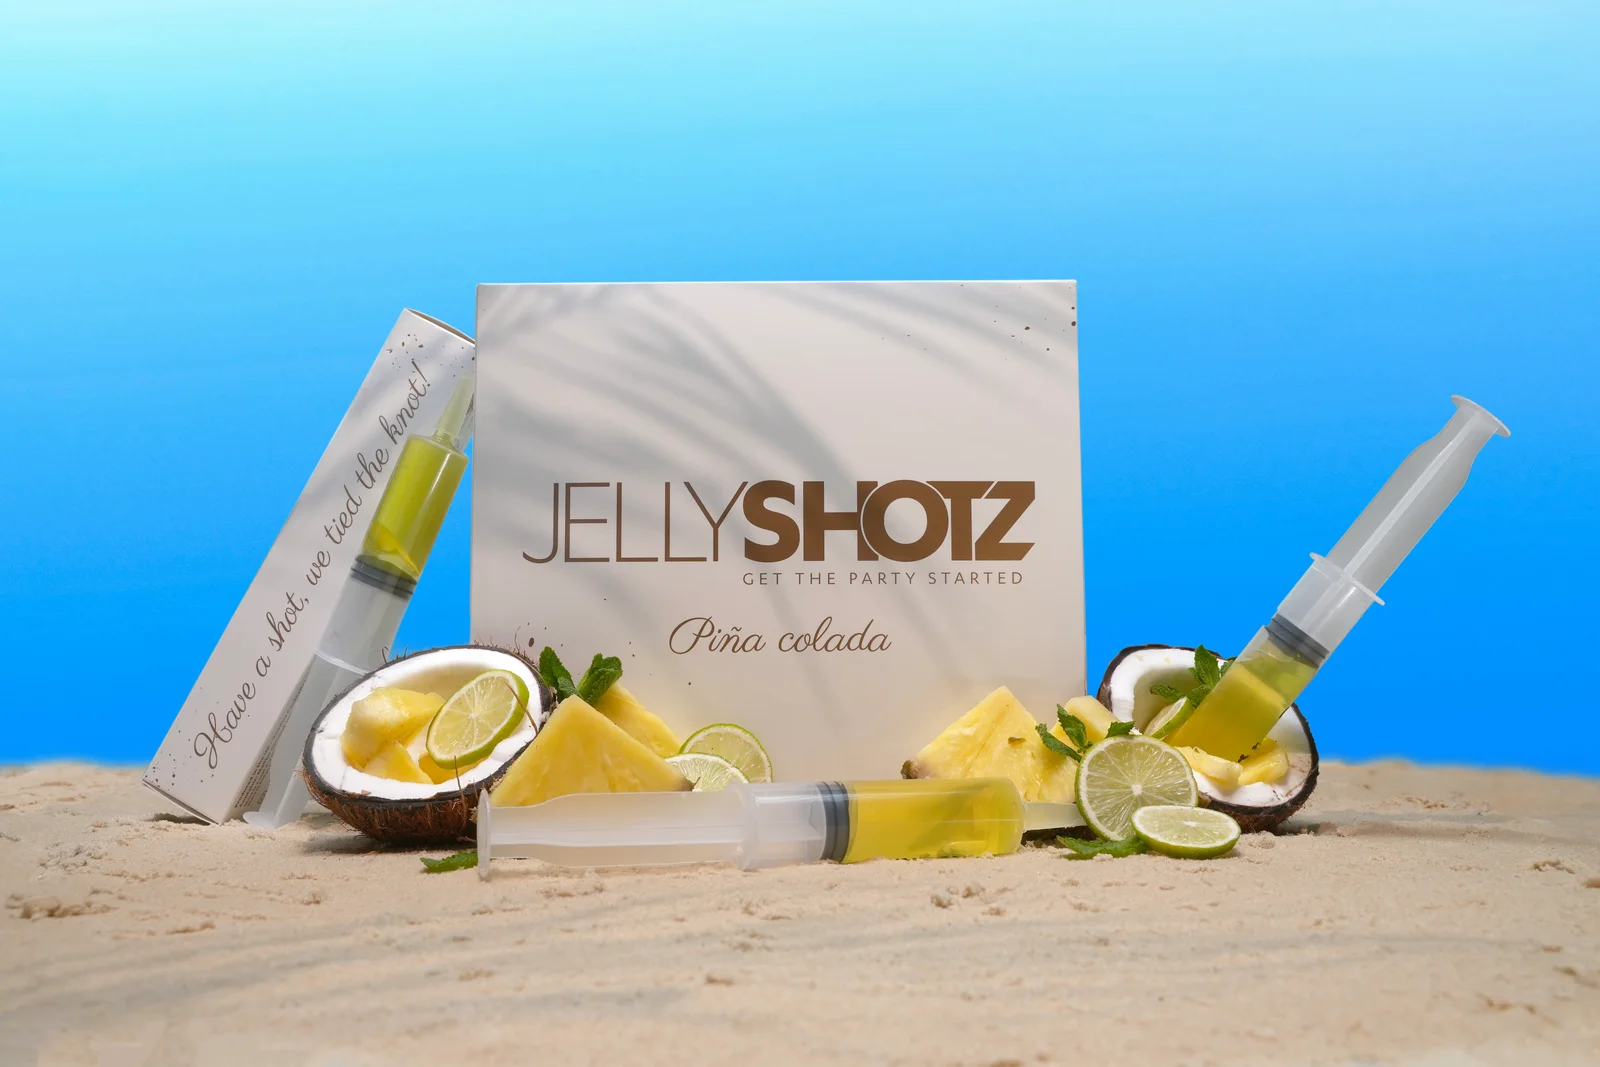
The wedding collection went in a lighter direction. White packs, brighter settings and a gentler palette created a different mood for Mojito, Margarita, Strawberry Daiquiri and Piña Colada. Keeping a consistent production approach did not mean giving every range the same personality.
05 / PLAN BEYOND THE HERO
One flavour.
Nine useful views.
A strong hero image is only one part of a product launch. Jellyshotz needed photographs that could present different pack sizes and combinations across its store and wider marketing.
For each core flavour, the brief covered three photographs of the six-syringe box, three of the two-syringe box, one standalone syringe arrangement and two compositions with both packs together. That meant at least nine images per flavour, before any additional variations.
We also photographed the products separately from multiple angles against green-screen and white backgrounds. Those files gave the client elements that could be masked out for brochures and other branded layouts, alongside the fully styled scenes used in the store, Amazon listings and promotional materials.
The useful question at the planning stage is not just “What should the main image look like?” It is “What will the rest of the business need to do with these pictures?” Our commercial photography work often has to answer both.
06 / SAME KITCHEN, ANOTHER SETUP
The story behind
the room.
The kitchen was a practical response to a difficult situation. I was recovering from a broken leg and could not travel to a studio. Jellyshotz had a product launch and a deadline, so we brought the studio to me. I spent an entire month shooting dozens of products at home.
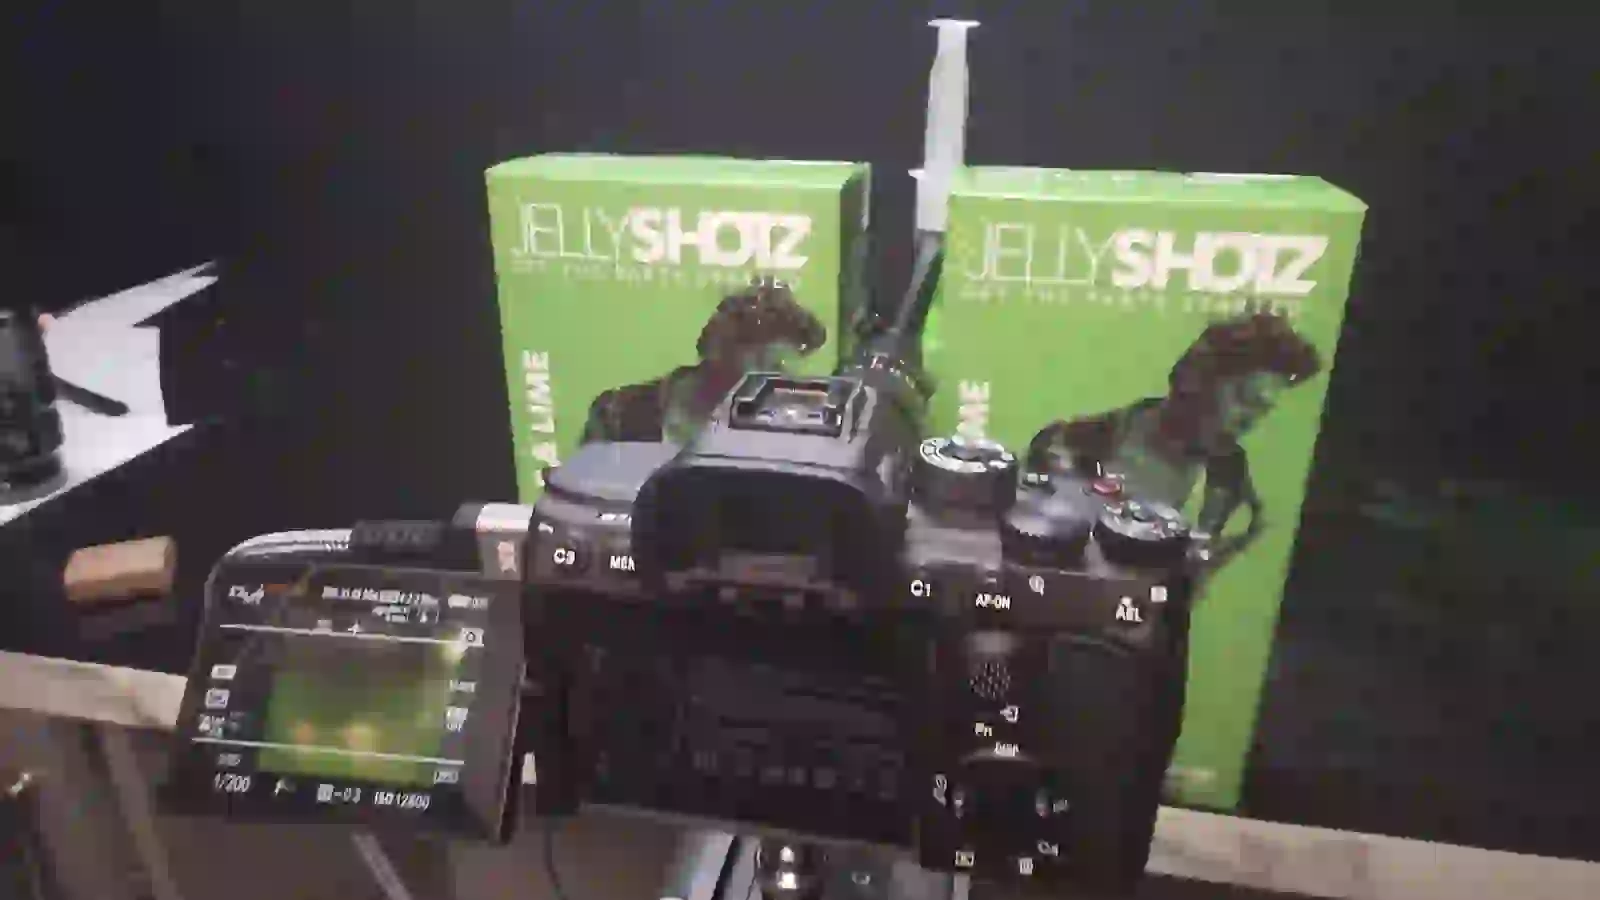
The phone footage below shows one of the video setups, with a turntable, Sony A7S III, Laowa 24mm probe lens, lighting, diffusion, negative fill and smoke. This setup used black cloth behind the products—not the OLED screen used for the styled photography above.
There is a separate story in how that room became a working production space. Read how we built the Jellyshotz product-video studio in my kitchen, with a closer look at the actual set.
Open the original BTS clip ↗
THE TAKEAWAY
Start with the image.
Build the world it needs.
The television was a useful tool. The art direction, real products and physical lighting made the photographs work.
A clear visual idea could carry through still images and product video production, with different techniques doing different jobs. That gave Jellyshotz a varied collection of assets while preserving the character of each range.
Explore the complete Jellyshotz photography and video case study for the selected flavour galleries, cocktail and wedding collections, films and festival work. If you are planning a new range, talk to us about the photographs and films your launch needs.