
How to Check Hard Drive Health Before It Takes Your Photos With It
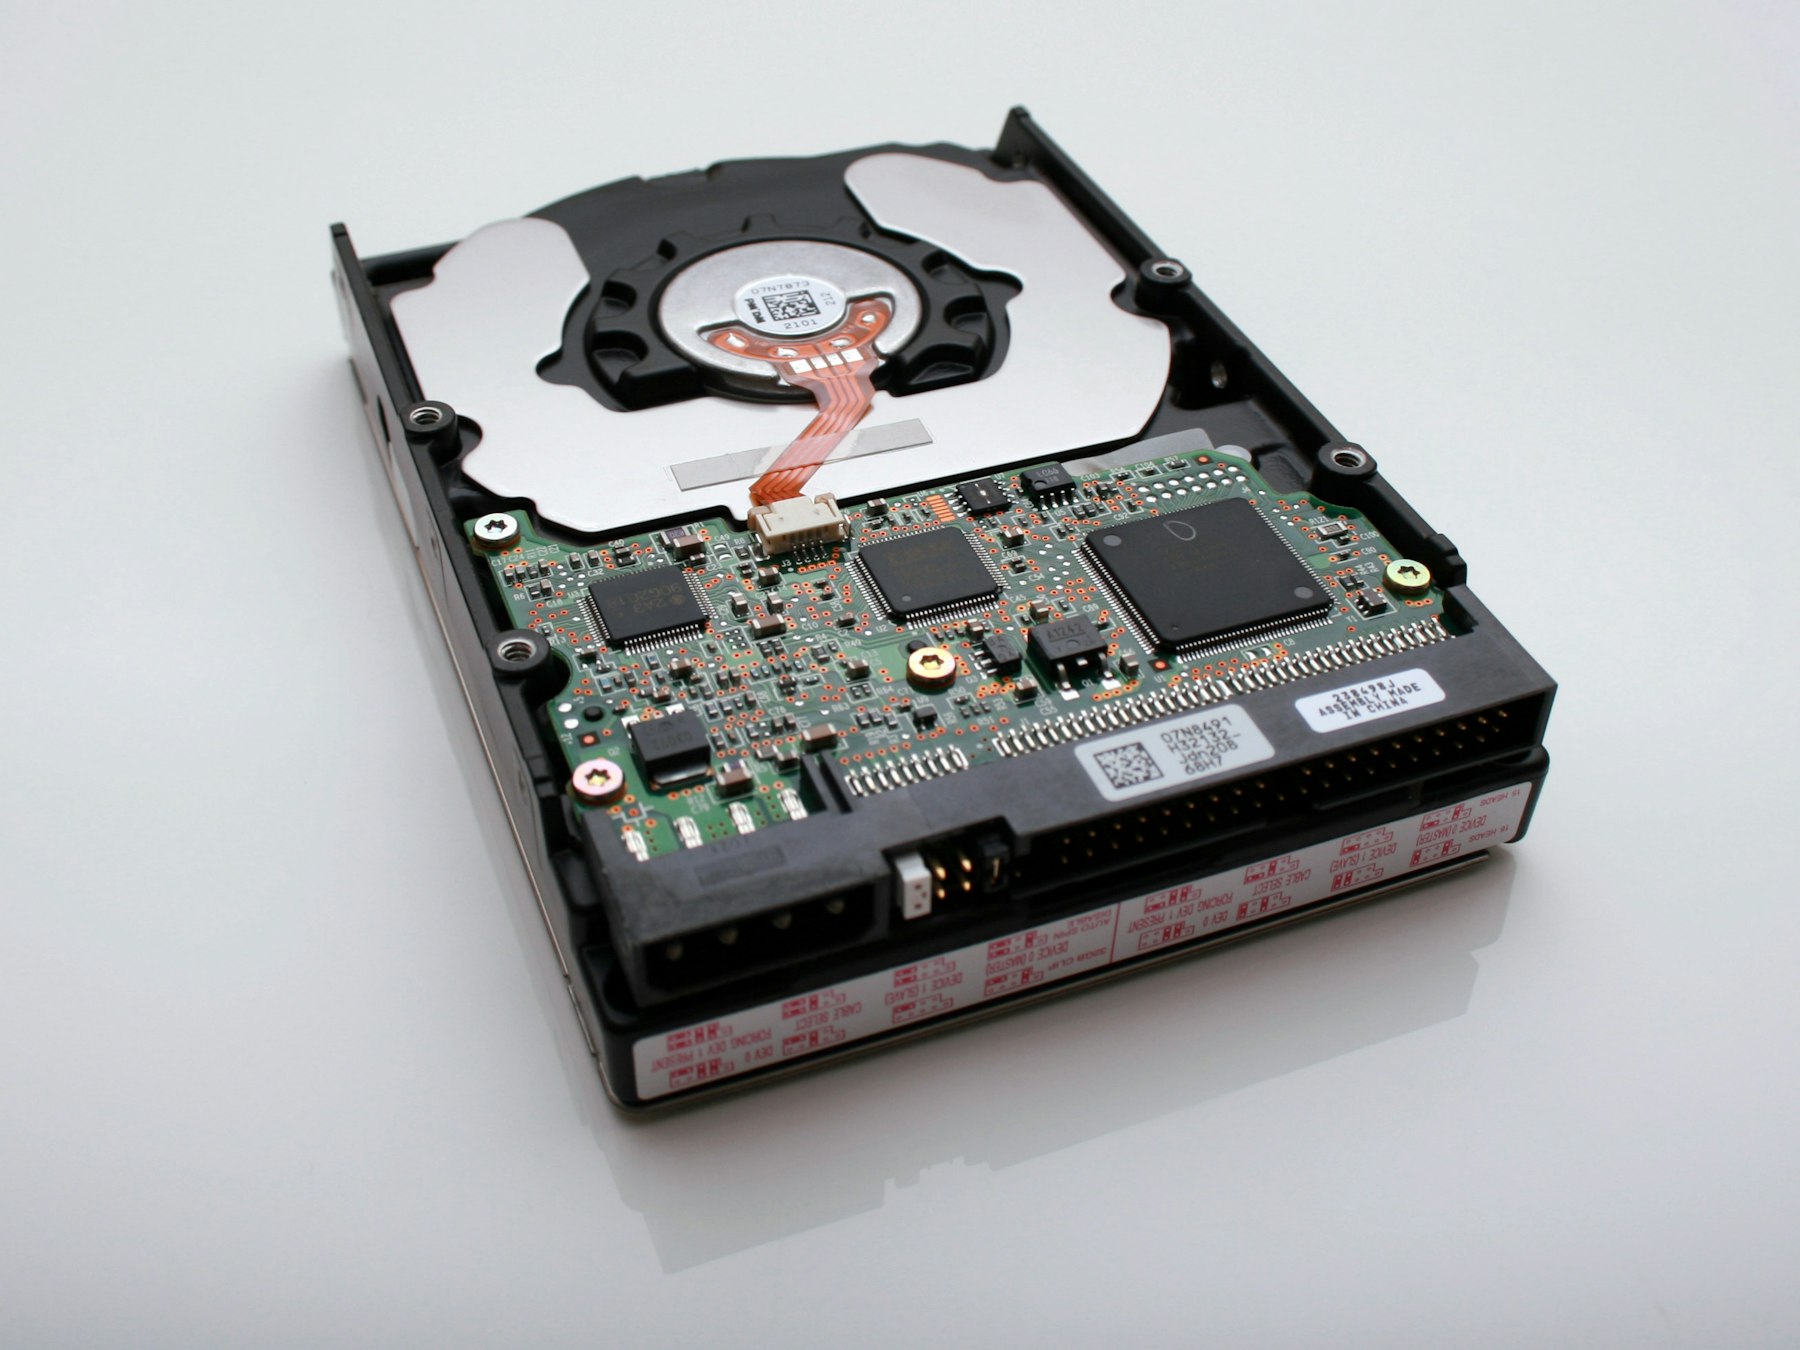
The quickest way to check hard drive health is to read the drive’s SMART status: use a free tool such as CrystalDiskInfo on Windows, or System Information and Disk Utility on a Mac, and act straight away on anything other than “Good” or “Verified”. If a drive is clicking, freezing or disappearing, stop checking and copy your files off first. This guide covers how to check hard drive health properly, what the results mean, and what to do when a drive starts to fail.
We handle a lot of footage and photos in our edit suite, so drive health is something we think about every day. These are the same checks we’d suggest to anyone with years of family photos or business files sitting on one ageing drive.
Back up before you test anything
This sounds backwards, but it matters. Some checks read every part of the disk, which puts a weak drive under real strain. If a drive is already on its way out, a long scan can be the thing that finishes it. So before you run any test:
- Copy your most important folders (photos, videos, documents) to a second drive or a cloud service.
- Start with what you can’t replace. Wedding photos and old family videos come before your downloads folder.
- Check the copy opens properly. A backup you’ve never opened isn’t really a backup.
Apple’s own guidance on repairing a disk starts with the same advice: make sure you have a current backup before you begin.
What is SMART, and why does it matter?
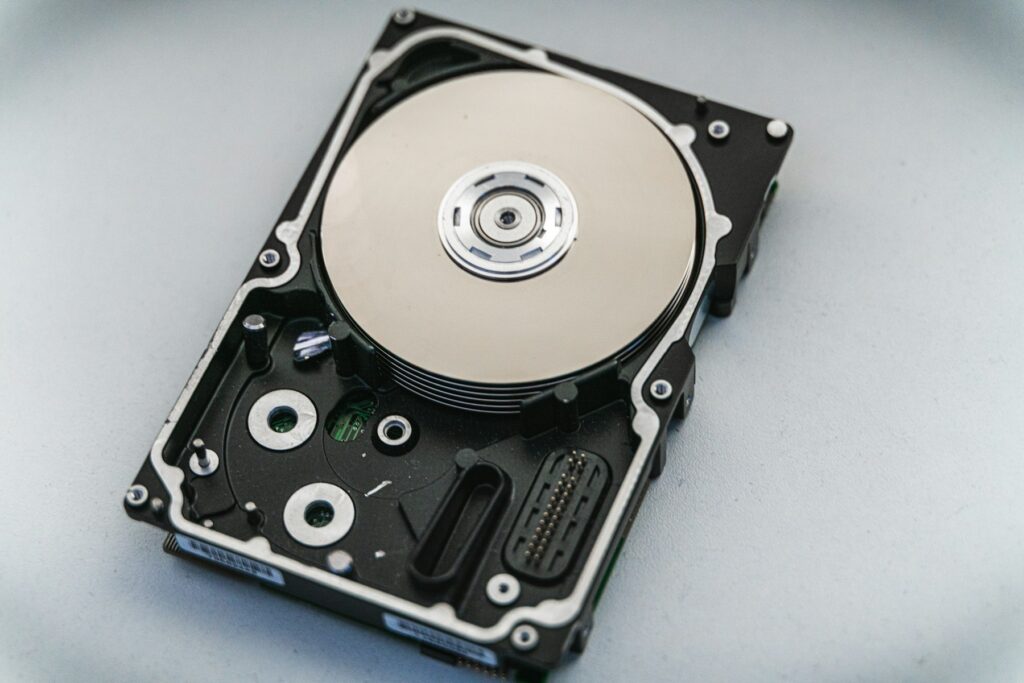
SMART (Self-Monitoring, Analysis and Reporting Technology) is a set of health records that most internal hard drives and SSDs keep about themselves. The drive logs things like how many damaged areas it has found, how often it has struggled to read data, its temperature and, on SSDs, how much of its rated life has been used.
The tools below simply read those records and turn them into a plain verdict. The ones to watch most closely on a traditional spinning hard drive are:
- Reallocated sectors count: areas of the disk that went bad and were swapped for spare ones.
- Current pending sector count: areas the drive is struggling to read and hasn’t yet dealt with.
- Uncorrectable sector count: areas where data couldn’t be recovered.
These are exactly the three attributes CrystalDiskInfo’s developer lists as triggering a “Caution” warning on hard drives. A number that is above zero and rising is a drive asking to be replaced.
How to check hard drive health on Windows
Windows has some built-in options, but the clearest picture comes from a free third-party tool.
Option 1: CrystalDiskInfo (recommended)
- Download CrystalDiskInfo from its developer’s site, Crystal Dew World (crystalmark.info). Be careful with lookalike download sites.
- Install and open it. Each connected drive appears as a tab along the top.
- Look at the Health Status box on the left.
- Check the temperature and, for SSDs, the remaining life percentage shown in the same box.
The colour-coded result is easy to read:
| Status | What it means | What to do |
|---|---|---|
| Good (blue) | No warning thresholds have been crossed | Keep backing up as normal and check again every few months |
| Caution (yellow) | On a hard drive, damaged or unreadable sectors have appeared; on an SSD, remaining life is 10% or less | Back up now and plan to replace the drive |
| Bad (red) | The drive is reporting a serious problem, such as a value past the manufacturer’s threshold | Copy off what you need immediately and stop using it |
| Unknown (grey) | The tool can’t read SMART data, common with some USB enclosures | Try connecting the drive internally or via a different adapter |
Option 2: Windows 11 Settings (NVMe SSDs)
Windows 11 can show a basic health report for NVMe SSDs. Go to Settings > System > Storage > Advanced storage settings > Disks & volumes, select the drive and click Properties. Under Drive health you’ll see estimated remaining life, available spare and temperature. If there’s no drive health section, your drive isn’t supported, which is normal for spinning hard drives.
Option 3: PowerShell
For a quick yes or no, open PowerShell and type Get-PhysicalDisk. The HealthStatus column shows Healthy, Warning, Unhealthy or Unknown. It’s a blunt instrument compared with CrystalDiskInfo, but useful for checking several drives at once.
Option 4: chkdsk for file system errors
chkdsk checks the file system (how files are organised on the disk) rather than the physical health of the drive. Open Command Prompt as administrator and run chkdsk D: (swapping D for your drive letter). Without extra switches it only reports problems and changes nothing.
Adding /f fixes file system errors, and /r also hunts for bad sectors by reading the whole disk. Microsoft notes that /r can take hours on a large hard drive. Only use /r on a drive you’ve already backed up, and never on one that’s making strange noises: repair tools write to the disk, and data recovery specialists advise against running them on a failing drive.
How to check hard drive health on a Mac
Check the SMART status
- Open System Information (search for it with Spotlight, or hold Option and click the Apple menu).
- Click Storage in the sidebar (or NVMExpress / SATA for more detail).
- Find the S.M.A.R.T. Status line for your drive. “Verified” is what you want to see. “Failing” means back up and replace the drive as soon as possible.
Disk Utility also shows SMART status when you select the physical disk rather than a volume. Many external USB drives don’t pass SMART data through to the Mac, so you may see “Not Supported” for those. That isn’t a fault, but it does mean you need another way to keep an eye on them, such as a third-party tool that supports your enclosure.
Run First Aid in Disk Utility
First Aid is the Mac equivalent of chkdsk: it checks and repairs the file system. Apple’s steps are:
- Open Disk Utility and choose View > Show All Devices.
- Select the last volume listed under a drive, click First Aid, then Run.
- Work up the list, running First Aid on each volume, then the container, then the device itself.
If First Aid finds errors it can’t repair, Apple’s advice is to erase the disk, which is why that backup comes first.
Warning signs you shouldn’t ignore
Software checks are helpful, but drives often tell you they’re struggling in other ways too. Take these seriously:
- Clicking, grinding or repeated whirring from a spinning drive
- Files that suddenly won’t open, or photos that load half grey
- Folders taking far longer to open than they used to
- The drive disconnecting and reconnecting, or not appearing at all
- Your computer freezing whenever it tries to read from the drive
If a drive is clicking or grinding, the advice from data recovery firms is consistent: stop using it, power it down, and don’t keep switching it on to “try once more”. Don’t open it, shake it or put it in the freezer either. Those old tips are far more likely to destroy data than save it. Speak to a professional recovery service if the files matter.
How to keep your photos and videos safe long term
Checking drive health is a good habit, but no single drive is ever truly safe. A widely used rule of thumb among photographers and video teams is 3-2-1: three copies of your files, on two different types of storage, with one kept somewhere else (another building or a cloud service).
- Check your drives every few months with the tools above, and after any drop or power cut.
- Don’t treat an external drive as a backup if it’s the only place a file lives. That’s just storage.
- Replace drives on a warning, not a failure. A new drive costs far less than recovering an old one.
- Digitise old formats sooner rather than later. Tapes and prints don’t last forever either.
We’ve written more about how we handle this for client work in how professional video footage is backed up and stored.
Got footage or photos you want to do something with?
Once you’ve rescued files from an old drive, they often turn out to be worth more than a folder you never open. If you’ve got hours of family videos or holiday clips, our video editing service can turn them into something you’ll actually watch. Faded, scratched or damaged prints can be brought back with photo restoration, and if your memories are still sitting on old cassettes, we offer VHS and tape digitisation so they end up safely on modern storage. Get in touch and tell us what you’ve got.
Frequently asked questions
How often should I check my hard drive’s health?
Every few months is sensible for drives holding important files, and straight away if the drive has been dropped, starts making noises or begins behaving strangely.
Can a drive fail even if SMART says it’s fine?
Yes. SMART is good at spotting gradual wear, but drives can fail suddenly with no warning. That’s why a healthy result is never a substitute for having backups.
Does chkdsk or First Aid fix a failing drive?
No. They repair file system errors, not physical damage. They can help on a healthy drive, but on a failing one they add strain, so back up first and leave a clicking drive to recovery specialists.
Can I check the health of an external USB drive?
Sometimes. Many USB enclosures don’t pass SMART data through, so tools show “Unknown” or “Not Supported”. CrystalDiskInfo supports some enclosures; otherwise rely on backups and watch for warning signs.
Is an SSD safer than a hard drive for photos?
SSDs have no moving parts, so they cope better with knocks, but they still wear out and can fail without warning. Whichever you use, keep at least one other copy.