
How to Restore Old Photos: Bring Faded Family Pictures Back to Life
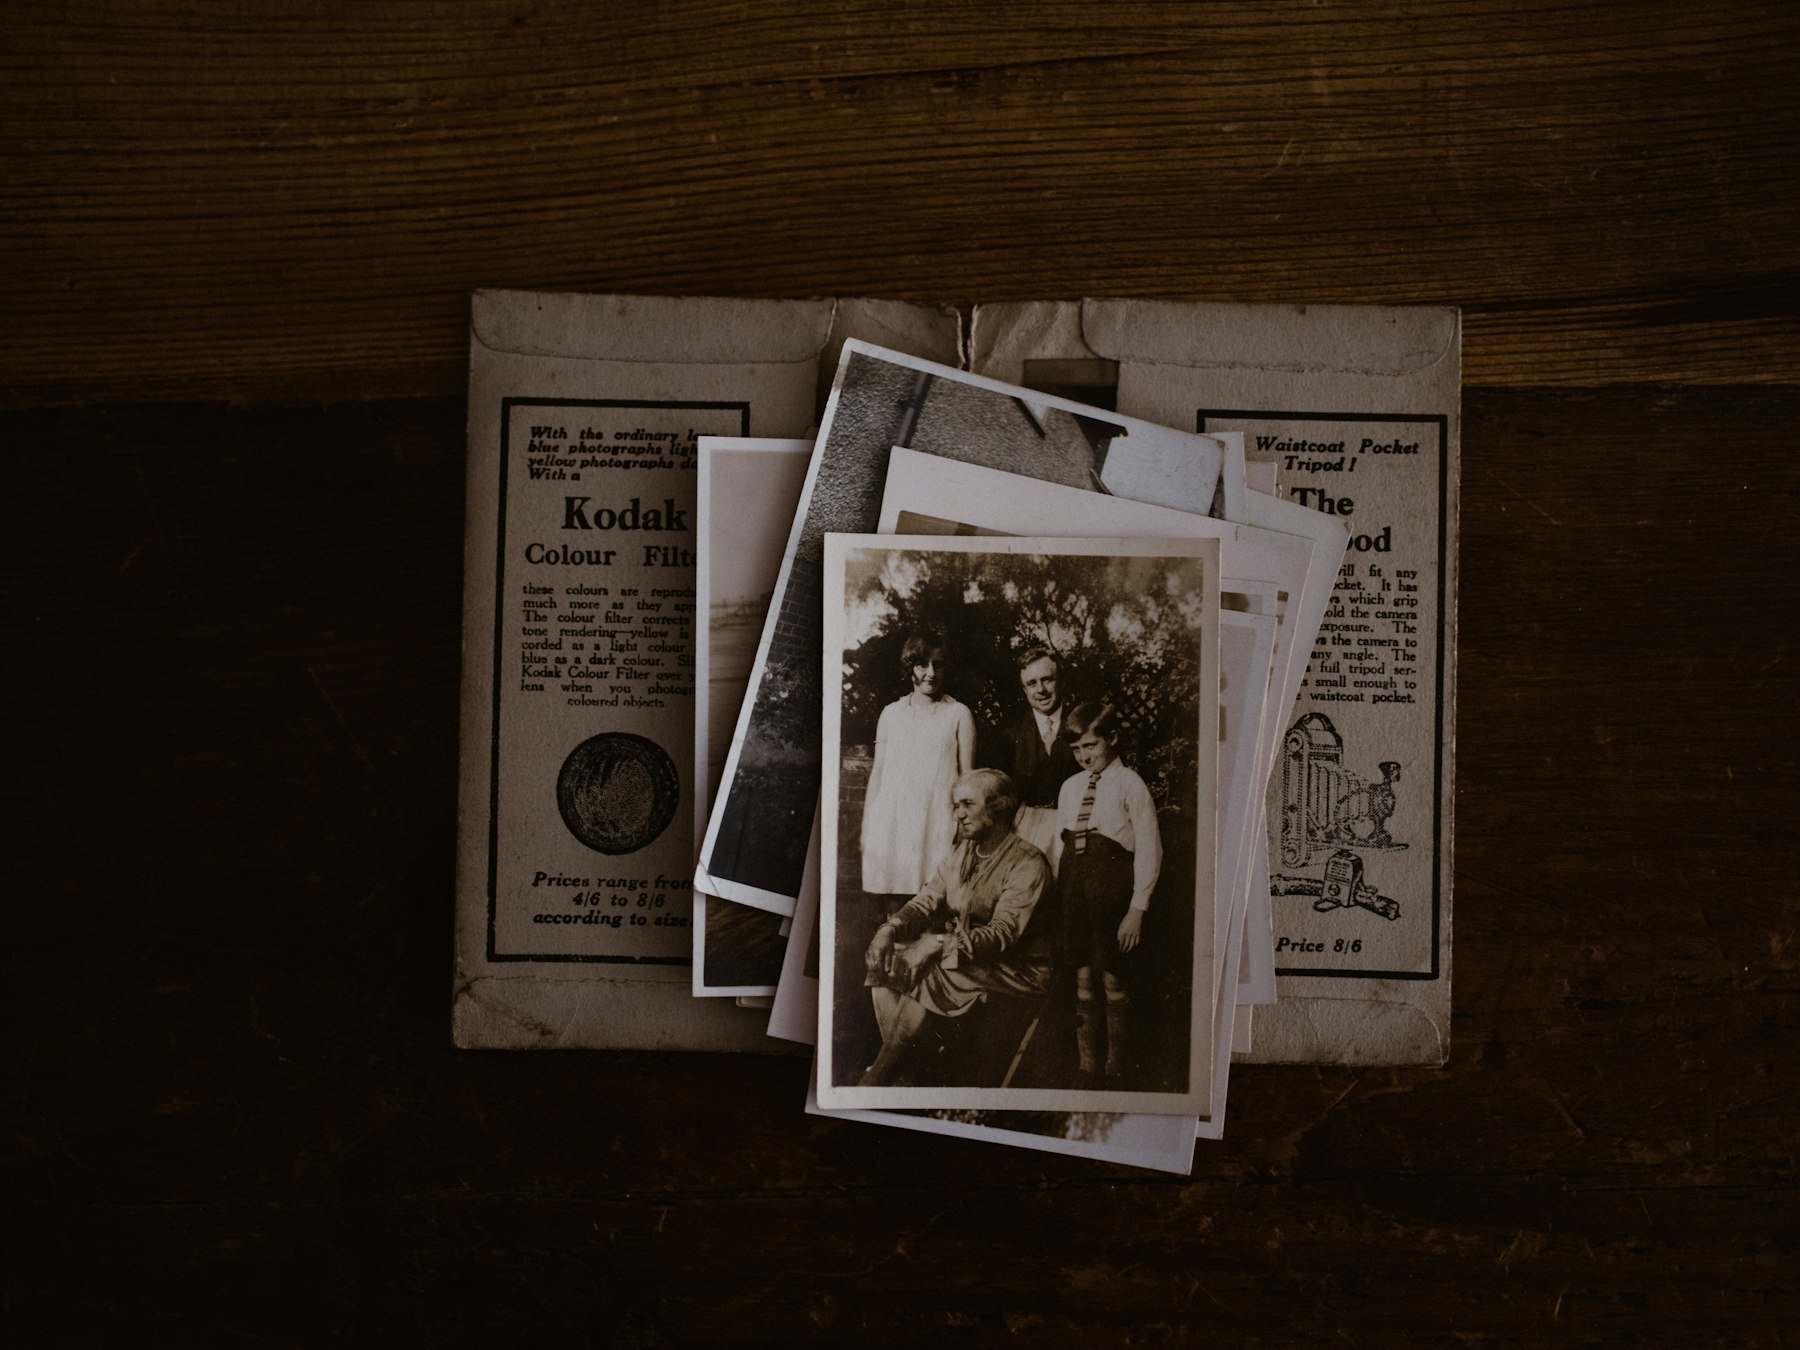
If you’re wondering how to restore old photos, the process is the same whether you’re fixing one creased wedding portrait or a whole shoebox of prints: scan the original at a high resolution, work on a copy, repair dust, scratches and tears, then correct the faded colour and contrast. Free and low-cost tools can handle light damage well. Heavy damage, missing pieces and faces that need rebuilding are where a skilled retoucher earns their fee.
Photo editing and retouching is part of our everyday work, so this guide covers the order we’d work in, the tools that help, and the mistakes that make old photos look worse rather than better.
Before you start: handle the original with care
The physical print is the one thing you can’t replace, so protect it before you touch any software.
- Handle prints by the edges with clean, dry hands, or wear cotton or nitrile gloves.
- Remove loose dust with a soft brush or a blower. Don’t use water, wipes or household cleaners on the surface.
- Don’t force photos out of old “magnetic” albums or peel apart prints that have stuck together. Scan them as they are and get advice from a conservator if they really need separating.
- Don’t tape tears. Scan the pieces laid together and fix the join digitally.
Step 1: Scan your old photos at the right resolution
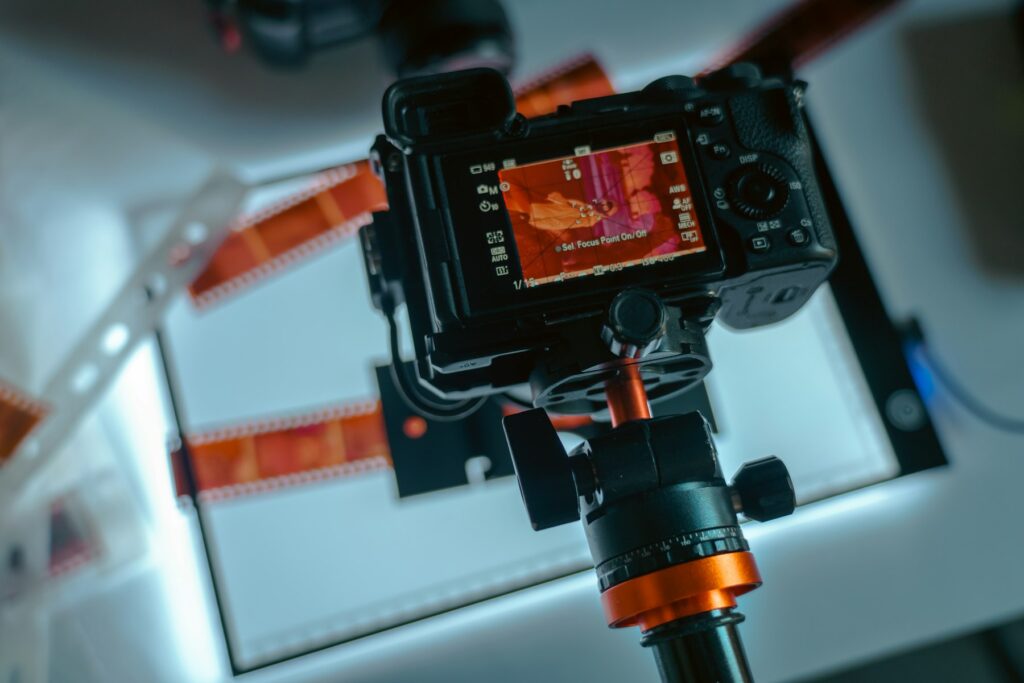
A good restoration starts with a good scan. You can’t add detail later that wasn’t captured, so it pays to scan once at a high setting. A flatbed scanner is the best option for most people. Phone scanning apps are convenient for a quick share, but glossy prints, curling and uneven light make them less reliable for restoration work.
As a rule of thumb, based on guidance widely used by family historians:
| What you plan to do | Scan resolution |
|---|---|
| Reprint at the same size | At least 300 dpi |
| Enlarge up to double the size | At least 600 dpi |
| Small prints (wallet size and smaller) | 600 dpi or higher |
| Long-term archive or unknown future use | 600 to 1,200 dpi |
A few more scanning tips:
- Clean the scanner glass with a microfibre cloth. Every speck on the glass ends up on your scan.
- Scan black and white photos in colour. It records the tones of the paper and makes stains easier to separate from the image.
- Turn off the scanner’s automatic “fix” options, such as dust removal, sharpening and colour restore. You’ll get more control doing it yourself.
- Save a lossless master file, such as a TIFF, and keep it untouched. Export JPEGs from it for sharing.
Step 2: Work on a copy, not the master
Open the scan in your editor and duplicate it before doing anything else. In Photoshop, lock the original background layer and make your repairs on new layers above it. That way, if a fix goes wrong, or you change your mind about the colour, you can go back without rescanning. Name your files clearly, for example grandad-1962-master.tif and grandad-1962-restored.tif, so the family knows which is which.
Step 3: Repair dust, scratches, creases and tears
This is the most time-consuming part. Work at 100% zoom and go section by section.
Small spots and dust
The Spot Healing Brush in Photoshop (or the healing tool in most editors) is ideal for specks and small marks. Use a brush just slightly bigger than the mark and dab rather than paint long strokes.
Scratches, creases and cracks
Use the healing tool on plain areas such as sky or walls. Where a crease runs through detail, such as an eye, hair or patterned fabric, switch to the Clone Stamp and copy matching detail from nearby. Small brushes and short strokes look far more natural than big sweeps.
Tears and missing corners
Line up the pieces in the scan, then clone and heal across the join. Missing background can often be filled with content-aware tools. Missing parts of a face or body are much harder: they have to be rebuilt by hand, often using other photos of the same person as reference.
Step 4: Try AI restoration tools, but check every face
AI has made a big difference to how quickly old photos can be restored. In Photoshop, Filter > Neural Filters > Photo Restoration applies an automatic clean-up with sliders for image enhancement, face enhancement and scratch reduction. The Colourise neural filter adds colour to black and white images. There are also many phone apps and websites offering one-tap enhancement and colourisation.
They’re a great starting point, with one big warning: AI doesn’t know what your relative actually looked like. It fills in missing detail with its best guess, which can subtly change eyes, teeth, ears or skin, and make someone look like a stranger. Our advice:
- Apply AI filters on a separate layer and lower the opacity until the result looks believable.
- Compare the result side by side with the original, especially faces.
- Ask someone who knew the person whether it still looks like them.
- Treat AI colourisation as an interpretation. Clothing, eye and hair colours may not be accurate.
- Check an app’s privacy policy before uploading family photos to it.
Step 5: Bring back faded colour and contrast
Old colour prints usually fade unevenly. Cyan dyes tend to go first, which is why so many photos from the 1970s and 1980s look orange or magenta. Black and white prints tend to lose contrast and go yellow or brown.
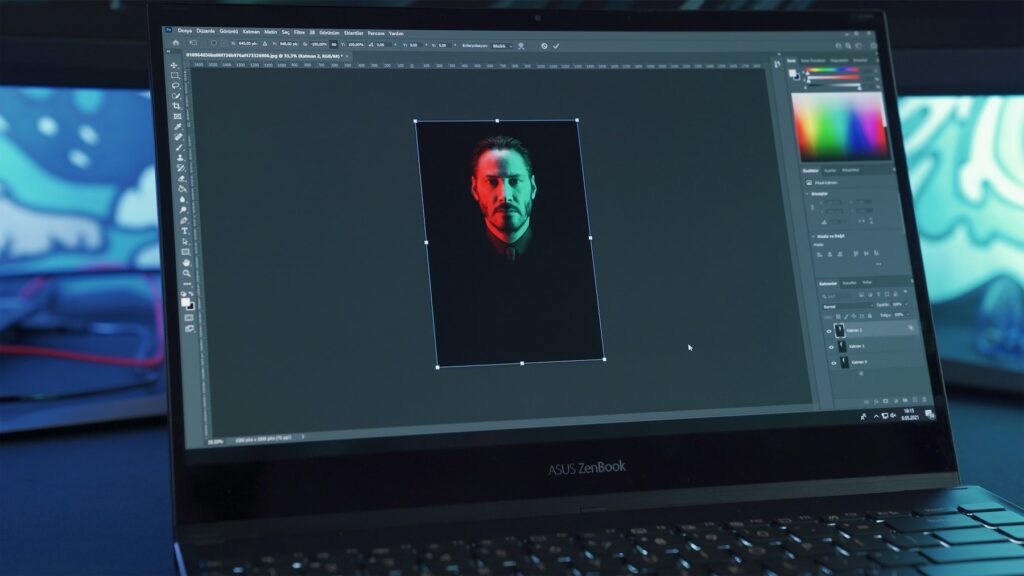
- Start with an automatic correction, such as Auto Colour or Auto Tone, and see if it gets you close.
- Use Levels or Curves to set a true black and white point, which restores contrast.
- Correct the colour cast with Curves or Colour Balance, using something that should be neutral grey or white as a guide.
- Adjust saturation gently. Faded photos often need a little more, but too much looks artificial.
- For black and white images, decide whether to keep a gentle warm tone or convert to neutral greys. Both are fine; it’s a matter of taste.
Step 6: Finish, save and back up
- Crop and straighten, but keep a version with the original border if it has handwriting or a studio stamp.
- Sharpen lightly, if at all. Old photos were rarely pin-sharp, and heavy sharpening exaggerates grain.
- Save the restored master as a TIFF or high-quality file, then export smaller JPEGs for sharing.
- Back up in more than one place, such as a cloud service and an external drive kept somewhere else.
- Store the original print flat, in an acid-free sleeve or box, away from damp, heat and sunlight.
How to restore old photos: DIY or professional?
| Damage | Good for DIY? |
|---|---|
| Dust, specks and light scratches | Yes, with healing tools or an AI filter |
| Faded colour or low contrast | Yes, with Levels, Curves and colour adjustments |
| Creases through the background | Usually, with patience |
| Tears, cracks or creases through faces | Tricky; a retoucher will give a more faithful result |
| Missing pieces, water damage or mould | Best left to a professional |
| Photos for a funeral, anniversary or large print | Worth going pro for the quality and the deadline |
Our photo restoration service handles everything from faded prints to badly damaged family portraits, including damage that runs across faces. If your images are in better shape but need cleaning up, colour work or retouching, see our photo editing and retouching service. You can check typical costs on our pricing page or send us a message with a phone snap of the photo, and we’ll tell you what’s realistic.
Frequently asked questions
Can I restore old photos for free?
Yes, for light damage. Free editors with healing and clone tools, plus careful colour adjustments, can do a lot. The time it takes is the real cost, especially for scratches through faces.
What resolution should I scan old photos at?
At least 600 dpi if you might enlarge or restore them, and higher for very small prints. Save a lossless master file and keep it unedited.
Is AI good at restoring old photos?
It’s quick and often impressive for cleaning and sharpening, but it can change people’s features. Always compare faces with the original and blend the effect back if it looks unlike the person.
Should I restore the photo or the negative?
If you still have the negative and it’s in good condition, digitising it often gives a cleaner, more detailed starting point than a faded print.
Will restoring a photo damage the original?
No. Restoration is done on a digital copy. The only risk to the original is in handling and scanning, so keep it clean, flat and handled by the edges.