
Photography Lighting Basics: The One Thing That Separates Pro Photos From Yours
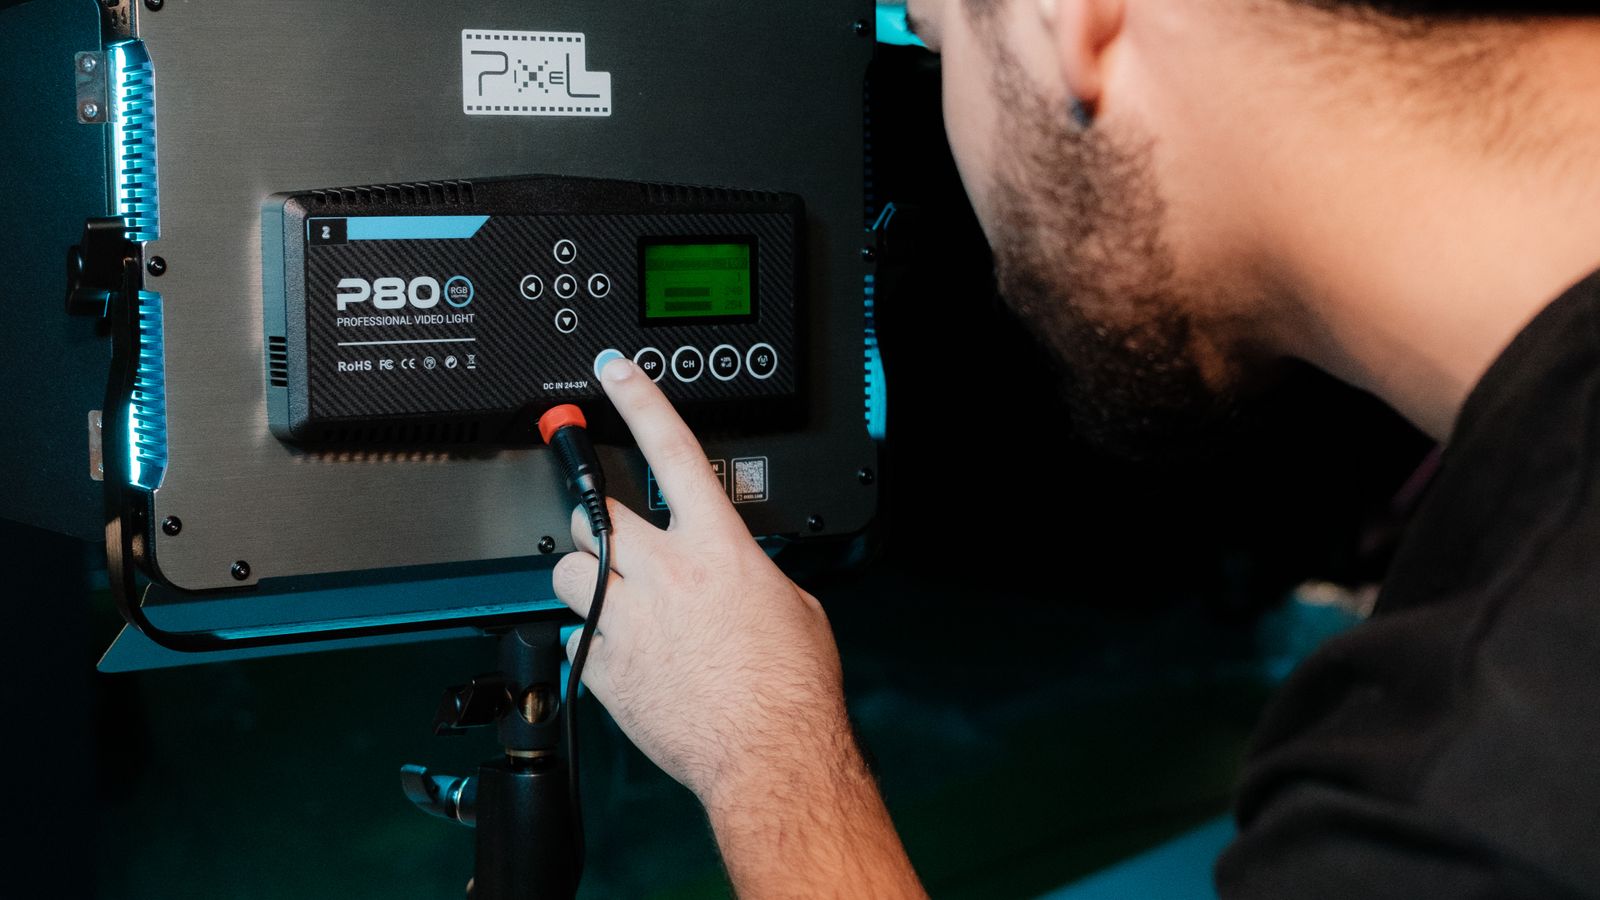
The one thing that separates professional photos from yours usually isn’t the camera. It’s the light. Photography lighting basics come down to four things you can control: how big the light is, how far away it is, which direction it comes from, and what colour it is. Get those right and a phone photo can look polished. Get them wrong and an expensive camera won’t save the shot.
We light headshots, products, events and brand shoots every week, and the same handful of principles come up every time. This guide explains them in plain English, with simple setups you can try at home or in a small studio.
Why lighting matters more than your camera
A camera records light. That’s all it does. The shape of a face, the texture of a product, the mood of a room: all of it is created by where the light falls and where the shadows go. When people look at a professional photo and feel it’s “better” without knowing why, they’re usually reacting to the light.
The good news is that light follows rules. Once you understand them, you stop hoping for good light and start making it.
Photography lighting basics: the four things you control
| What you control | What it changes | Quick rule |
|---|---|---|
| Size of the light | How soft or hard the shadows are | Bigger source, softer light |
| Distance | Brightness, softness and how quickly light falls off | Closer is brighter and softer, with faster fall-off |
| Direction | Shape, depth and mood | Light from the side shows texture; light from the front flattens it |
| Colour | Warmth or coolness of the whole image | Match your white balance to the light, and avoid mixing sources |
Hard light vs soft light
This is the single most useful idea in lighting. Hard light gives crisp, dark shadows with a sharp edge. Think of a bare bulb, a small flash pointed straight at someone, or the midday sun on a clear day. Soft light gives gentle shadows that fade gradually from light to dark. Think of an overcast sky or a big window with no direct sun coming through.
What decides which one you get is the size of the light source relative to your subject. Canon explains it in terms of the penumbra, the transition zone between light and shadow: a larger source wraps light around the subject and fills in shadows, while a smaller one produces harsher shadows.
That’s why photographers put flashes inside softboxes and umbrellas, or bounce them off a ceiling or wall. The modifier doesn’t add magic. It simply makes the light source bigger.
When to use each
- Soft light is forgiving and flattering. It’s the default for headshots, family portraits, food and most product photos.
- Hard light is dramatic. It shows texture, creates bold shapes and suits moody portraits, sports, fashion and anything where you want punch.
Neither is “right”. The skill is choosing on purpose.
Distance: the setting most people forget
Moving a light closer or further away changes two things at once.
1. Softness
A light gets bigger relative to your subject as you move it closer, so it gets softer. Move it back and the same light becomes harder. Canon’s own comparison shows softer shadows with a flash at 1m and harder ones at 3m. If you can’t buy a bigger light, move the one you have closer.
2. Brightness and fall-off
Light follows the inverse square law: its intensity falls with the square of the distance. In practice, double the distance between the light and your subject and they get a quarter of the light, which is two stops darker.
This matters because it controls how bright your background is compared with your subject:
- Light close to the subject: the subject is bright and the background, further away, drops off quickly into darkness. Great for moody portraits.
- Light further back: subject and background are lit more evenly. Better for groups or full-length shots, at the cost of softness.
- Subject close to the background: the background picks up more of the light, so it looks brighter and less separated.
Once you understand this, you can make a white wall look grey or a grey wall look nearly black, just by moving people and lights a metre or two.
Direction: where the light comes from
Direction is what gives a photo shape. Light from straight in front, like an on-camera flash, fills every shadow and makes faces and objects look flat. Move it round to the side and shadows appear, and with them depth and texture.
Classic portrait lighting patterns
- Split lighting: the light is placed directly to one side, so half the face is lit and the other half falls into shadow. Strong and dramatic.
- Rembrandt lighting: the light comes from above and to one side, angled down. It leaves a small triangle of light on the shadow-side cheek. Flattering and a little moody.
- Butterfly lighting: the light is directly in front and above the face. It shows off cheekbones and is popular for beauty and glamour shots.
- Lighting from below: generally avoided. We expect light to come from above, so it looks unnatural (which is why it’s used for horror films).
Backlight and rim light
A light behind your subject, aimed back towards the camera, outlines hair and shoulders and separates them from the background. In a studio this is often a small, focused light called a rim light or hair light. Outdoors, a low sun behind someone does the same job. Just remember to light the face from the front as well, or you’ll get a silhouette.
Colour: why your photos look orange or blue
Every light source has a colour, measured as colour temperature in kelvin (K). Lower numbers are warmer (more orange), higher numbers are cooler (more blue). Canon gives these typical values for its white balance presets:
- Tungsten bulbs: around 3,200K (warm)
- Fluorescent: around 4,000K, though it varies with the tube
- Daylight: around 5,200K
- Cloudy and flash: around 6,000K
- Shade: around 7,000K (cool)
Your camera’s white balance tries to make white look white under each of these. The real problem is mixed light: a face lit by a cool window on one side and a warm lamp on the other. No white balance setting fixes both. Turn off the lamp, or close the curtains and use one type of light.
Light also picks up the colour of whatever it bounces off. A green wall or a red jumper next to someone’s face will tint their skin, which is why studios use white or neutral surfaces.
Lighting in a photography studio: the simple setups
You don’t need a wall of equipment. Most studio images are built from one to three lights, added one at a time.
- Key light: your main light, usually soft (a softbox or umbrella) and placed in front of and to one side of the subject. Get this looking right before adding anything else.
- Fill: lifts the shadows on the other side. This can be a second, weaker light, but a white reflector or even a sheet of white card often does the job.
- Background or rim light: lights the backdrop or the edges of the subject to add separation.
High-key and low-key
High-key images are dominated by bright tones, often with a pure white background. The backdrop is lit separately and set brighter than the subject so it turns white, with a soft key light on the face. Low-key images are dominated by dark tones and can be made with a single light: place it slightly behind and to the side so it grazes the face, and keep it off the background by adding distance or blocking it with black fabric.
Five ways to get better light today, with no new kit
- Use a window. Stand your subject side-on or at an angle to a large window, out of direct sun. It’s a huge, soft light source, and it’s free.
- Shoot on an overcast day or in open shade. Cloud is a giant diffuser. Avoid harsh midday sun on faces.
- Make a reflector. White card, a sheet or foil on cardboard will bounce light back into shadows.
- Turn off the overhead lights when using window light, so you don’t mix colours.
- Look for the catchlight. A small reflection of the light in each eye makes portraits look alive. If you can’t see one, turn the person towards the light.
When to bring in a professional photographer
Lighting at home is a brilliant skill to learn. But when photos represent your business, the stakes are different: a team of twenty headshots that need to match, a product range that has to look consistent across a website, or a brand shoot in a dark office. That’s where controlled, repeatable lighting earns its keep.
We bring our own lights and modifiers to every shoot, from headshot photography to commercial and brand photography. If you’d rather light it yourself, we also offer lighting hire, and our guide to what makes a product look professional covers lighting for products in more detail. See our pricing page or get in touch to talk about your shoot.
Frequently asked questions
What is the most important part of photography lighting?
Understanding the difference between hard and soft light. It decides how your shadows look, and it’s controlled mainly by how big the light source is compared with your subject and how close it is.
Is natural light better than studio lighting?
Neither is better. Window light and open shade are beautiful and free, but they change through the day. Studio lighting gives you the same result every time, which matters when photos need to match.
How do I make light softer without buying anything?
Move the light closer to your subject, bounce it off a white wall or ceiling, or shoot near a large window out of direct sun. All three make the effective light source bigger.
Why do my indoor photos look orange?
Household bulbs are usually warm. Set your camera’s white balance to match, or switch them off and use daylight from a window, and avoid mixing the two.
How many lights do I need for a studio portrait?
One is enough to start. A single soft key light with a reflector for fill will produce a professional-looking headshot. Add a second light for the background once you’re comfortable.