
How to Create a LinkedIn Profile That Gets You Noticed (Start With the Photo)

Here’s how to create a LinkedIn profile in short: go to the LinkedIn sign-up page, enter your real name and email (or join with Google or Apple), follow the prompts, then build out your profile from the introduction section at the top. Start with the photo. It’s one of the first things people see when your name comes up, and it often decides whether anyone clicks through to read the rest.
We photograph headshots for professionals and teams every week, so this guide puts the photo first, then walks through every other part of the profile using the steps from LinkedIn’s own help pages.
How to create a LinkedIn profile: signing up
- Go to the LinkedIn sign-up page.
- Type your first and last name and your email address, and enter a password if prompted.
- Click Join now.
- Complete any additional steps LinkedIn prompts you for.
You can also join using your Google or Apple login, which doesn’t need a separate password.
Three rules from LinkedIn are worth knowing before you start:
- Use your real name. Company names and pseudonyms aren’t allowed on a personal profile.
- Use a personal email address, not one tied to a role such as sales@ or marketing@. If you change jobs, you’ll want to keep access.
- One profile only. Creating multiple profiles isn’t allowed.
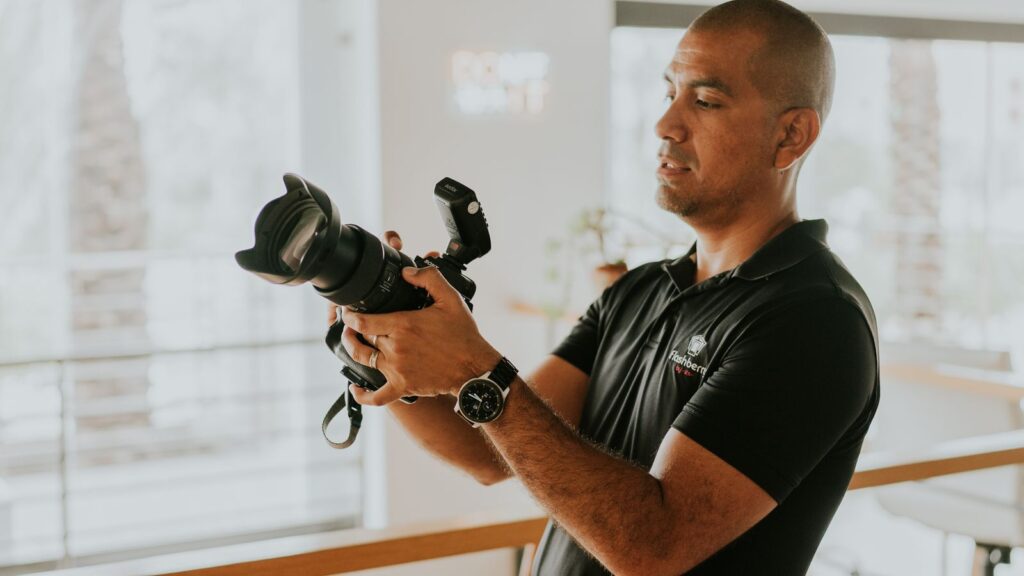
Step 1: Get the profile photo right
LinkedIn’s help centre says members with a profile photo receive up to twice as many profile views. It’s also how people recognise you before a meeting or a call, so it’s worth more effort than any other part of your profile.
LinkedIn profile photo requirements
| Image | Size | File |
|---|---|---|
| Profile photo | Between 400 x 400 pixels and 7680 x 4320 pixels | JPG or PNG, max 8MB, no GIFs |
| Cover (background) image | 1584 x 396 pixels recommended | JPG or PNG, under 8MB |
LinkedIn recommends choosing a photo that won’t need much cropping. If an upload fails, check it meets these specs, then try another browser or compress the file.
What LinkedIn allows
Your photo must reflect your likeness. An illustration or artistic rendering of you is allowed, but LinkedIn may remove photos that are only a company logo, emoji, landscape, animal, words, a flag, a childhood photo or someone else’s likeness, including stock images.
What makes a profile photo work
- Make it recent. It should look like you would if someone met you tomorrow: same hair, glasses and so on.
- Fill the frame with your face. LinkedIn’s own advice is for your face to take up about 60% of the image, cropped from the top of the shoulders to just above your head.
- Be the only person in it. A cropped group photo leaves stray shoulders and confuses people.
- Get someone else to take it. A phone’s rear camera is better quality than the selfie camera, and selfies can come out mirrored.
- Use soft light. Face a window or stand in open shade. Avoid harsh overhead office lights, direct sun and on-camera flash.
- Keep the background simple so nothing competes with your face.
- Dress as you would for work. Solid colours usually look best on camera.
How to add your photo
- Click the Me icon at the top of your LinkedIn homepage, then View Profile.
- Click the camera icon in your introduction section.
- Choose Upload photo (or Use camera).
- Crop, adjust, apply a filter if you want, and choose who can see the photo.
- Click Save photo.
To change it later, click your photo in the introduction section. From there you can edit it, replace it, add a frame or delete it. LinkedIn notes that it can’t restore an old photo once you’ve deleted it or uploaded a new one, so keep the original file.
Step 2: Add a cover image
The cover image (LinkedIn’s help pages also call it the background photo) is the wide banner behind your profile photo. Use 1584 x 396 pixels. Because your profile photo sits over part of it, and LinkedIn says the way it displays changes with screen size, keep any text or logos away from the edges and the area behind your photo.
To add one, go to your profile, click the camera icon in the upper-right corner of the introduction section, upload a photo, adjust it and click Apply. LinkedIn says photos tend to look better than images made up of logos, and if yours looks blurry, try a larger file. Good options include a photo of your workplace, your team, your product or your local area.
Step 3: Write a headline people remember
Your headline is the text under your name. It shows in search results, so it does a lot of work. LinkedIn creates one from your current job when you add it, but you can rewrite it to promote an area of expertise.
To edit it, go to your profile, click the edit (pencil) icon in the introduction section, change the Headline field and click Save.
A useful formula: what you do, who you do it for, and one thing that sets you apart. “Bookkeeper for Suffolk tradespeople | Xero certified” says far more than “Bookkeeper”.
Step 4: Fill in the introduction section
The same edit window lets you update your name, current position, education, location, industry and contact info. LinkedIn says your network isn’t notified about changes to this section, so you can tweak it freely.
Step 5: Write your About section
LinkedIn suggests using About to explain your mission, motivation and skills, ideally in one or two paragraphs (bullet points are fine). Write in the first person, lead with what you help people do, and finish with how to get in touch.
From your profile, scroll to About, click the edit icon, write in the text box and click Save.
Step 6: Add experience, skills and recommendations
- Experience: click Add profile section in the introduction section, open Core and choose Add position. LinkedIn requires listed organisations to reflect genuine professional experience, such as employment, contract work, internships or volunteering.
- Skills: go to Add profile section, then Core, then Add skills. You can add up to 100. Connections can endorse them.
- Recommendations: ask colleagues, clients or managers. There’s no limit to how many you can request, and you can hide any you’d rather not show.

Step 7: Claim your custom URL
LinkedIn automatically assigns you a public profile URL when you join. A custom one, based on your name, is easier to share and looks better on a CV or email signature.
- Go to your profile and click the edit icon next to Public profile & URL in the right-hand pane.
- Under Edit your custom URL, click the edit icon.
- Type the last part of your new URL and click Save.
It can be 3 to 100 characters, with no spaces, symbols, special characters or the word LinkedIn. URLs are first come, first served, so a variation of your name is the usual choice. You can change it up to five times in six months.
Step 8: Tell recruiters you’re open to work (optional)
If you’re job hunting, the #OpenToWork feature lets you share the roles and locations you want. You can show it to all members (which also adds the #OpenToWork photo frame), to recruiters only, or keep it visible only to you. LinkedIn takes steps to hide it from recruiters at your current company but says it can’t guarantee complete privacy.
Quick checklist before you share your profile
- A recent, well-lit photo where your face fills most of the frame
- A 1584 x 396 cover image with nothing important hidden behind your photo
- A headline that says what you do and for whom
- An About section of one or two short paragraphs
- Current and recent roles in Experience
- Relevant skills and at least a couple of recommendations
- A custom URL you’re happy to print
Want a headshot that does the job properly?
A phone and a window will get you a perfectly good profile photo. But if LinkedIn is where clients, recruiters or investors find you, a professional headshot is one of the easiest upgrades you can make. We photograph professional headshots for individuals, and corporate portraits and team photos so a whole company looks consistent on LinkedIn and the website. If you’re organising photos for several people, our guide on how to plan a company headshot day covers the logistics, and studio vs environmental portraits will help you choose a style. See our pricing or get in touch.
Frequently asked questions
What size should my LinkedIn profile photo be?
Between 400 x 400 and 7680 x 4320 pixels, as a JPG or PNG of up to 8MB. A square image cropped from the shoulders up works best.
What size is the LinkedIn banner?
LinkedIn recommends 1584 x 396 pixels for the cover image, as a JPG or PNG under 8MB.
Can I use a company email to sign up?
LinkedIn asks you not to use an email tied to a role, such as sales@ or marketing@. A personal address means you keep access if you change jobs.
Can I use a logo as my profile photo?
Not on a personal profile. LinkedIn may remove photos that are only a logo.
Will my network be notified when I edit my profile?
Not for changes to your introduction section. For other changes, such as a new job, you can control notifications in your settings.