
Construction and Infrastructure Project Update Videos: What Should You Actually Film?
The shot you will be most pleased to have in twelve months might be the least exciting one you take today.
A fixed view across an empty part of the site.
No dramatic machinery. No perfect sunset. No presenter standing in the foreground.
Just a clear record of what was there.
Come back to exactly the same position after the foundations, equipment, structures or landscaping have appeared and that ordinary shot suddenly becomes useful. It proves change in a way a montage of unrelated drone footage never can.
That is the real job of a construction or infrastructure update video.
Show what has changed, explain why it matters and leave a useful reference for what happens next.
Do not start by asking what looks impressive
Construction sites give you plenty of visually strong material.
Excavators move. Cranes lift things. Concrete gets poured. Sparks fly. Drones can make almost any large site look substantial.
None of that automatically tells the viewer whether the project is on programme, what milestone has been reached or what the work actually means.
Imagine an infrastructure project has reached the point where below-ground services are complete.
The visually exciting option might be to spend ten minutes filming a large machine operating at the other end of the site.
The more important record may be the ducts, crossings and routes that are about to disappear under the next phase of work.
Once they are covered, you cannot come back and film them properly.
That is why the person leading the project should help identify what is important now, not simply what looks best through a camera.
A useful question before every visit is:
What will be impossible, difficult or misleading to film if we leave it until next time?
Start there.
Give the project a few permanent camera positions
If this will be an ongoing series, choose a handful of views you can return to.
They do not all need to be beautiful.
One might be from the site entrance.
Another might look across the main development area.
A third could show the principal structure, compound or asset.
Take a reference photograph. Note roughly where the camera was standing and which direction it faced. If the ground itself is likely to change, record enough information to find the view again later.
You are creating visual anchors.
At the next visit, those repeated shots can cut directly against the earlier material.
An empty plot becomes a completed structure.
Temporary access becomes a finished route.
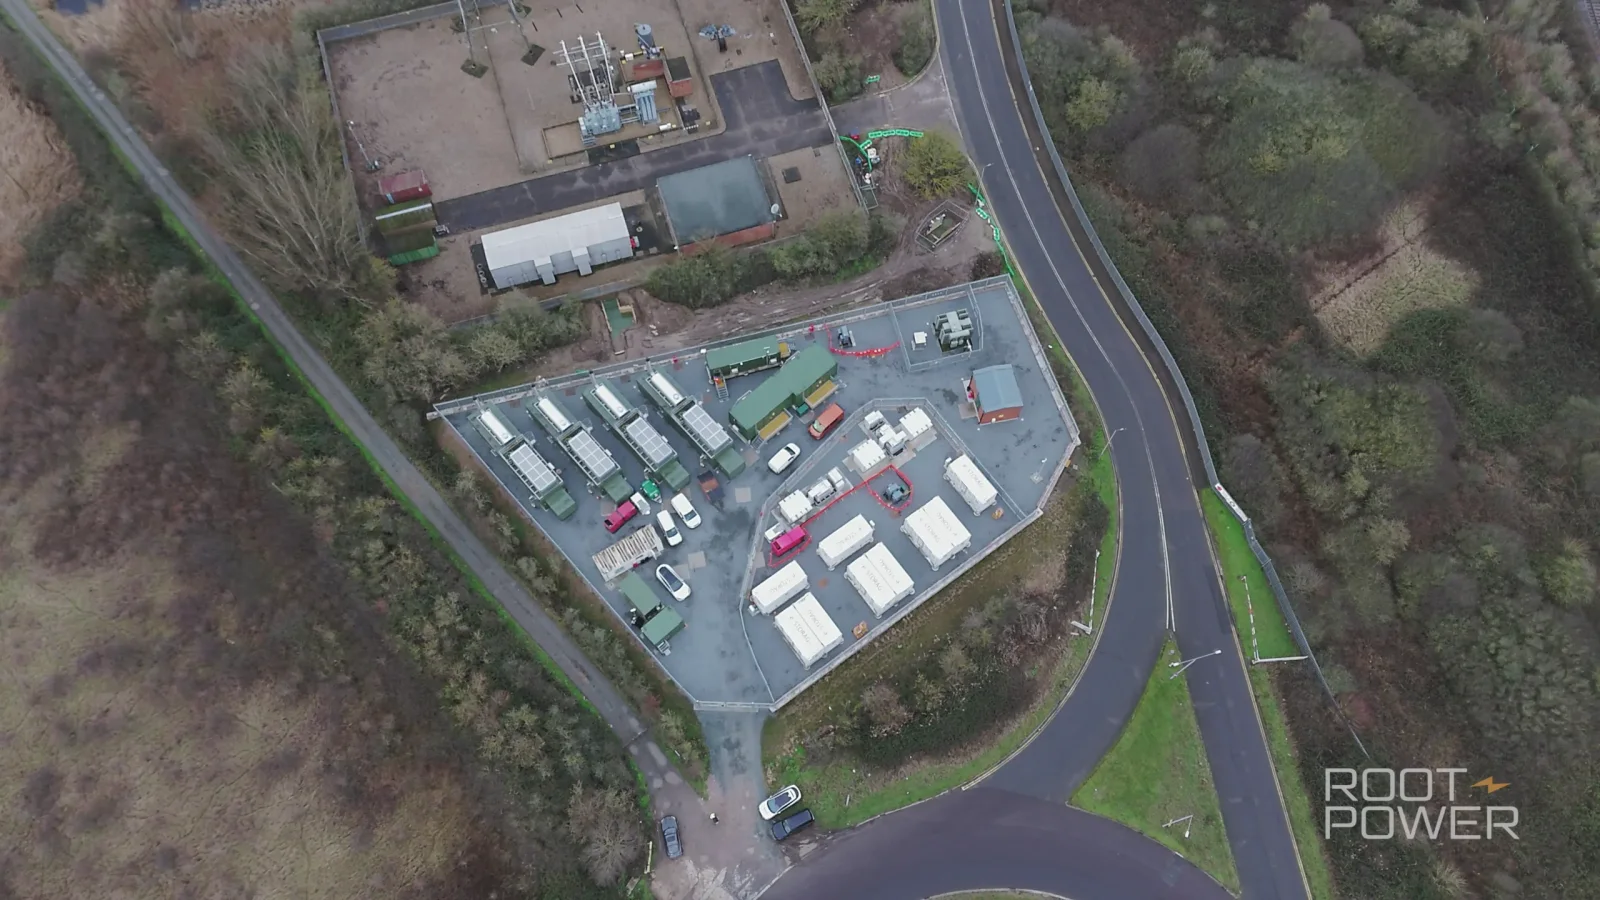
A battery compound, building or piece of infrastructure appears where there was previously open ground.
That comparison is much easier for a viewer to understand than two beautifully filmed sequences shot from unrelated positions.
The cinematic material still matters.
It just sits around the evidence rather than replacing it.
Coryton: filming the same project at different stages
Our Root-Power Coryton BESS project is a good example of why repeat visits become more valuable when they are treated as part of the same story.
Root-Power commissioned us to film the Coryton Battery Energy Storage System during construction. Approximately a year later, we returned as the development moved into its later stages. Across the two visits, the production resulted in three project films. (thecameraguys.co.uk)
The first visit documented a developing site.
The later visit had a different job: show genuine progression and explain where the project had reached.
We combined structured updates from Root-Power's team with detailed ground-level footage and aerial views. That gave the audience both the explanation and the visual context around it. (thecameraguys.co.uk)
The point was not to reproduce the first film shot for shot.
It was to keep enough continuity that the later material could be understood as another chapter of the same project.
That is the balance worth aiming for on a long-running development: repeat the views that prove progress, then film the new things that deserve explanation.
The presenter should explain the milestone, not narrate the obvious
A project update does not need somebody standing in front of the camera saying:
“As you can see, construction is progressing well.”
The viewer can already see a construction site.
Give the contributor something more useful to explain.
For example:
“Since the last update, the foundations have been completed and the main equipment has arrived. That allows the electrical installation to begin next.”
Now the viewer knows:
- what changed;
- what milestone has been reached;
- and what that milestone unlocks.
That is useful information.
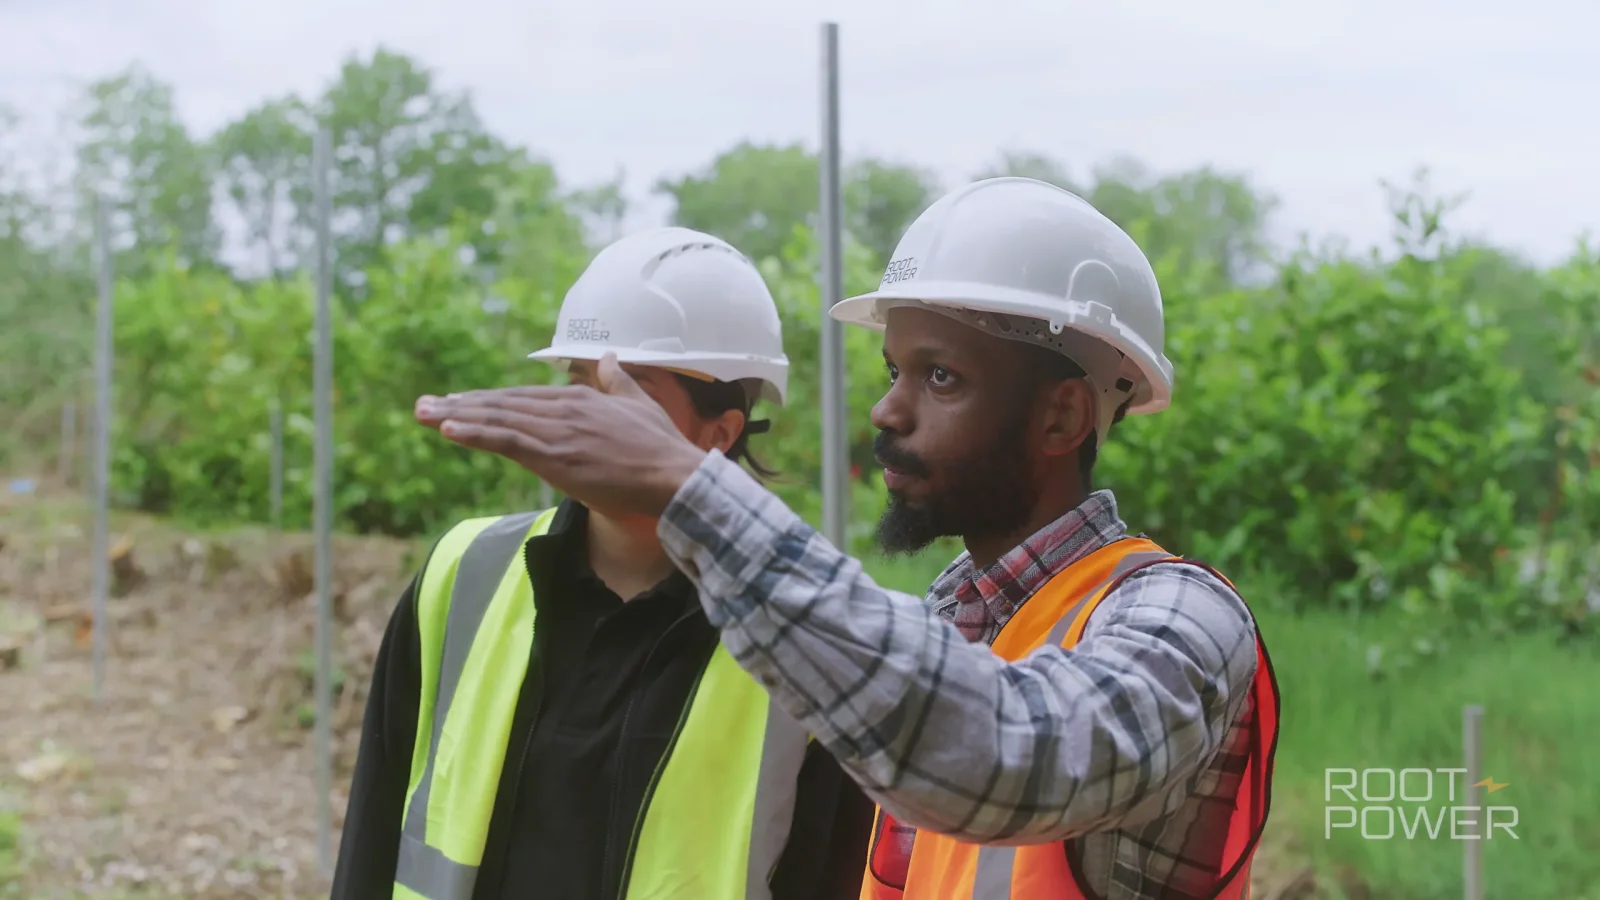
A good project contributor is usually somebody close enough to the work to explain the current stage accurately.
That might be the project director, construction manager, engineer, asset manager or another specialist.
One person may be enough.
Add another contributor when they bring a genuinely different perspective, not because two interviews feel more substantial than one.
Useful prompts include:
What is physically different from the last visit?
Which milestone has just been completed?
Why does that milestone matter?
What is happening on site today that viewers should understand?
What is the next visible change we should expect?
Is there anything happening now that will be hidden by the next stage?
Those questions are a starting point.
The interview should still follow the answer.
A teleprompter can be useful when the update has to be exact
There is sometimes a good reason to script part of a construction or infrastructure update.
Dates, capacities, named milestones, technical terminology and public-facing commitments may need precise wording.
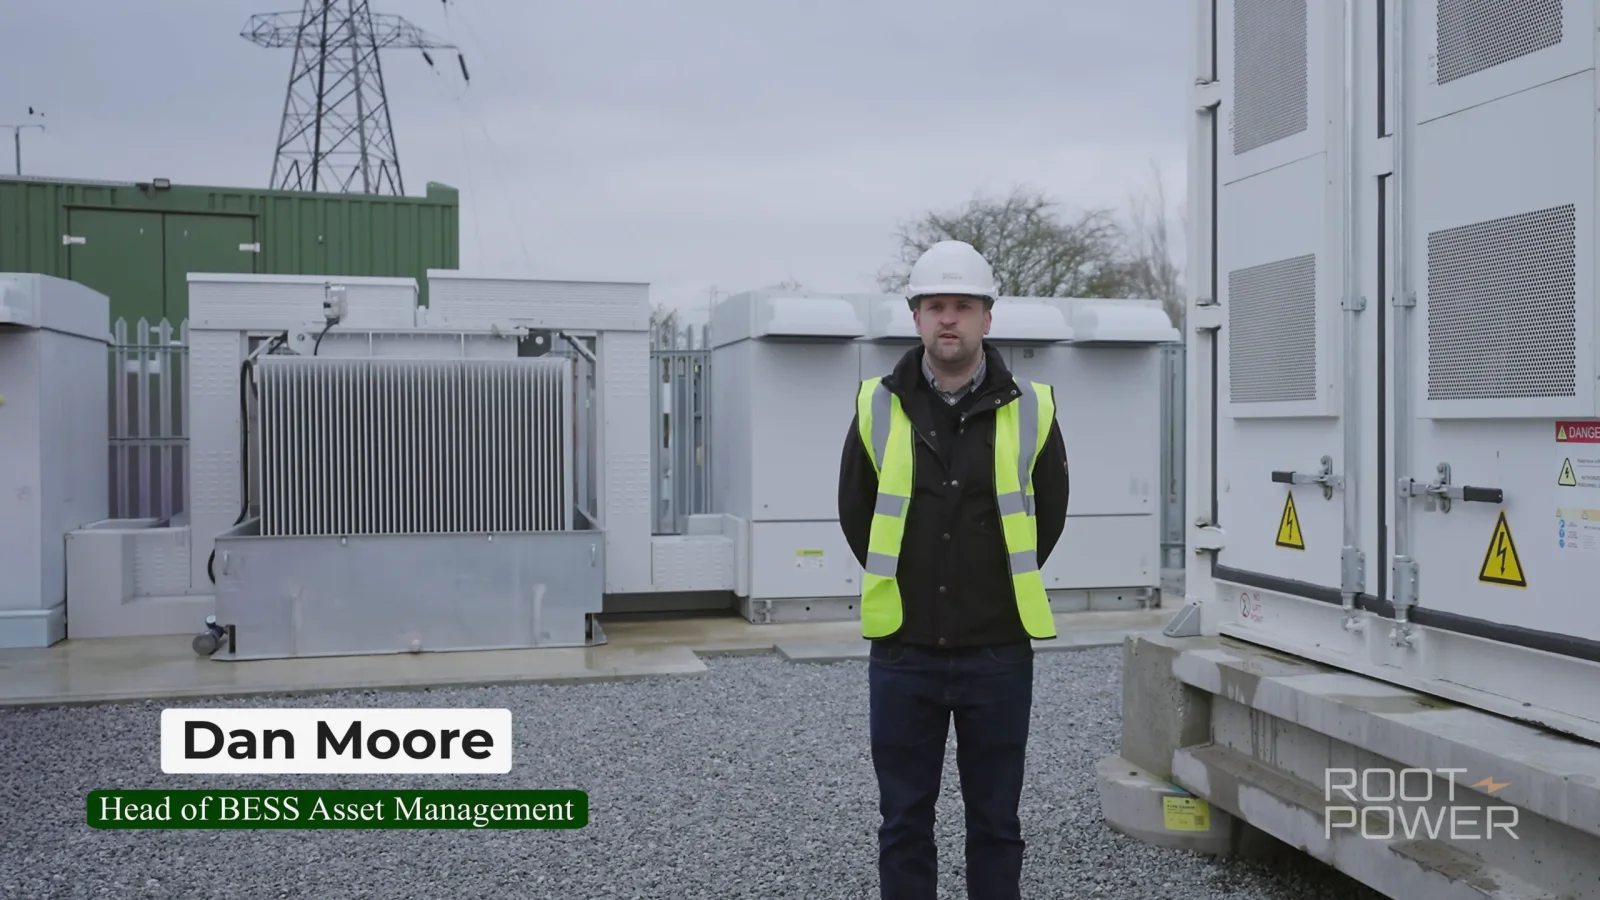
On our later Coryton visit, Root-Power's Dan Shore and Dan Moore had detailed project information to communicate. We used a professional teleprompter so the updates could be delivered accurately and efficiently to camera while retaining a natural presentation style. (thecameraguys.co.uk)
That is different from scripting somebody because the production wants every sentence to sound polished.
Use a teleprompter when exact language genuinely helps.
For a straightforward explanation or testimonial, a normal interview may still sound better.
The format should follow the information.
The site sound may change between visits too
A project can become much harder to record as it moves towards operation.
The early construction site might have intermittent machinery.
A later-stage energy, industrial or infrastructure site could have continuous plant noise, ventilation, generators, traffic or other equipment running around the filming position.
That happened at Coryton. On the return visit, operational infrastructure created substantial continuous industrial noise around the interview positions. We dealt with that through careful microphone placement and monitoring on location, followed by significant dialogue cleanup in post-production. (thecameraguys.co.uk)
This is another reason not to assume the second visit will be a simple repeat of the first.
Ask what will be operating.
Ask whether equipment can or should be stopped.
In many cases, the answer will quite rightly be no.
The filming setup then needs to work around the real site rather than expecting the site to work around the cameras.
Film the thing that is about to disappear
Some of the most valuable project footage has a very short window.
Before backfilling, capture the routes and services that are about to be hidden.
Before walls are closed, capture anything the project may later want to explain.
Before temporary works disappear, decide whether they matter to the record.
Before an old structure is removed, capture the baseline.
At commissioning, capture the relevant equipment, indicators or test activity once the project team has confirmed what can be shown publicly.
This does not mean filming every technical detail simply because it exists.
Ask who the update is for.
An investor, neighbouring community, future operator and prospective customer may need completely different evidence from the same site.
The project team should decide what is technically meaningful.
The production team can then help turn that into footage a non-specialist viewer can follow.
Drone footage is excellent at answering one particular question
Aerial filming is extremely good at showing:
Where does everything sit in relation to everything else?
That can be invaluable on a large construction or infrastructure project.
At Coryton, aerial views helped show the layout and scale of the development in a way ground-level footage could not. (thecameraguys.co.uk)
The same could apply to a road project, logistics development, solar site, large building, utility installation or estate.
But an aerial view is not automatically evidence of progress.
If every visit uses a completely different flight path and direction, comparing stages can become harder.
Where possible, plan a few repeatable aerial viewpoints in the same way you plan the ground shots.
Then use more creative aerial sequences where they add something.
Every flight still needs its own operational assessment. Current CAA guidance requires drone operators to comply with applicable airspace restrictions and check for temporary and permanent restrictions before flying; owning or controlling the land below does not remove those airspace requirements. (caa.co.uk)
If the drone cannot lawfully or safely fly on the day, the project update should still work.
Do not make the entire story depend on one aerial shot.
A live construction site gets the final say
A filming plan is not permission to stand wherever produces the nicest angle.
The site team controls access.
HSE guidance says construction sites require site rules and suitable site inductions, including proportionate inductions for occasional or once-only visitors. (hse.gov.uk)
Before the filming date, confirm the practical arrangements:
- where the crew reports;
- who is escorting them where required;
- induction time;
- required PPE;
- approved camera positions;
- restricted areas;
- parking and unloading;
- and any operations likely to affect access.
Then expect the plan to change.
Weather changes.
Deliveries arrive.
A lift runs late.
A route gets closed.
The camera position agreed yesterday may no longer be appropriate today.
That is normal.
The best production plan gives the crew enough understanding of the priorities that they can adapt without becoming another problem for the site manager.
One project can need more than one version of the update
Not everybody needs the same amount of detail.
A one-minute stakeholder update could summarise the milestone.
A longer project film might give the project lead enough room to explain why it matters.
A vertical extract could concentrate on one particular achievement.
An internal version could include material that would be inappropriate or unnecessary in a public release.
That does not mean filming four separate projects.
It means deciding which audiences genuinely need a different edit.
Our Root-Power Tillingdown project delivered both a concise update and a longer version from the same site visit. The project is also intended to be revisited when the development is complete, allowing the later story to return to the earlier stage rather than trying to recreate it afterwards. (thecameraguys.co.uk)
This is where planning ahead pays off.
A clean explanation recorded now can still be useful in the completion film.
A repeatable wide shot becomes more valuable every time you return to it.
An interview with somebody involved in an early decision may preserve context that is hard to recover eighteen months later.
Keep a project record the editor can understand next year
The archive becomes more useful when it is organised around the project rather than one finished video.
Keep visits separated and dated.
Retain the key repeatable viewpoints.
Record contributor names and roles accurately.
Keep notes on anything that should not be reused publicly.
Where claims, capacities or milestones appear in a film, keep the approved information with the project.
A future editor should be able to understand:
This is Visit 1.
This angle is repeated on Visit 2.
This interview refers to the enabling phase.
This footage shows the equipment before commissioning.
That is more valuable than a folder containing thousands of files called things like C0037.MP4.
If the footage needs to become a longer-term archive for the organisation, agree that separately with the production company. Our guide to how professional video footage is backed up and stored explains why active production storage and permanent archiving are different things.
The final film starts with the first visit
The best time to plan the completion film is not when the project is complete.
It is while there is still empty ground to photograph.
Record the baseline.
Choose repeatable viewpoints.
Capture the people who understand the early decisions.
Film the parts of the project that will disappear.
Then return with enough continuity to make the change obvious.
By handover, you have more than a nice film of the finished asset.
You have a visual record of how it got there.
At The Camera Guys, we produce corporate and industrial video for construction, energy and infrastructure projects, including repeat project visits, interviews, ground filming, drone work and post-production.
If you are planning the first update — or realise halfway through the build that you should have started already — send us the programme, site location and the milestones you need to communicate.
We can work out what is worth recording now and what will become more valuable on the next visit.