
How to Take Better Photos: 21 Pro Tricks That Work on Any Phone or Camera
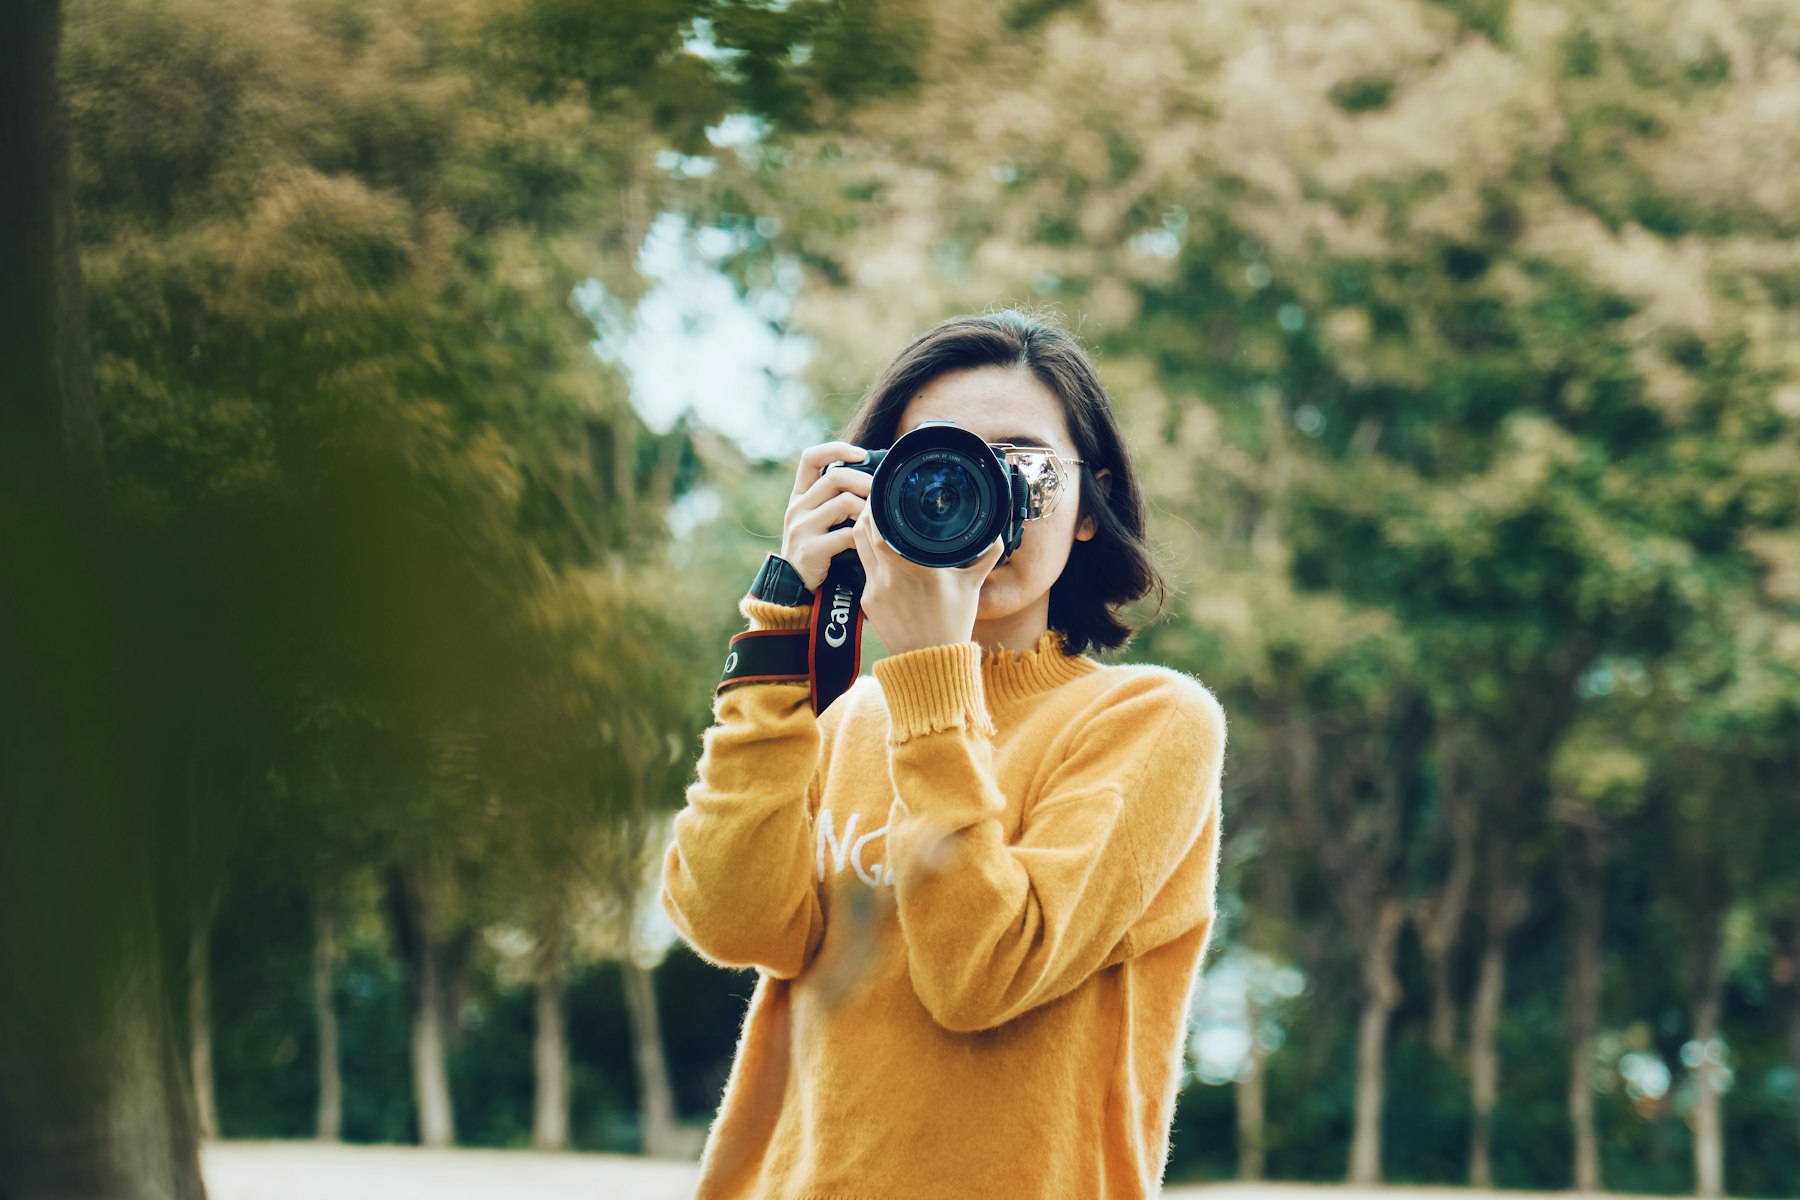
If you want to know how to take better photos, the honest answer is that the camera matters far less than three habits: finding good light, deciding what the picture is about, and holding still when you press the shutter. Get those right and a phone will beat an expensive camera used carelessly.
Below are 21 tricks we use on professional shoots that work just as well on a phone in your pocket. None of them need new kit, and most take seconds.
How to take better photos: start before you press the shutter
Most “bad” photos are ruined before the picture is even taken. These four habits fix a surprising amount.
1. Clean the lens
A phone lens lives in pockets and bags, so it’s almost always smudged. Fingerprint grease is what turns lights into hazy streaks and makes everything look slightly soft. Wipe it with a soft cloth (a glasses cloth is ideal) before anything important.
2. Turn on the grid
A grid splits the screen into thirds and makes it much easier to keep horizons level and place your subject deliberately. On an iPhone it’s in Settings > Camera > Grid, where you’ll also find a Level option. Most Android camera apps have a grid lines setting in the camera’s own settings menu.
3. Hold the camera properly
Use both hands, tuck your elbows into your body and press the shutter gently rather than stabbing at it. In low light, lean against a wall or rest the phone on something solid. Camera shake is the single most common reason for blurry pictures.
4. Decide what the photo is about
Before you shoot, finish this sentence: “This is a photo of…”. If the answer is “everything”, the picture will feel cluttered. Pick one subject and build the frame around it.
Light: the trick that matters most
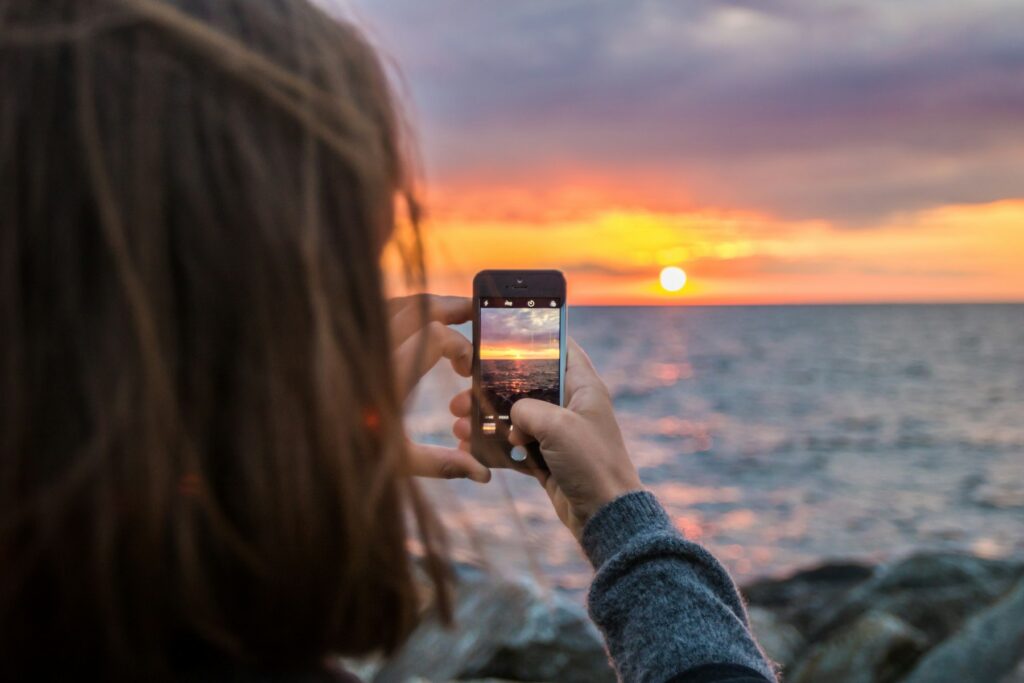
Photography is recording light, so learning to see it is the fastest way to improve. If you only take one section of this guide on board, make it this one.
5. Shoot in the golden hours
The hour or so after sunrise and before sunset gives soft, warm, low light that flatters faces and landscapes. Harsh midday sun creates squinting eyes and dark shadows under brows and noses.
6. Turn your subject towards the light
For portraits indoors, put the person facing a window, or at an angle to it. That soft daylight is better than almost any lamp in the house, and it puts a little sparkle (a catchlight) in their eyes.
7. Find open shade on bright days
If you’re stuck shooting at noon, move people into the shade of a building or tree, with the bright area in front of them. You get even, gentle light without the squint.
8. Switch the flash off (most of the time)
A built-in flash fires straight at the subject and flattens everything. In dim places, try Night mode or steady the camera on a surface instead. Flash is mainly useful outdoors to lift shadows on a face in harsh backlight.
9. Watch the background brightness
If a bright window or sky is behind your subject, the camera will often expose for the brightness and turn the person into a silhouette. Either move so the light is behind you, or tap on the face to tell the camera what matters.
Composition tricks that make photos look intentional
10. Use the rule of thirds, then break it on purpose
Place your subject on one of the grid lines rather than dead centre, and put the horizon on the top or bottom line. Once that feels natural, centre things deliberately when the scene is symmetrical.
11. Get closer
Most amateur photos have too much empty space. Take a step forward, then another. Filling the frame with your subject removes distractions and adds impact.
12. Change your height
Crouch down to a child’s or a pet’s eye level, or shoot from slightly above for food and flat-lays. Photos taken from standing eye height look like everyone else’s.
13. Check the edges and the background
Before you shoot, run your eyes round the edge of the frame. Bins, lampposts growing out of heads and half a stranger are easy to fix by moving a step sideways.
14. Use leading lines and frames
Paths, fences, rivers and roads pull the eye into a picture. Doorways, arches and branches make a natural frame around your subject.
15. Leave space in the direction of movement
If someone is looking or walking to the left, give them room on the left of the frame. It feels more balanced and tells a story.

Camera settings worth knowing
16. Tap to focus, then lock it
Tap on your subject to set focus and exposure. On an iPhone, touch and hold until “AE/AF Lock” appears so it stays put while you recompose; most Android phones have a similar tap-and-hold lock. You can usually slide up or down next to the focus box to make the picture brighter or darker.
17. Avoid pinch-to-zoom between lenses
Many phones have several lenses, shown as buttons such as 0.5x, 1x and 2x or more. Those presets use real optics. Pinching to zoom in between them, or beyond the longest one, crops the image digitally and loses detail. Walking closer is usually better.
18. Use burst for moving subjects
Children, pets and sport move faster than you can react. Burst mode takes a rapid sequence so you can pick the frame where eyes are open and the action peaks.
19. Try Portrait mode carefully
Portrait or background-blur modes can look great, but check the edges of hair and glasses, where the software sometimes gets it wrong. On a dedicated camera you get real background blur from a wide aperture (a low f-number) and some distance between subject and background.
After the shot
20. Edit lightly
Straighten the horizon, crop to tighten the composition, then make small adjustments to brightness, contrast and warmth. Heavy filters date quickly. If you look at the edit tomorrow and it seems overdone, it probably is.
21. Be ruthless when you choose
Professionals take lots of pictures and show only the best. Delete near-duplicates, keep the sharpest one and share fewer, stronger images. Your camera roll (and your storage) will thank you.
Quick fixes for common photo problems
| Problem | Likely cause | Quick fix |
|---|---|---|
| Blurry photo | Camera shake or missed focus | Two hands, brace yourself, tap to focus |
| Hazy or soft image | Dirty lens | Wipe the lens with a soft cloth |
| Face too dark | Bright background | Tap the face, or turn so the light is behind you |
| Squinting, harsh shadows | Midday sun | Move into open shade |
| Grainy zoomed shots | Digital zoom | Use a lens preset or walk closer |
| Wonky horizon | No reference | Turn on the grid and level |
| Cluttered picture | No clear subject | Get closer and check the edges |
When it’s worth calling a professional photographer
These tricks will lift your holiday snaps, social posts and family pictures. For business images, though, there’s more going on: controlled lighting, lenses chosen for the job, consistent colour across a whole set, and someone directing people so they look relaxed rather than posed. That’s the gap we talk through in professional photography vs smartphone photography for businesses.
If your website, LinkedIn or marketing needs pictures that hold up, we offer headshot photography and commercial and brand photography across Suffolk, Essex, Cambridgeshire, Norfolk, Hertfordshire and London. Already have images that need a lift? Our photo editing and retouching service can help. See our pricing or get in touch to talk about your shoot.
Frequently asked questions
Do I need an expensive camera to take better photos?
No. Light, composition and a steady hand make a far bigger difference than the camera. A modern phone used well will produce better pictures than an expensive camera used carelessly.
What is the easiest way to improve phone photos?
Clean the lens, turn on the grid, and shoot with soft light on your subject, such as near a window or in the hour before sunset. Those three changes fix most common problems.
Why are my photos always blurry?
Usually camera shake or the camera focusing on the wrong thing. Hold the phone with both hands, brace your elbows, tap your subject to focus and press the shutter gently. In low light, rest the phone on something solid.
Should I use the rule of thirds every time?
It’s a reliable starting point, not a law. Use it until it becomes second nature, then centre your subject deliberately when a scene is symmetrical or you want a bold, direct look.
Is it worth shooting in RAW?
If your phone or camera offers RAW and you enjoy editing, it keeps more detail for adjusting brightness and colour later. The files are much larger, though, and for everyday sharing the standard format is fine.