
How to Plan a Brand Photography Shoot
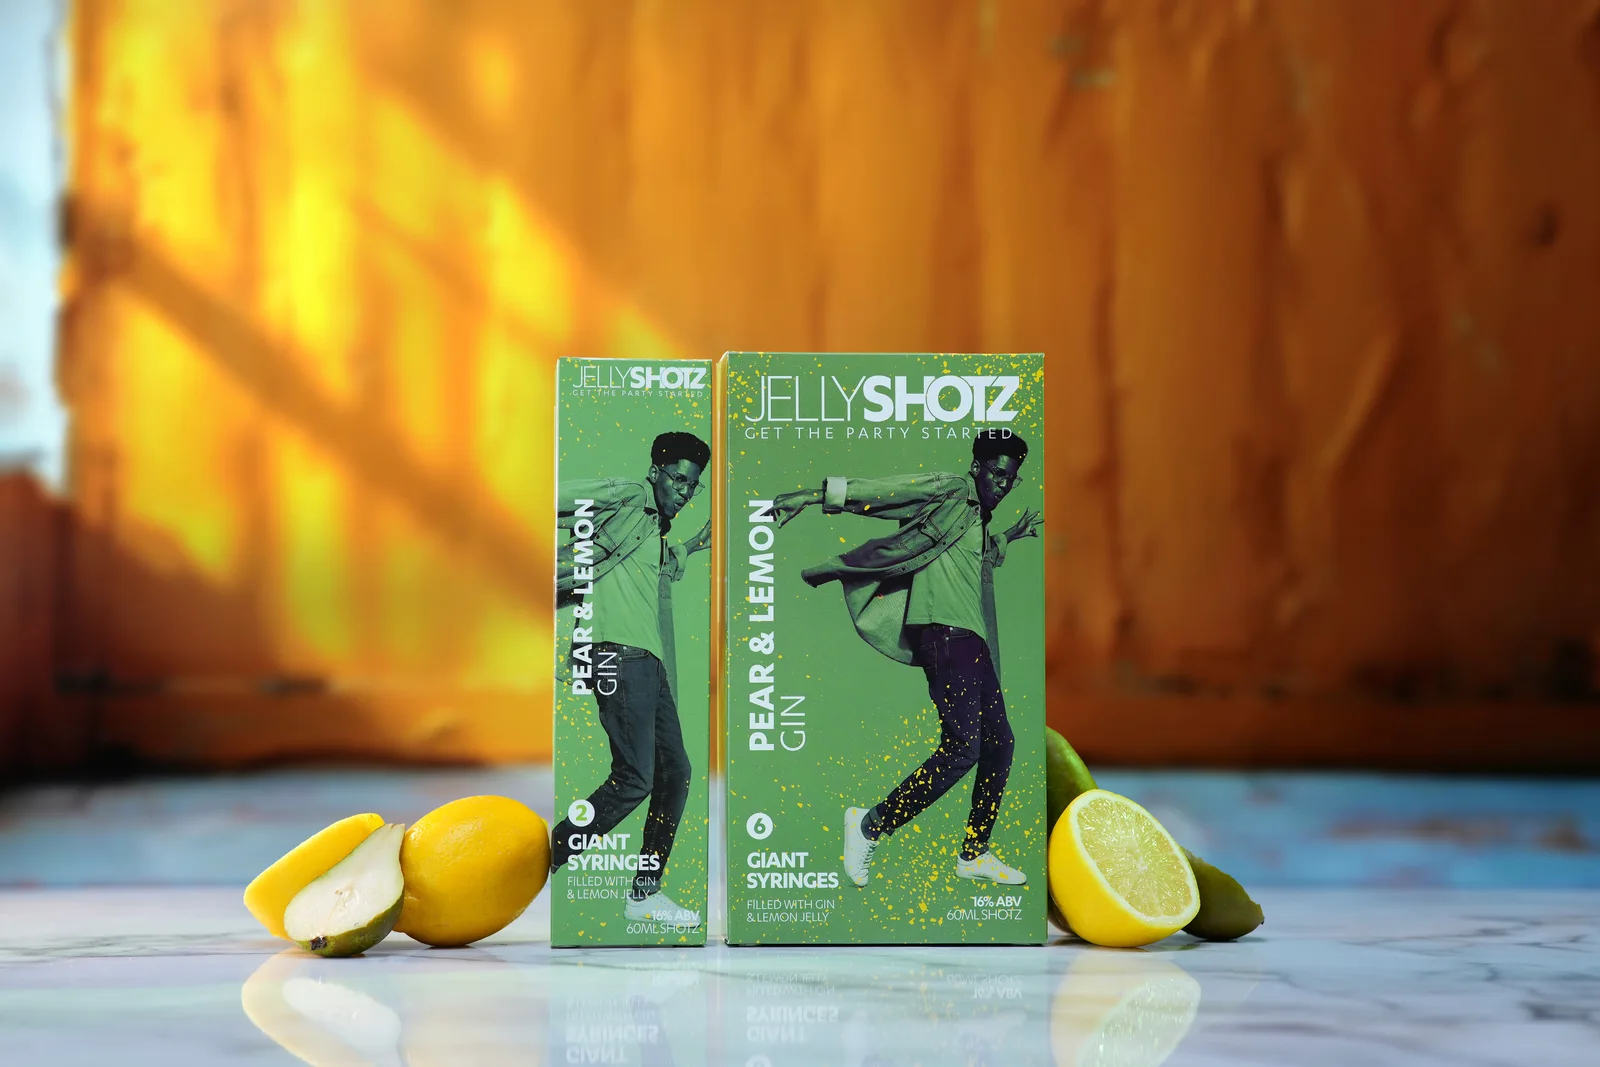
Before booking a room or telling everyone what to wear, decide what you want to show.
Your team might need portraits, but what else would help someone understand the business? The work happening behind the scenes? The details of a product? What a customer can expect when they visit?
A brand photography shoot brings those pictures together. Plan it around the places you will use them and the things that make your business recognisable, rather than filling a morning with whatever happens to be available.
You don't need to arrive with every camera angle worked out. You do need a clear idea of what's missing.
Work backwards from where the pictures will go
Gather the pages and materials you are updating: website layouts, a brochure, a recruitment campaign or an upcoming launch. Show the photographer what needs illustrating and which existing images you intend to keep.
Be specific about the space. A homepage banner might need the subject on the right so a heading can sit on the left. A portrait for a team page could need a much tighter crop. A group spread across a wide photograph may not fit the mobile version of the same page.
Include your designer in this conversation where possible. Our guide to photography for business websites looks at planning compositions for the layouts they need to fill.
From a page title to an actual photograph
Imagine a small furniture maker refreshing its website. This is an illustrative example, not a client project.
The bespoke service page needs to show how a customer chooses materials and discusses a design. You could plan a scene with a designer, timber samples and a drawing. That means having the right person available, preparing a drawing that can be published and setting up somewhere with room to photograph the conversation.
The About page needs to introduce the makers. A portrait in the workshop could do that, with another photograph showing the same person fitting or finishing a piece. Now the name, face and work have a connection.
The product pages need accurate views of the finished furniture. Those may call for a separate background, more space and different lighting from the workshop scenes. Allow for the product photography rather than assuming every piece can be photographed between portraits.
One business, several kinds of picture. Writing down the page, subject and practical requirements gives the photographer a much better starting point than asking for "twenty images for the website".
For a service business, apply the same thinking to consultations, demonstrations or the stages of a project. Choose activities that explain the service, not simply a meeting because there is a meeting room free.
Agree the look before arranging the scenes
Choose a small selection of reference photographs and explain what you like about each one. It could be the light, the colours, the way people are standing or how much of the workplace is visible.
"We like how relaxed these portraits feel, but we want to use our own workshop" is useful direction. Asking for a bright, minimal studio look while also wanting a busy production floor in every frame needs a conversation about how those ideas fit together.
Share your brand guidelines and existing photography too. Identify anything that needs to remain consistent, such as the background on a team page, while leaving room for variety elsewhere.
Brand photography can include carefully arranged product pictures and natural-looking activity. Our guide to commercial and lifestyle photography explains how those approaches can sit within the same commission.
The photographer should help translate the references into something achievable in your space and budget. You don't have to turn your office into someone else's studio.

Give people something to do
"Act natural" doesn't give somebody much help when they are standing beside a desk waiting to be photographed.
Plan an activity they recognise. Ask a designer to talk a colleague through a sample, a technician to explain a check or a team member to demonstrate a product. Give them something relevant to concentrate on, with the photographer directing their position and the pace of the action.
In the furniture example, that could mean discussing two finishes rather than silently pointing at an empty drawing. The task gives people a reason to look at each other and use their hands.
It is fine to arrange a scene for the camera. Keep the work believable and repeat only what can be repeated safely. Don't change a working method or remove protective equipment because it makes the picture look tidier.
Choose participants for the work being shown, and explain how the photographs will be used. Agree participation and any necessary permissions in advance, with a private way for someone to raise a concern or an access requirement.
For clothing, give people guidance they can follow: normal workwear, clean uniforms where relevant and an alternative top for a key portrait. Ask the photographer about particular patterns or colours against the planned backgrounds rather than issuing a blanket instruction that everyone must match. There is more on this in our corporate photography preparation guide.
Clear the distractions, keep the workplace
Prepare the areas that will appear. Remove confidential paperwork, check screens and whiteboards, and gather the correct products, packaging and props. Use approved demonstration material instead of relying on someone to hide a live customer record at the last moment.
Leave the useful signs of work. Materials, tools and an unfinished project may belong in the scene; an overflowing bin probably doesn't. Walk through the locations with someone who knows what may be moved and what must stay exactly where it is.
What fits into the booking?
Give the photographer the priorities before asking how long the shoot should take. Separate the pictures required for the launch from extra ideas that would be useful when time allows.
Then group the work sensibly. Photograph scenes that share a room or setup together, and check which people are needed for each. Someone booked for an individual portrait might also be essential to the group photograph and a workplace scene later on.
For a larger team, give people individual arrival times rather than asking everyone to wait around. Our guide to planning a company headshot day covers organising those appointments and allowing for people who cannot attend.
Include setup, room changes, product preparation, breaks and packing away. Check building access and reserve rooms for the whole period needed. If outdoor pictures matter, agree an indoor alternative or how a weather-related change would be handled.
Share the budget before the plan becomes too elaborate. Ask what can be achieved within it and what a second location, additional people or more involved retouching would change. Our guide to choosing a commercial photographer covers comparing the complete proposal, not just the time spent taking photographs.
Video needs its own place in that discussion. On our Root-Power shoot at Denby, the one-day crew included a videographer and a photographer. Whether your own shoot needs separate operators depends on what they need to capture, and when.
Send us the pages you need to illustrate, your reference pictures and a few phone photographs of the available space. We can help turn those into a practical plan for your brand photography.
Decide how you'll choose the finished images
Before booking, confirm whether the photographer makes the selection or supplies a gallery for you to choose from. Agree how many finished photographs are included, the level of retouching and when they will be delivered.
Decide who will gather feedback. Involve someone who can check the products, processes and people shown, as well as whoever is judging the design. Send one agreed response rather than asking the photographer to reconcile conflicting instructions.
Be clear about editing expectations. Cleaning up a temporary mark is a different request from changing the shape of a product or giving it a finish you do not sell. Discuss the required work in advance and keep the result accurate.
Confirm usage too, including your website, social channels, paid advertising, printed materials and any partners who need the images. A licence can specify purposes, duration and territory, so keep the agreed terms with the collection. The Intellectual Property Office's guidance on using copyright material explains that distinction.
Ask your designer what delivery formats and sizes are needed. Keep the high-resolution edited files you receive separate from smaller publishing copies, and make your own backup. Label the approved selections so colleagues can find the right people, products and projects without opening every file.
Finally, return to the pages that started the brief. Try the selected pictures in place and check the crops before signing off. Keep a note of any remaining gaps for the next photography update.
The best test is the next time somebody needs an image for the business: can they find a photograph that shows the right thing and fits the space?