
Should Businesses Film Vertical or Horizontal Video?
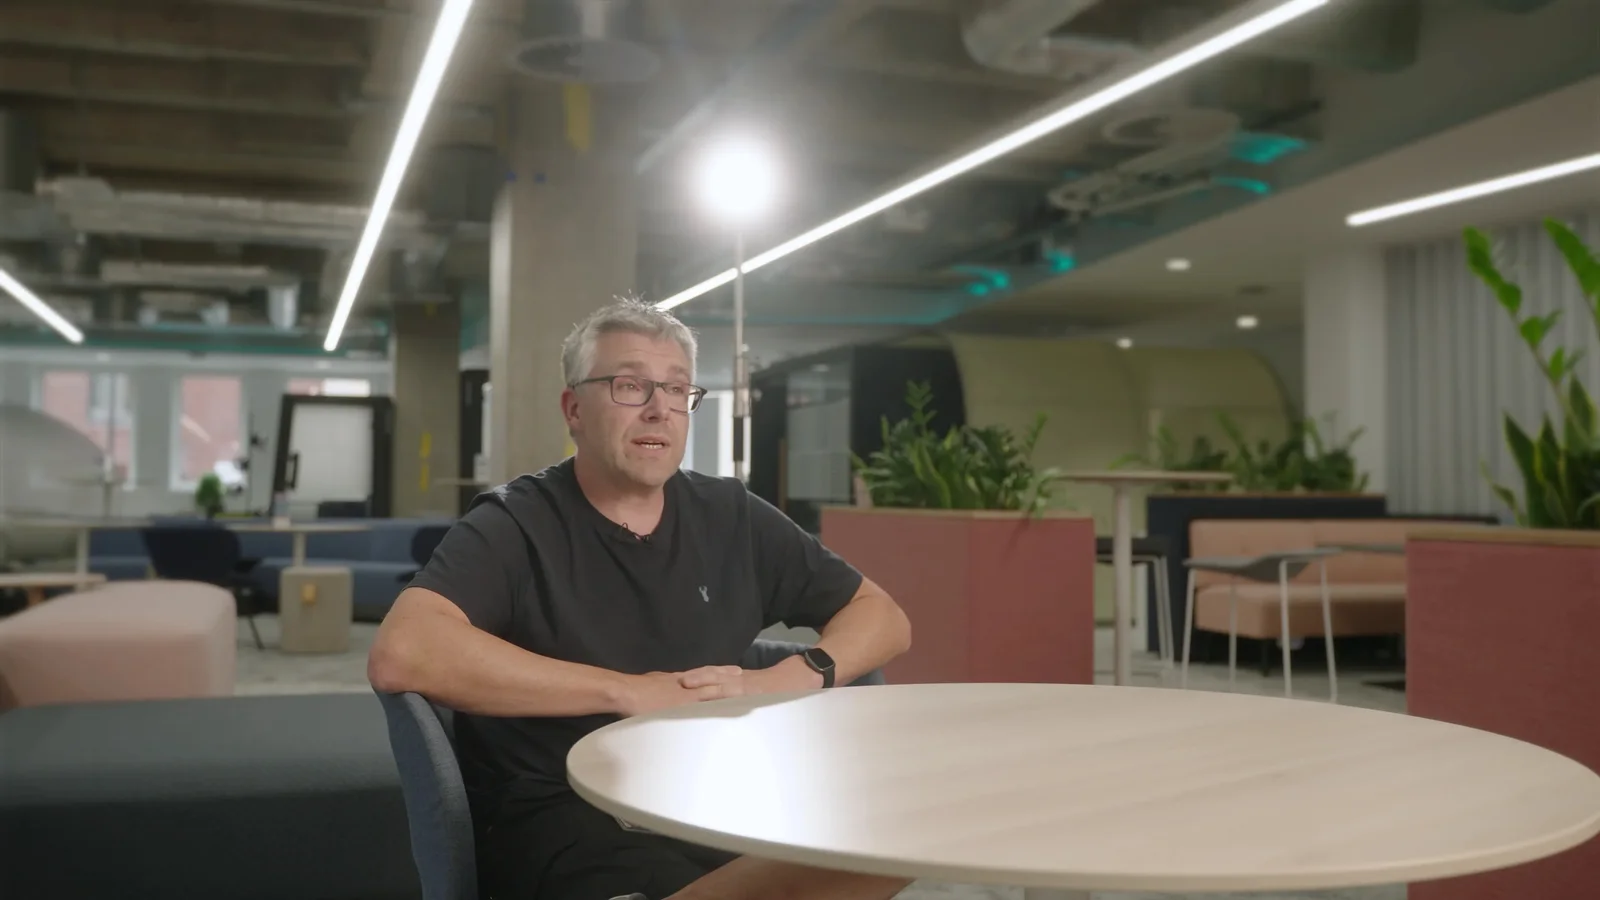
Imagine filming a two-person customer interview for your website. The wide shot looks great: both people sit comfortably in frame, with enough of the location around them to give the conversation context.
Then somebody asks for a vertical version for Reels.
A 9:16 crop is placed over the middle of the picture and suddenly neither person fits properly. Push the crop towards the customer and the interviewer disappears. Pull it the other way and you lose the person speaking. Zoom out and there is no more image to reveal.
Nothing has gone wrong with the camera. The problem is that the second format was never part of the composition.
That is the useful way to think about vertical and horizontal video for a business. They are not competing trends, and one is not automatically more professional than the other. They are different viewing spaces.
If the film mainly lives on a widescreen website, presentation or display, horizontal may be the natural starting point. If it is being made specifically for a full-screen mobile feed, vertical deserves to be treated as the main frame rather than an afterthought.
And when you need both, tell the video production team before filming.
Start with the place people will actually watch it
Do not begin with “we always shoot landscape” or “everything is vertical now”. Begin with the destination.
A video embedded on a service page has a different job from a Reel someone encounters while holding a phone. A conference film projected onto a 16:9 screen has different constraints from a TikTok ad. Even within the same platform, a normal feed post and a full-screen vertical placement may use different parts of the screen.
A useful planning table looks something like this:
| Main use | Starting shape to consider | Why |
|---|---|---|
| Website film, presentation or widescreen display | 16:9 horizontal | Width gives interviews, products, environments and graphics room to breathe. |
| Instagram Reels, TikTok or another full-screen mobile placement | 9:16 vertical | The composition fills a phone held upright rather than sitting inside a smaller horizontal window. |
| LinkedIn feed or mixed social publishing | Depends on the placement | LinkedIn supports a broad range of aspect ratios, so the useful choice comes from the creative and campaign placement rather than the platform name alone. |
| YouTube main video | Usually 16:9 | YouTube's standard desktop player remains widescreen, although the player adapts to other ratios. |
| YouTube Shorts | Square or vertical | YouTube currently classifies eligible square or vertical uploads of up to three minutes as Shorts. |
| Exhibition screen or digital signage | Match the physical display | The screen shape is more important than whichever format happens to be fashionable online. |
These are planning directions rather than permanent platform rules. Interfaces, advertising placements and specifications change, so check the actual destination when the brief is agreed.
Meta currently recommends 9:16 creative with important elements kept inside the safe zone for Reels advertising. TikTok's own business guidance likewise treats 9:16 as its full-screen production format. LinkedIn accepts both landscape and portrait native video, while its advertising documentation includes 16:9, 4:5 and 9:16 options. YouTube's player adapts to different shapes rather than requiring black bars to be baked into the file. (Meta, TikTok, LinkedIn, YouTube)
The platform is only half the answer, though. The subject has to fit the frame as well.
Some subjects naturally need width
A single person talking to camera can sit comfortably inside a narrow portrait composition. A two-person conversation is immediately harder.
The same problem appears with:
- a presenter standing beside a large product;
- a machine whose useful movement runs from left to right;
- a panel discussion;
- a wide architectural interior;
- a demonstration where the person's hands and the equipment both need to stay visible;
- a speaker beside presentation slides.
Horizontal video gives those elements more room to exist together.
That does not mean a vertical version is impossible. It means the vertical version may need a different shot, a different arrangement or an edit built from closer views.
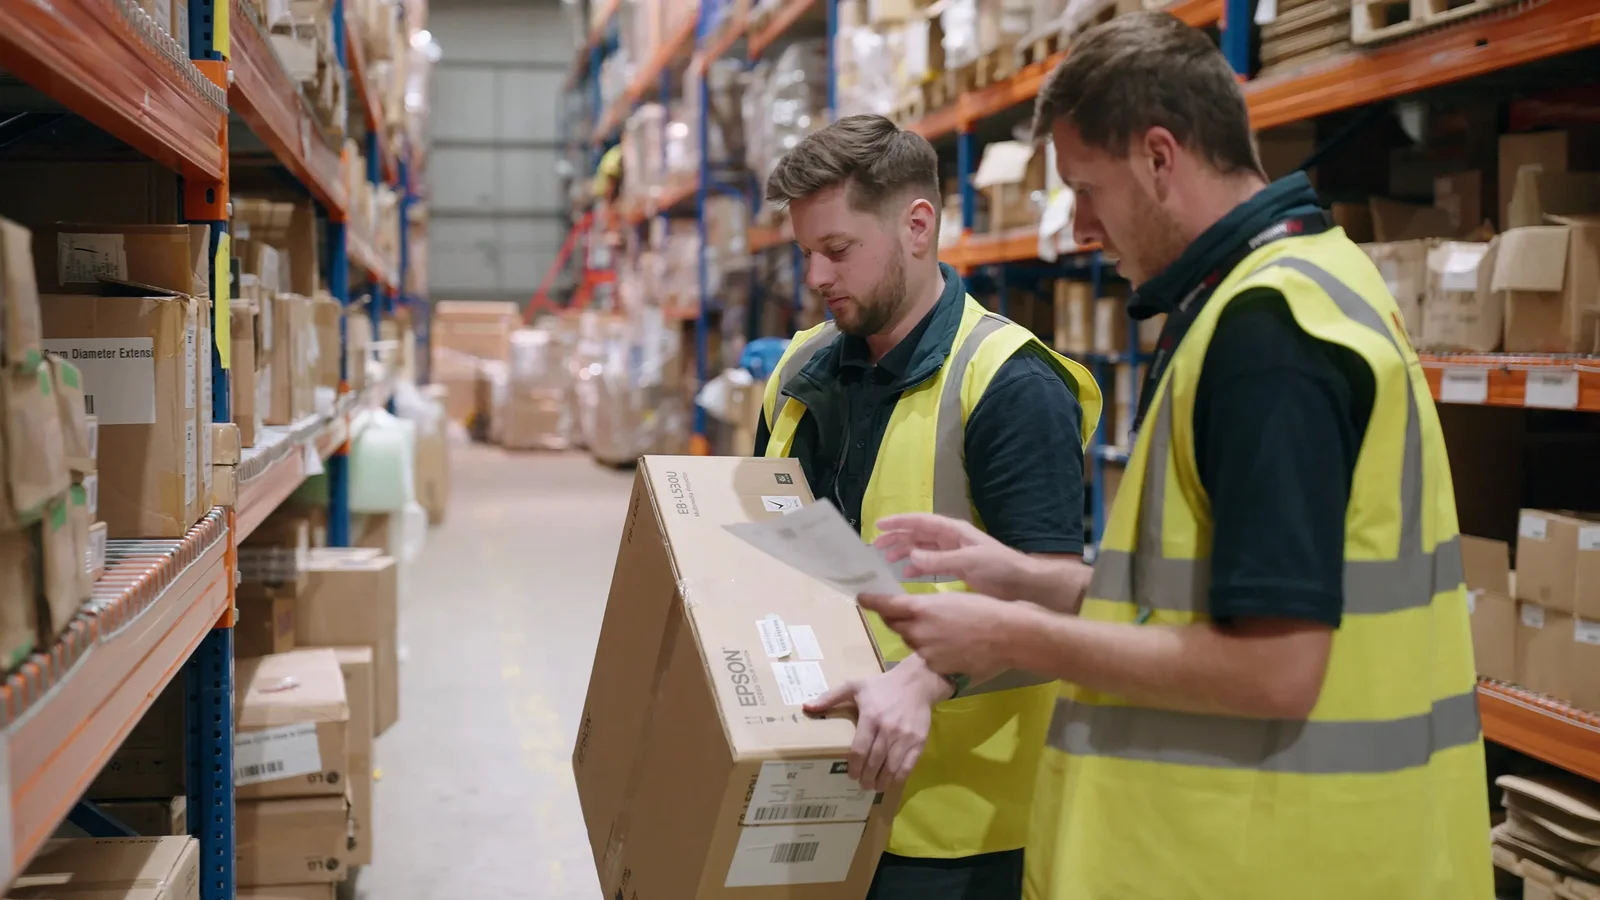
For example, a horizontal product demonstration might show the presenter and the complete machine. The vertical edit might instead alternate between the presenter, a close view of the controls and the part being demonstrated. Both films can explain the same thing without pretending that the same composition works equally well in both shapes.
This is where useful B-roll becomes particularly valuable. Detail shots and alternative angles give the editor more ways to rebuild the story for a narrower frame.
Vertical video is not just a landscape film with the sides removed
A vertical frame changes the picture.
Take a 3840 × 2160 4K landscape recording. A full-height 9:16 crop from it is only around 1215 pixels wide before scaling. In other words, a centred portrait crop keeps roughly 31.6% of the original width.
Almost two thirds of the horizontal scene sits outside that crop.
The source still contains enough vertical resolution to create a 1080 × 1920 delivery file, but resolution is not the main problem. If your customer stands on the left and the product sits on the right, no amount of extra pixels will pull both back into the narrow portrait window.
This is why “we'll just crop it later” should be a production decision, not a default assumption.
Safe framing can work — when the scene allows it
For a single interviewee, presenter or compact demonstration, one composition can sometimes serve both formats.
The camera can display guides showing the intended vertical area while recording the wider frame. The important action stays inside that central zone, while the horizontal version retains useful space around it.
That approach can work very well when:
- there is one principal subject;
- the action stays fairly central;
- hands, products and important graphics can all remain inside the shared area;
- the wider version still looks intentional rather than strangely empty.
It is a compromise. Sometimes it is exactly the right compromise.
Do not centre everything automatically just because a vertical crop might be requested later. Test the actual composition. A carefully off-centre landscape interview can look much better than an unnecessarily symmetrical frame, so the secondary version should not quietly weaken the primary one.
Sometimes the right answer is to shoot the action twice
If the action is controlled and repeatable, separate takes can be cleaner than forcing one shot to do two jobs.
Imagine a member of staff demonstrating a new product. Film a strong horizontal version for the website. Then turn or reposition the camera, adjust the person's position and repeat the demonstration specifically for vertical social use.
The words and action can stay consistent while the composition changes.
This works particularly well for:
- presenter-led clips;
- repeatable product demonstrations;
- short expert answers;
- staged workplace actions;
- calls to action;
- introductions and sign-offs.
Build the extra takes into pre-production rather than discovering at the end of the day that everybody has already gone home.
A good video production brief should name the actual outputs: for example, one horizontal website film plus four vertical social clips. That tells the production team much more than “we'll probably use it on social as well.”
Do not repeat something merely for a different crop when the action is unsafe, disruptive or genuinely unrepeatable. A customer reaction, live event moment or industrial process happening once needs another solution.
For live action, two cameras can be more useful than two crops
A conference speaker walks across a stage. A wedding ceremony begins. A product is unveiled once. A sporting moment develops unpredictably.
You cannot reliably ask any of them to do it again because the social edit needs a different frame.
When both orientations genuinely matter, a second planned camera can sometimes protect the alternative version. One might record the wider horizontal master while another covers a tighter or portrait-friendly angle.
That decision has consequences. Another camera needs placement, monitoring, file management and editing. It should solve a real problem rather than exist only because “more cameras must be better”. Our guide to how many camera operators you need explains the same principle in more detail.
At exhibitions and conferences, the format plan should be agreed while the positions and schedule are being organised. Our guide to business exhibition video coverage explains why retrofitting a vertical campaign from tightly framed landscape event footage can leave the editor with very little room to work.
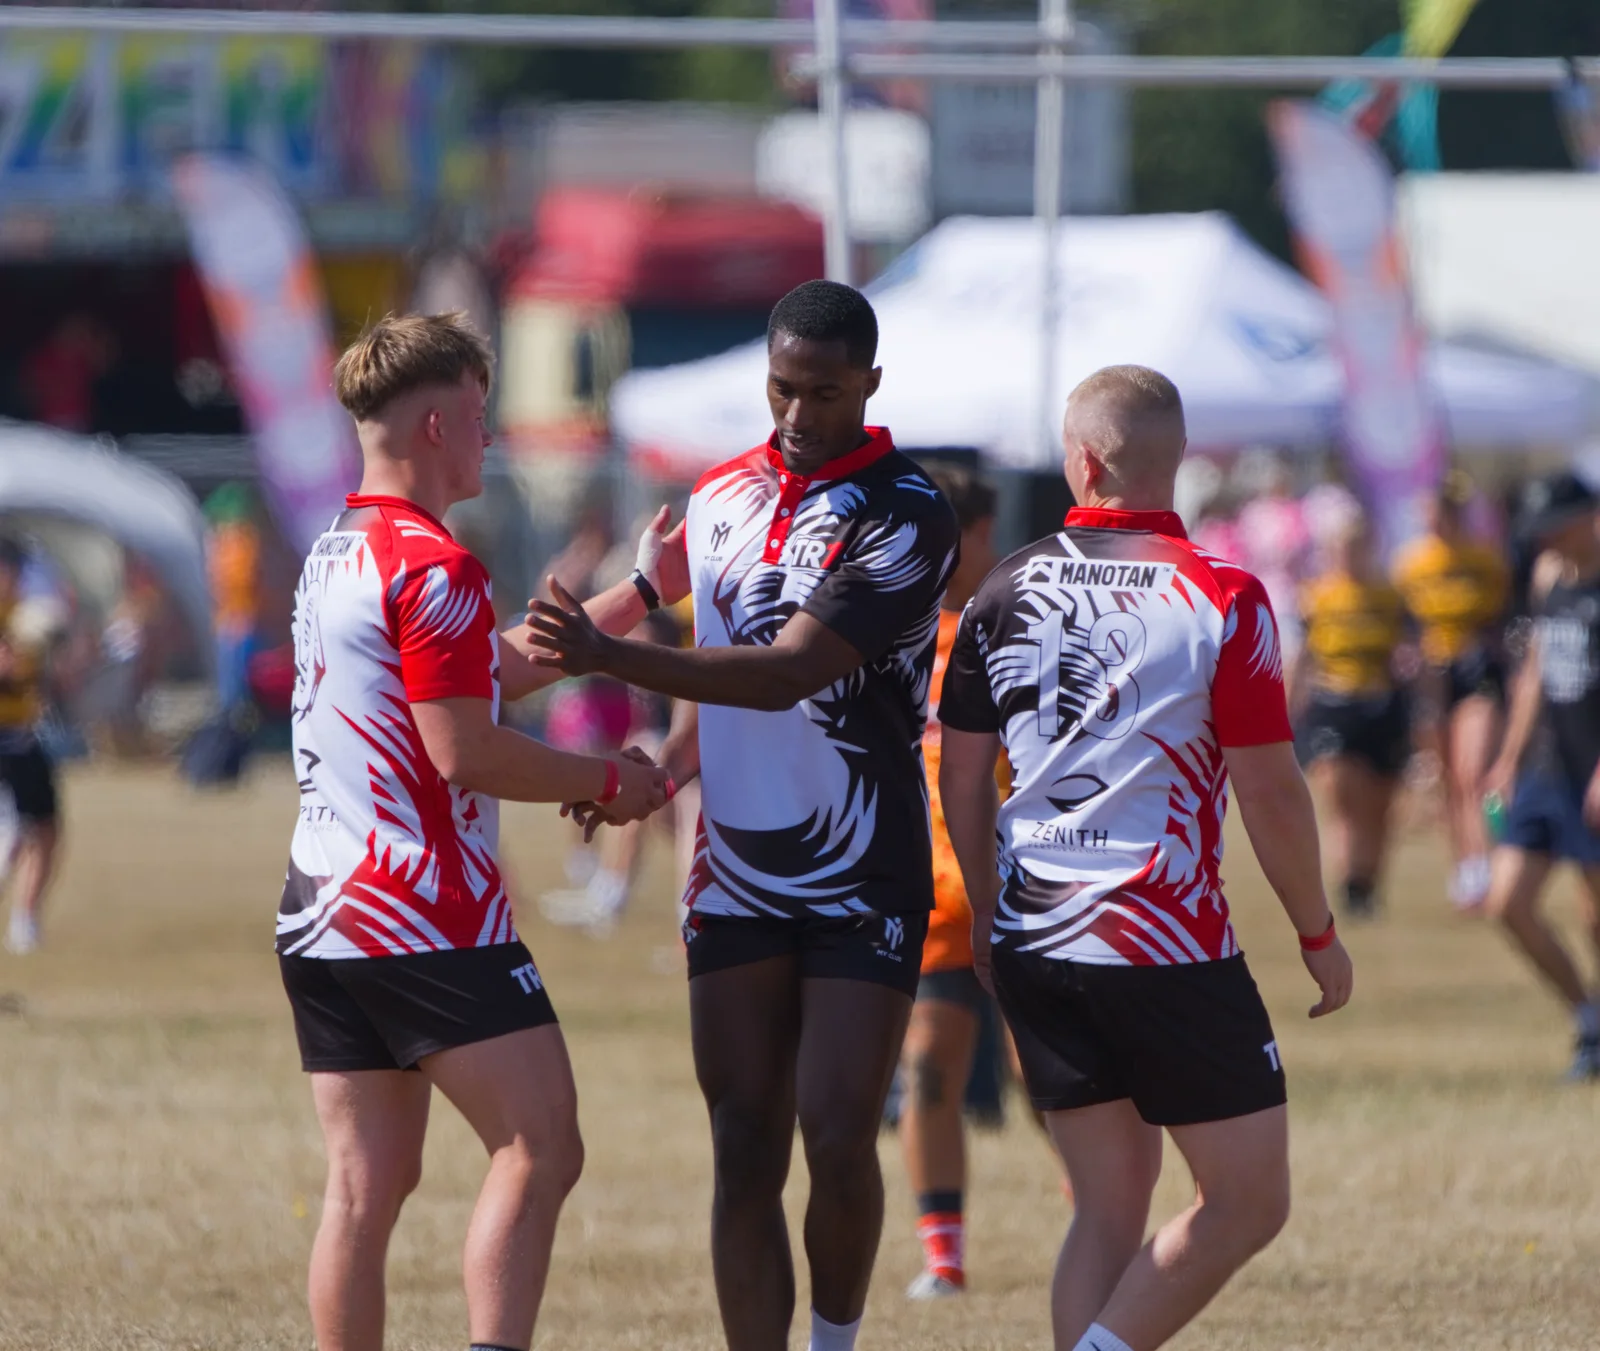
A useful exception: filming rugby for a vertical film
Sometimes we deliberately shoot horizontal footage for a vertical final video.
That sounds like the opposite of the advice above, but the reason matters.
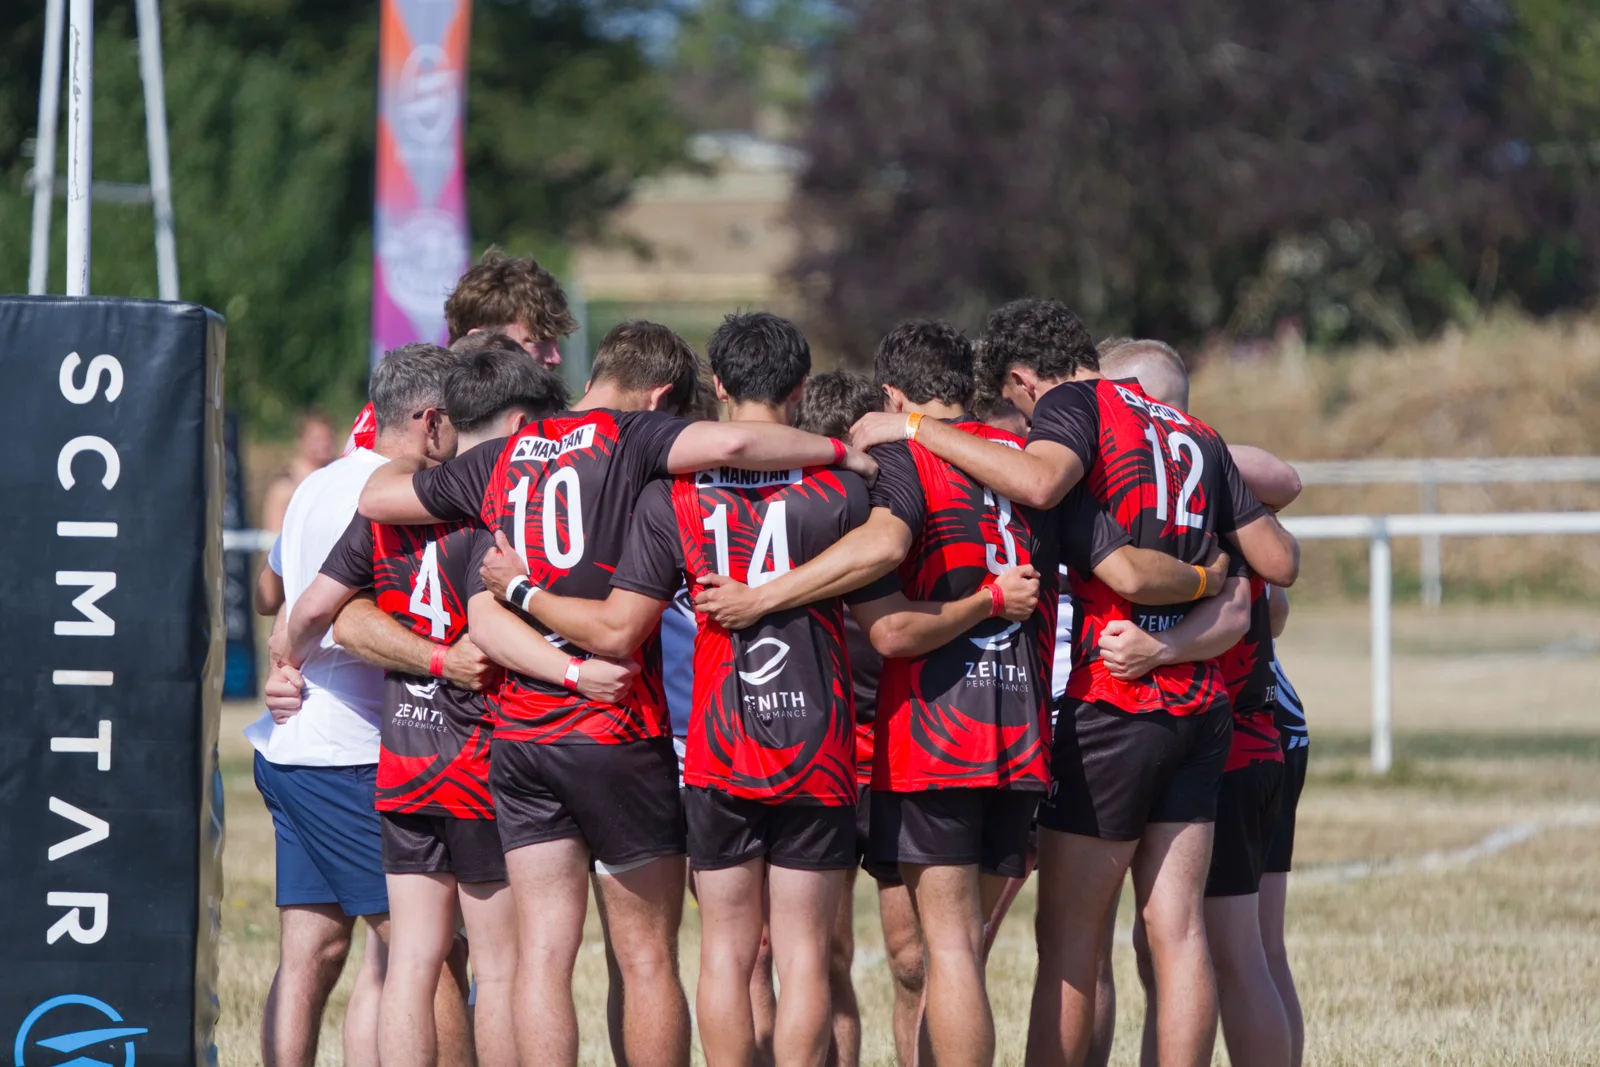
For our TR7 Cheltenham rugby project, the final film needed to work in portrait. Rugby, however, moves rapidly and unpredictably across a wide playing area. Following that action through a narrow 9:16 frame while filming would have left very little tolerance when a player changed direction or a pass moved the action suddenly across the pitch.
We therefore recorded wider 16:9 footage and kept more of the play inside the source image, giving us room to reposition the portrait crop during editing.
You can see the approach in our case study on filming rugby for portrait video.
The important part is that the decision was made because of the movement of the subject, not because landscape footage is universally better.
The extra width gave us working room. It did not remove the need to track the game properly. If a player leaves the recorded picture altogether, no crop can bring them back.
What if you want one shoot to produce content for everything?
That is common, and it is entirely workable when the deliverables are planned before the day.
A business content shoot might produce:
- one horizontal brand or company film;
- three 9:16 vertical expert clips;
- a vertical product demonstration;
- a shorter LinkedIn edit;
- website background footage;
- clean B-roll that can be reused later.
The answer is not necessarily to record every scene twice.
Instead, decide which material genuinely needs separate framing. A customer interview might use a shared composition. A product demonstration might deserve a dedicated vertical take. General workplace footage can include a mixture of wider shots and tight details that survive several crops.
That is the thinking behind our promotional video production approach: plan the different uses first, then make the filming day supply them deliberately.
If the goal is an ongoing social library, our guide to creating a month of social media content in one filming day shows how to build the day around named pieces rather than simply recording a huge amount of footage and hoping useful clips appear afterwards.
Repurposing should keep the idea, not necessarily the frame
A strong piece of content can move between platforms without keeping the same edit.
Suppose a customer case study has a two-minute horizontal version on your website. The LinkedIn version might lead with one useful business outcome. A vertical Reel could use a single customer answer with closer supporting footage. A YouTube Short might isolate one self-contained question.
The evidence and message are connected, but the opening, composition and next action can change.
Our guide to repurposing video across Instagram, TikTok, LinkedIn and YouTube goes into that process in more detail.
A platform version should make sense to somebody who never saw the original film. “As we mentioned earlier…” is not a useful opening when the earlier section exists in another file on another platform.
Captions, logos and buttons need safe space too
It is possible to keep the person inside a vertical crop and still ruin the final video with graphics.
Social interfaces place usernames, captions, reaction buttons and other controls over parts of the picture. Platform guidance therefore refers to safe zones: areas where important text and visual information are less likely to be covered by the interface. Meta, TikTok and LinkedIn all currently give businesses guidance around protecting key elements from interface overlays. (Meta, TikTok, LinkedIn)
So when testing a vertical composition, check more than the face.
Can you still see the product? Are subtitles sitting over somebody's mouth? Is the company logo underneath the platform's buttons? Does the final call to action remain readable?
View a test export inside the actual destination, not only full-screen in an editing program.
More versions mean more post-production
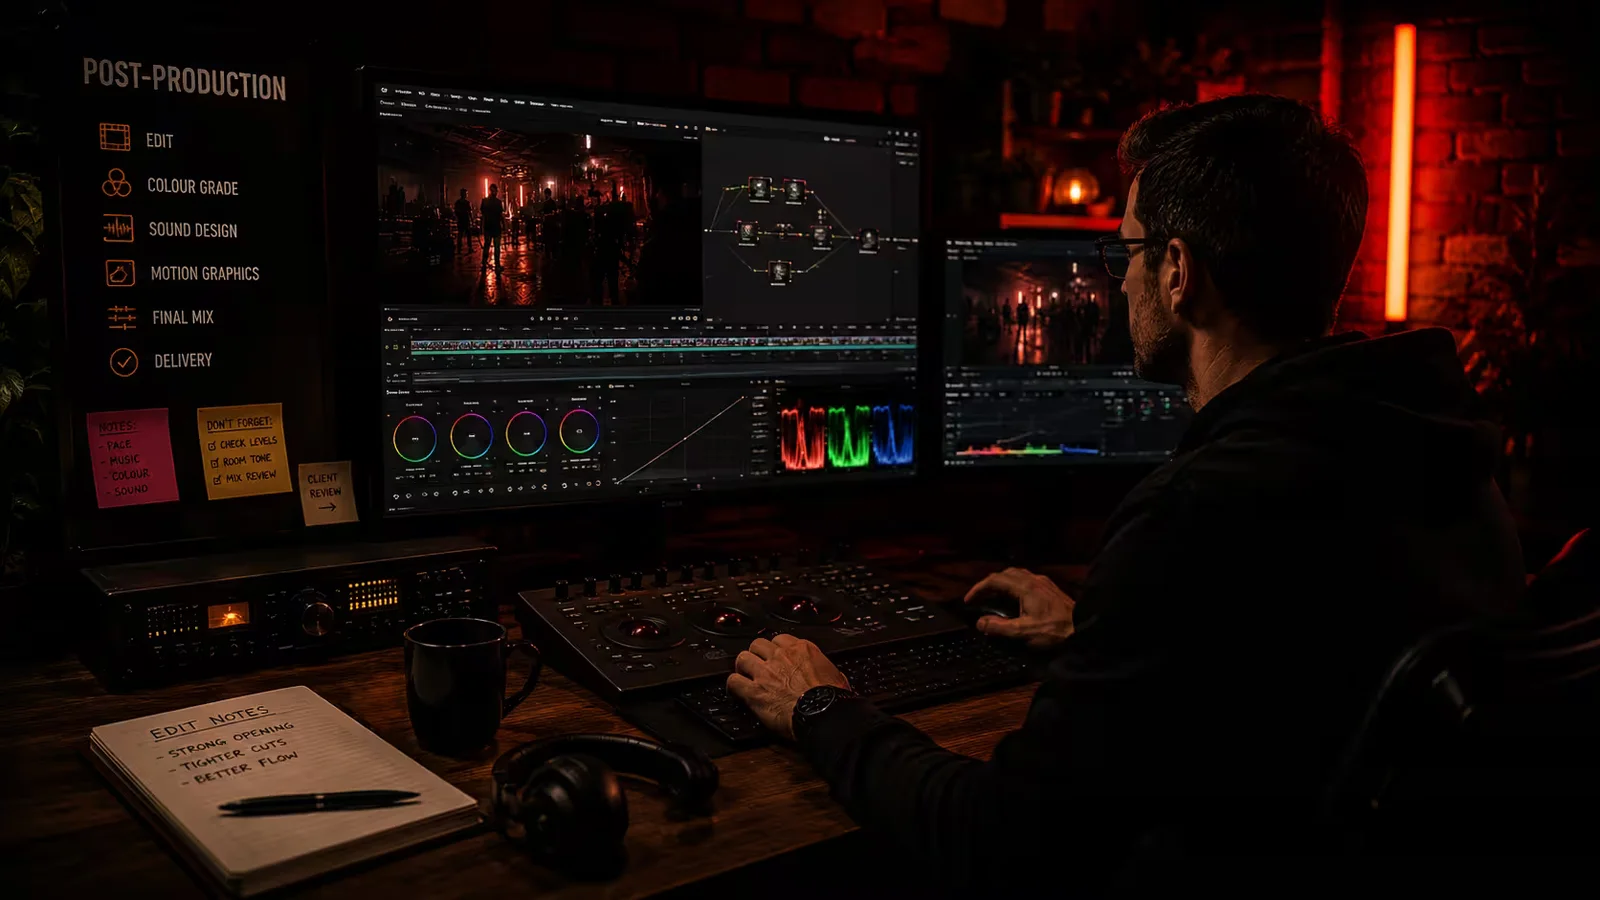
One filming day can feed several formats, but each requested version still needs work.
A vertical edit may need different reframing, alternative shots, moved captions and a different opening. A square version is another file to build and check. If the same six videos are required horizontally and vertically, that is not automatically “six exports”. It can be twelve pieces requiring separate quality control.
Include the versions in the quote rather than assuming that every possible aspect ratio is included. Our video production cost guide explains why final deliverables are part of the scope, not just an incidental step after filming.
The most cost-effective option is often to decide which formats genuinely have a publishing plan. There is little value in paying for portrait, square and landscape copies of everything if nobody knows where two of them will be used.
So, should your business film vertically or horizontally?
Use vertical when the main experience is a full-screen phone video and the subject works naturally inside a tall frame.
Use horizontal when the story needs width, the main destination is widescreen, or people and information need to sit alongside each other.
Use both when both uses matter enough to justify planning for them.
The important part is deciding that before the camera is rolling.
For our corporate video productions, we can build landscape, portrait and other agreed versions into the same production rather than treating social crops as an afterthought.
When you enquire, tell us where the videos will actually appear. Screenshots of the intended website section, advert placement or social format are surprisingly useful. We can then work out whether the job needs one shared composition, separate takes, alternative cameras or simply better coverage.